In this post, we will cover how to setup DHCP server with dnsmasq on Debian 12 step-by-step.
Dnsmasq is a minimal, simple-to-configure DHCP server and DNS forwarder designed to provide DNS and DHCP services for small to medium-sized networks. Dnsmasq is extensively used for home networks and small office environments due to its intuitive interface and efficiency.
Dynamic Host Configuration Protocol (DHCP) uses a client-server architecture to automatically assign IP addresses and other communication protocols to devices connected to the same network.
DHCP streamlines network management tasks, for instance, In client system configuration, the administrator does not need to specify the IP address, netmask, gateway, or DNS servers if they opt to use DHCP. This data is obtained by the client from the DHCP server.
Prerequisites
- A machine running Debian 12.
- Root or sudo privileges.
- Basic knowledge of network administration.
Lab Setup
For this setup, we will use the following testing environment:
- DHCP server machine – Debian 12
- DHCP client machine – RHEL 9
1) Install dnsmasq Server Package
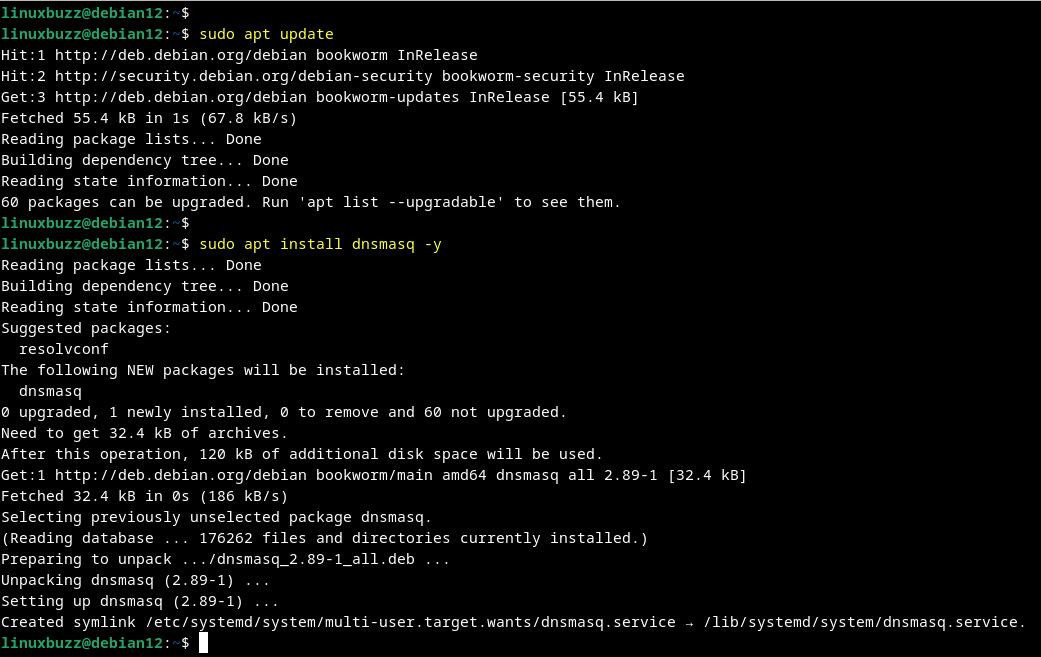
First, update your package repository and install the dnsmasq server package:
$ sudo apt update
$ sudo apt install dnsmasq -y

2) Start and Enable Dnsmasq Service
Once the dnsmasq package installation is complete, start and enable the dnsmasq service to start at system boot using the following systemctl commands:
$ sudo systemctl start dnsmasq
$ sudo systemctl enable dnsmasq
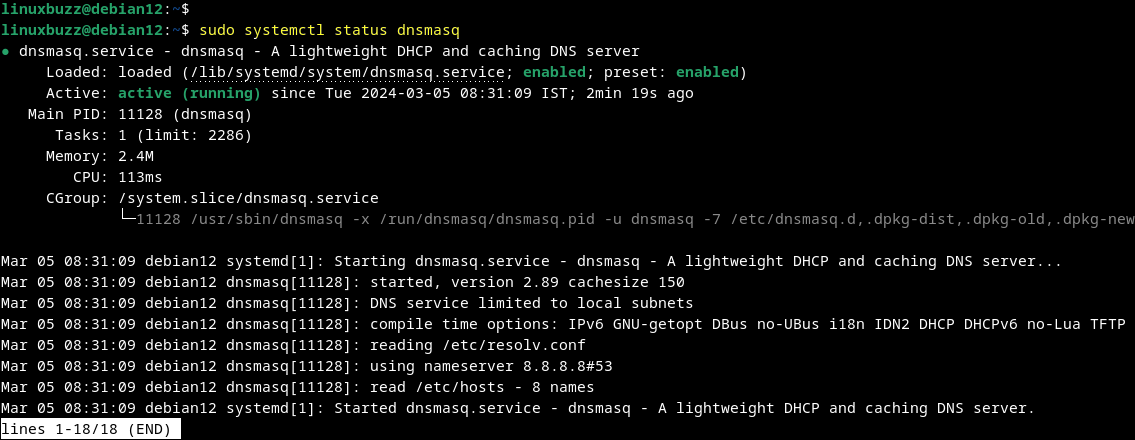
To check if the dnsmasq service is running, run:
$ sudo systemctl status dnsmasq

3) Setup DHCP Server with Dnsmasq on Debian 12
User-defined configuration files can be added to the /etc/dnsmasq.d directory, and the dnsmasq server can also be configured via the /etc/dnsmasq.conf file, which has options that are clearly explained.
Edit the Dnsmasq configuration file using a text editor of your choice. In this instance, we’ll use nano:
$ sudo nano /etc/dnsmasq.conf
Add the following lines:
dhcp-range=172.168.0.220,172.168.0.250,24h
dhcp-option=option:router,172.168.0.1
dhcp-option=option:dns-server,8.8.8.8
dhcp-authoritative
Save and close the file.
The following describes the configuration above:
- dhcp-range : This line specifies the range of IP addresses that the DHCP server is allowed to assign to clients. In this case, it’s from 172.168.0.220 to 172.168.0.250, and the lease time is set to 24 hours (24h).
- dhcp-option=option:router – This line sets the default gateway for clients that receive an IP address from this DHCP server. The default gateway is set to 172.168.0.1.
- dhcp-option=option:dns-server – This line sets the DNS (Domain Name System) server that clients will use to resolve domain names to IP addresses. In this case, it’s set to Google’s public DNS server at 8.8.8.8.
- dhcp-authoritative – This line indicates that this DHCP server is authoritative for the network. In other words, if there are multiple DHCP servers on the network, this one should be trusted as the one providing accurate and authoritative DHCP information.
Note: Replace above parameter’s value as per your environment.
To make the above changes into the effect, restart dnsmasq service.
$ sudo systemctl restart dnsmasq
4) Firewall Configuration for Dnsmasq
If you have a firewall enabled, allow DHCP traffic by running the following command:
$ sudo ufw allow 67/udp
$ sudo ufw reload
5) Configuring DHCP on the Client Machine
You can now configure your client machine on the network to automatically receive IP addresses from the DHCP server machine.
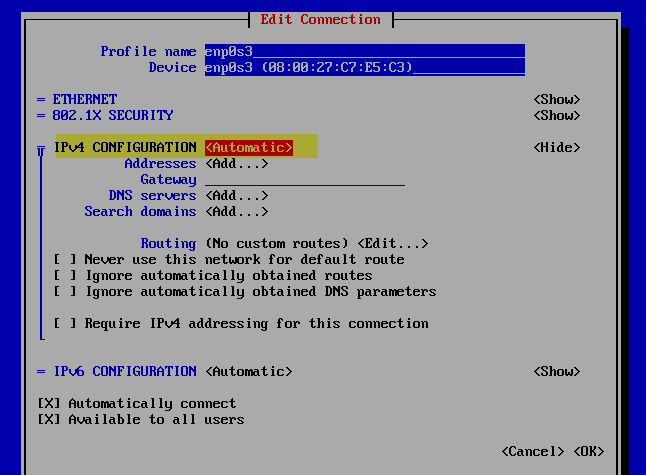
Run nmtui command on RHEL systems and set interface IPV4 as automatic as shown below:

Once you are done with the changes. Your client machine should now automatically receive IP addresses from the DHCP server, provided all configurations are correct.
Run ip command to check the IP Address.
$ ip address show

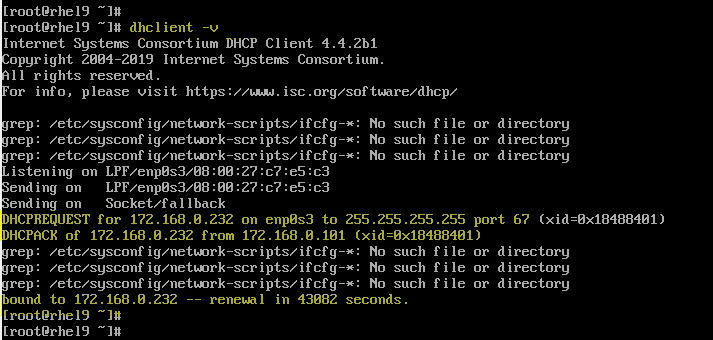
To verify if the client has obtained an IP address from the DHCP server, use the following command:
$ sudo dhclient -v

6) Check dnsmasq Logs
On the DHCP server, you can view dnsmasq logs to troubleshoot any bugs:
$ sudo journalctl -u dnsmasq
Or
$ sudo journalctl -u dnsmasq | grep -i "172.168.0.232"
Conclusion
That’s it! We’ve successfully managed to install and configure the DHCP server with dnsmasq on Debian 12. You can share your thoughts with us via the comment section below.