This post will cover Ubuntu 24.04 desktop installation guide with screenshots.
Canonical has recently released its much-awaited Operating Ubuntu 24.04 for Desktop, Server, Cloud and IoT. This release comes with lot of new features and improvements including latest version of GNOME 46 and Linux Kernel 6.8. This is an LTS release, so we will get updates and support till next 5 years. Code name for this release is “Noble Numbat”.
System Requirements
- 4 GB RAM
- Dual Core Processor (2 GHz)
- 25 GB disk space
- Stable Internet Connectivity (Optional)
- Installation Media (Bootable USB or DVD).
Without any delay, let’s quickly jump into Ubuntu 24.04 desktop installation steps.
1) Download Ubuntu 24.04 Desktop ISO File
Go to the official Ubuntu web site (https://ubuntu.com/download/desktop) and download Desktop ISO file.
Once the ISO is file downloaded, prepare a installation media (USB Drive or DVD) by burning it into USB or DVD. On Windows OS, you can use “Rufus” software to make bootable USB drive using the ISO file. On Linux, use UNetbootin or Balena Etcher.
2) Boot Your System with Installation Media
Connect the Bootable USB drive on your system and reboot it and change the boot media from Hard disk to USB in the bios settings. When the system boots up with installation media, we will be presented the following screen.
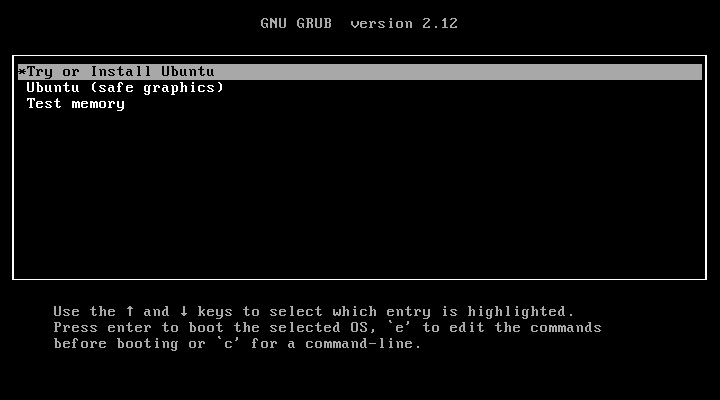
Select “Try or Install Ubuntu” and hit enter.
3) Choose Language
Choose your preferred language and click Next
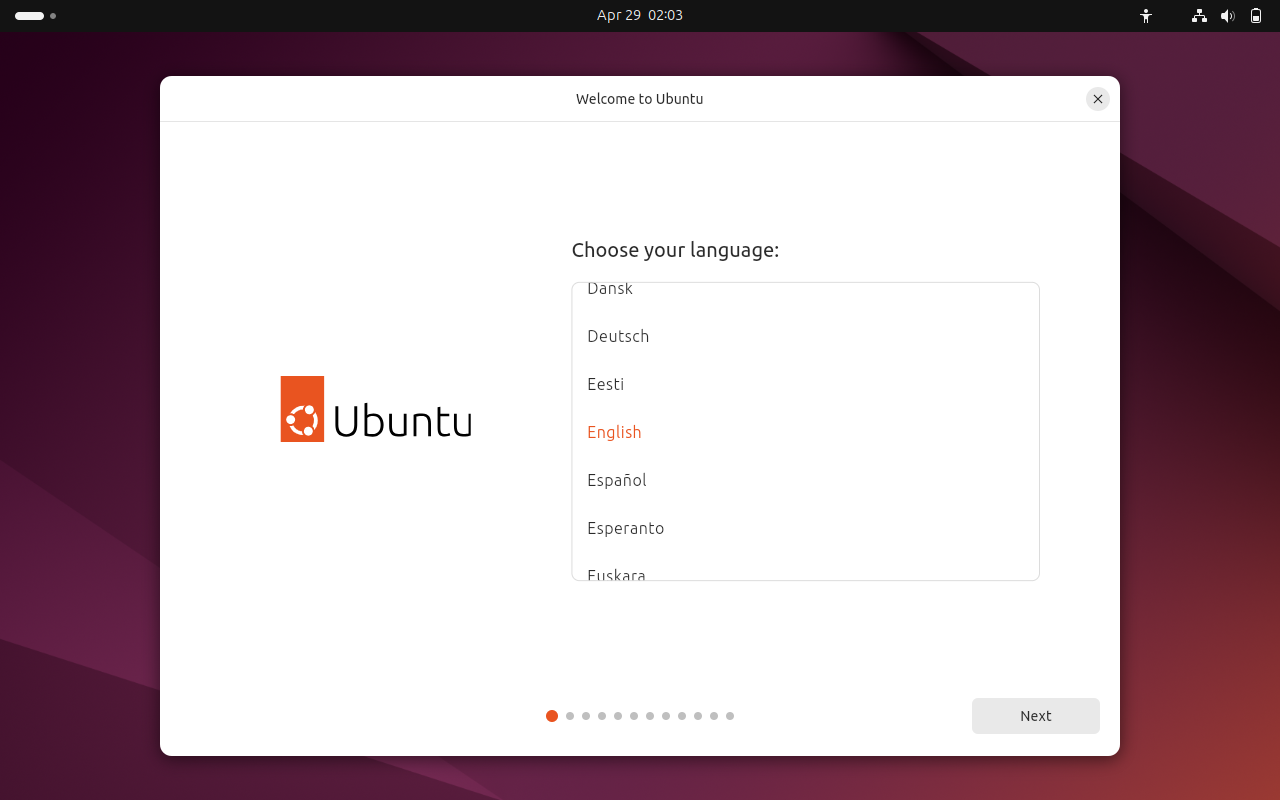
4) Customize Ubuntu Settings (Optional)
At this step, you will get the options to customize your Ubuntu desktop settings, though these are optional as you can make these changes post installation.
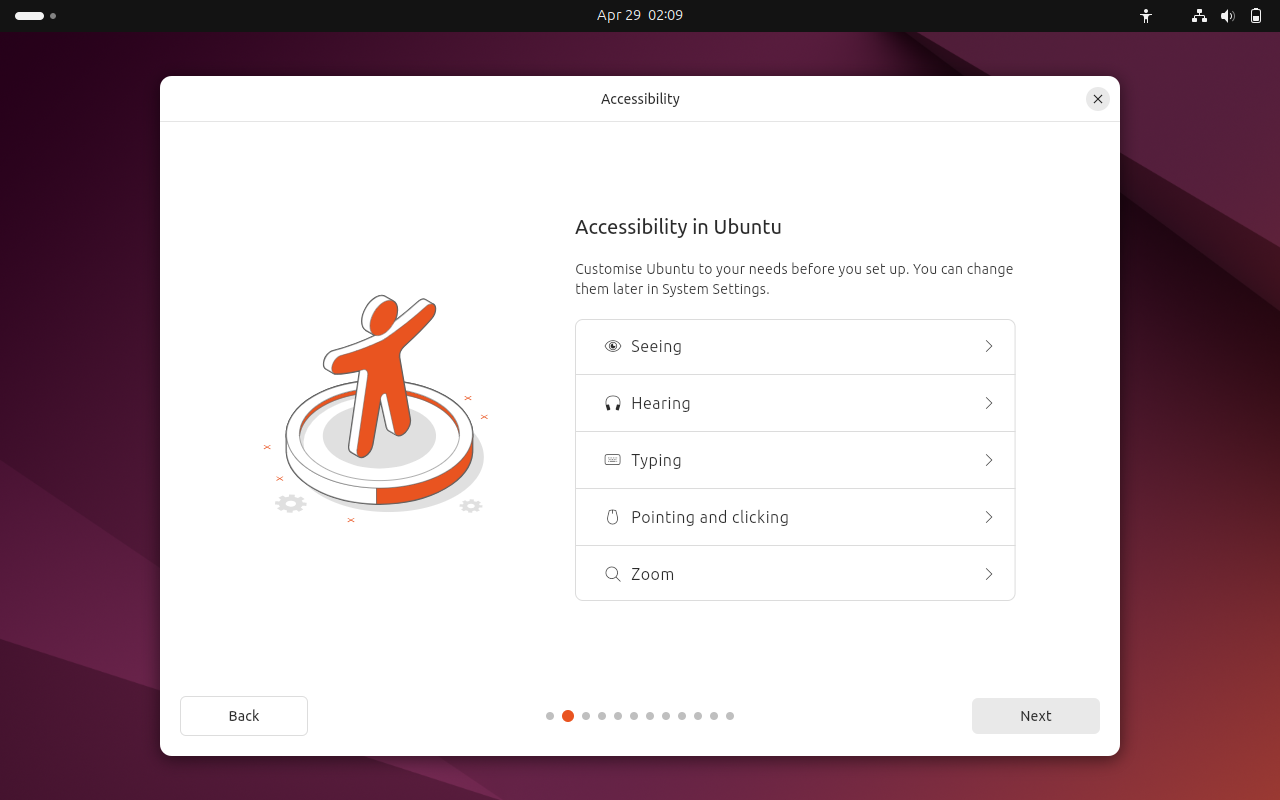
Click Next
5) Select Keyboard Layout
Select your preferred keyboard layout that suits your installation and click Next.
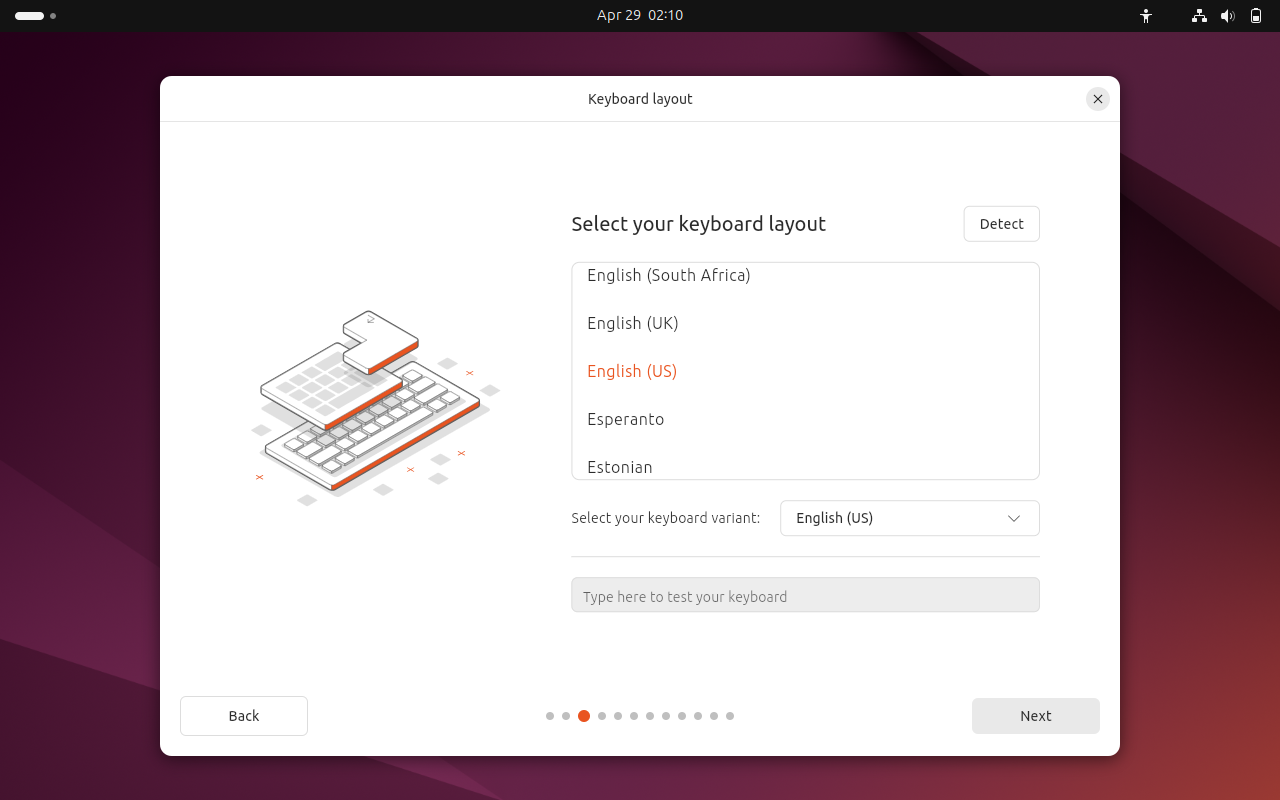
6) Connect to Internet
If your system is connected to internet, then choose “Use Wired Connection” else select “Do not Connect to the Internet”.
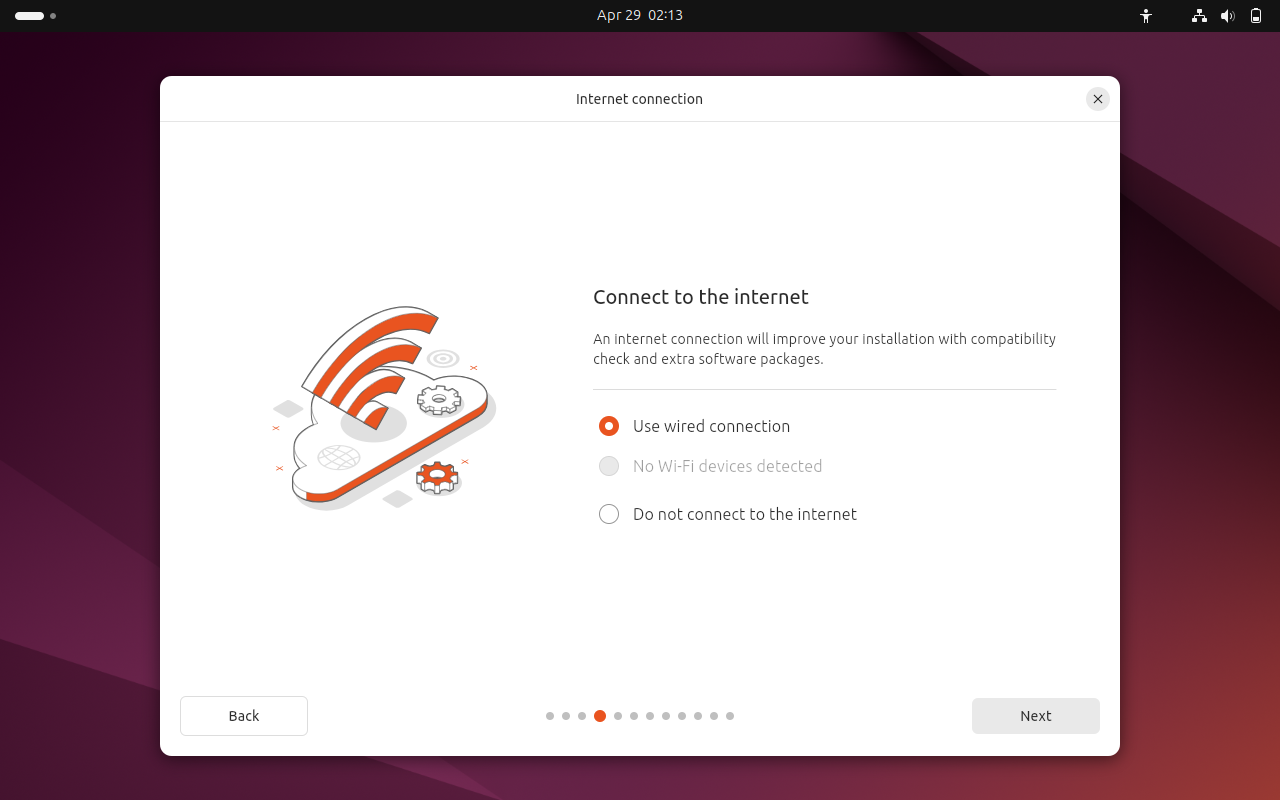
Click Next.
7) Select Install Ubuntu
In the following window, select “Install Ubuntu” and then click Next.
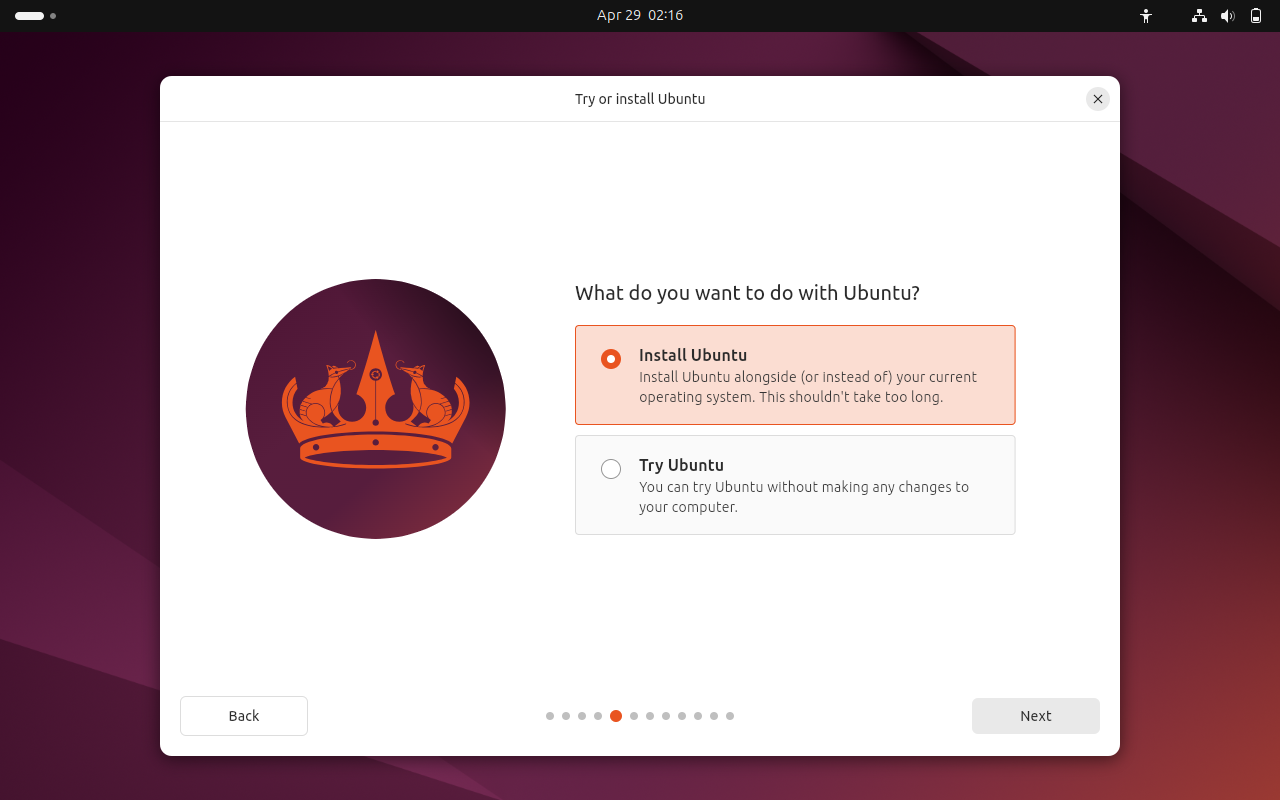
8) Type of Installation
You will be presented the following screen.
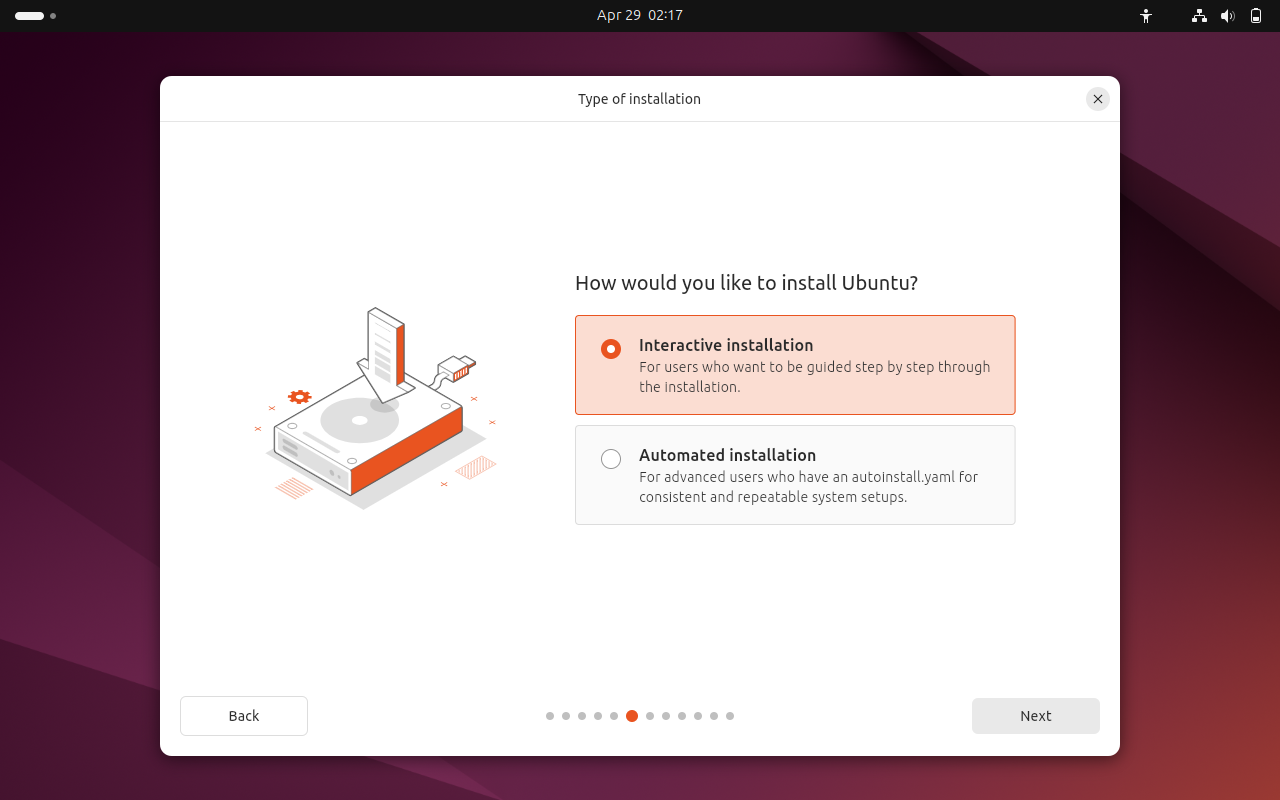
You need to choose “how do you like to install Ubuntu”.
There are two options:
- Interactive Installation
- Automated Installation
In this post, we will go with interactive installation. So, click on Next.
In the following windows, choose “Extended Selection” to install desktop tools, utilities and web browser.
In case you choose “Default Selection” then installer will install only desktop basic utilities.
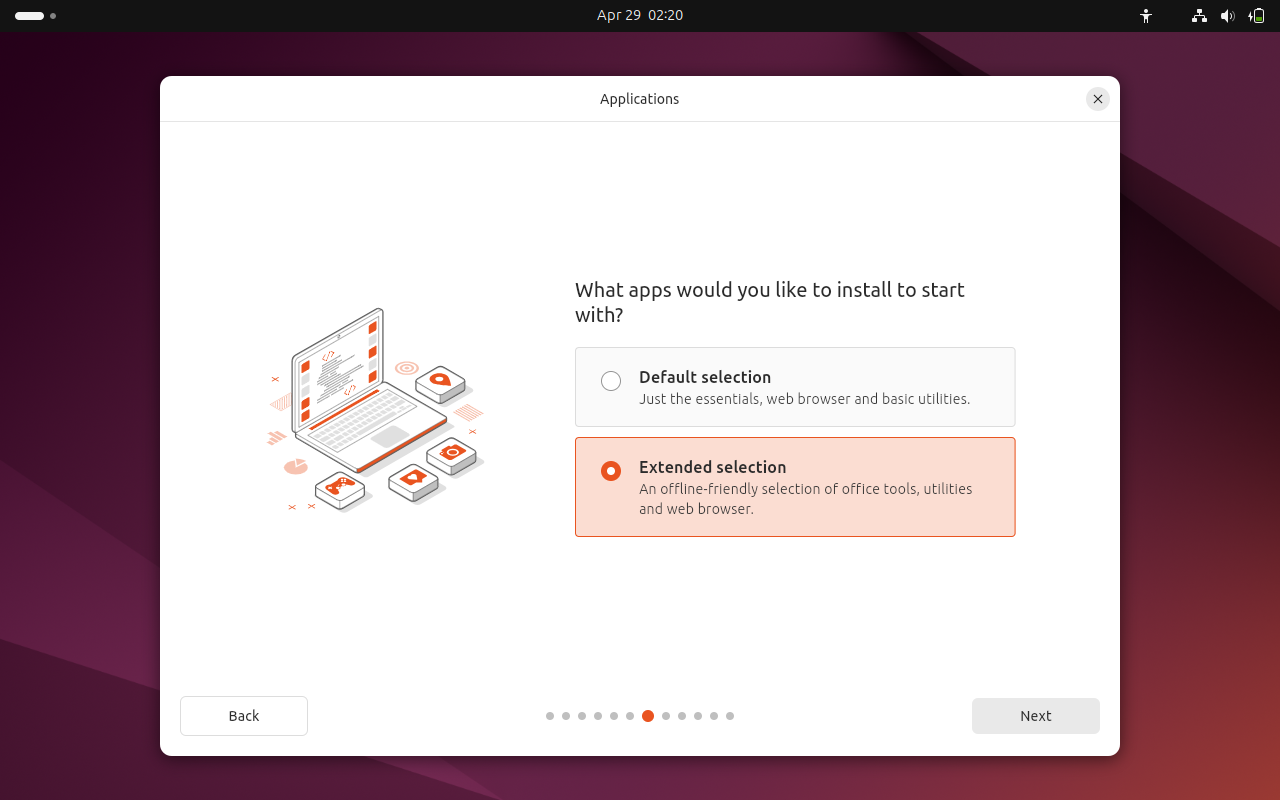
9) Install Third Party Software (Graphics and Wifi)
When your system is connected to internet and want to install updates & third-party software for graphics and Wifi then tick both options as shown below else untick.
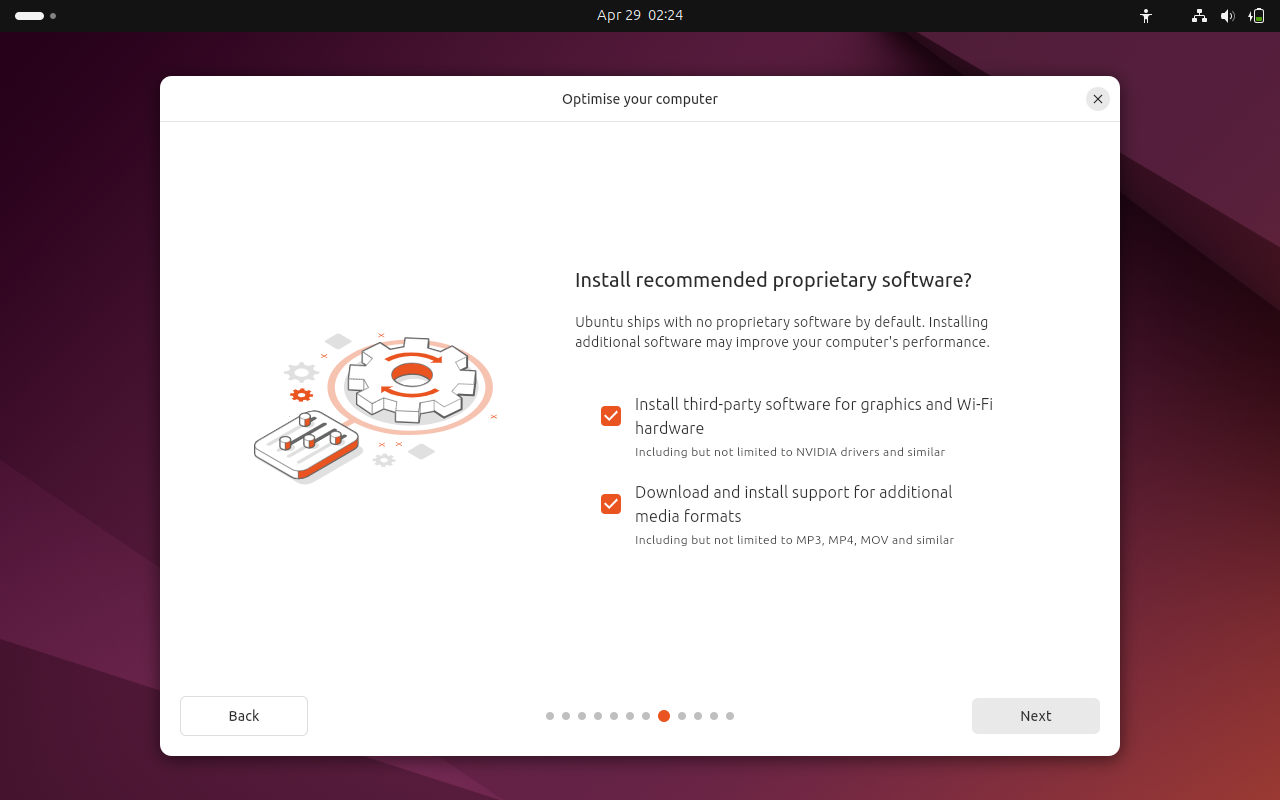
Click Next
10) Disk Partitioning Setup
On this step, you will be presented following screen, you need to choose how you want to create partition scheme on the disk.
There are two options:
- Erase Disk and Install Ubuntu: In this option, installer will delete all the data from the disk and will create the required partitions automatically for you.
- Manual Installation: In this option, you can create your own custom partitions on the disk as per your requirement.
In this post, we will go with the first option.
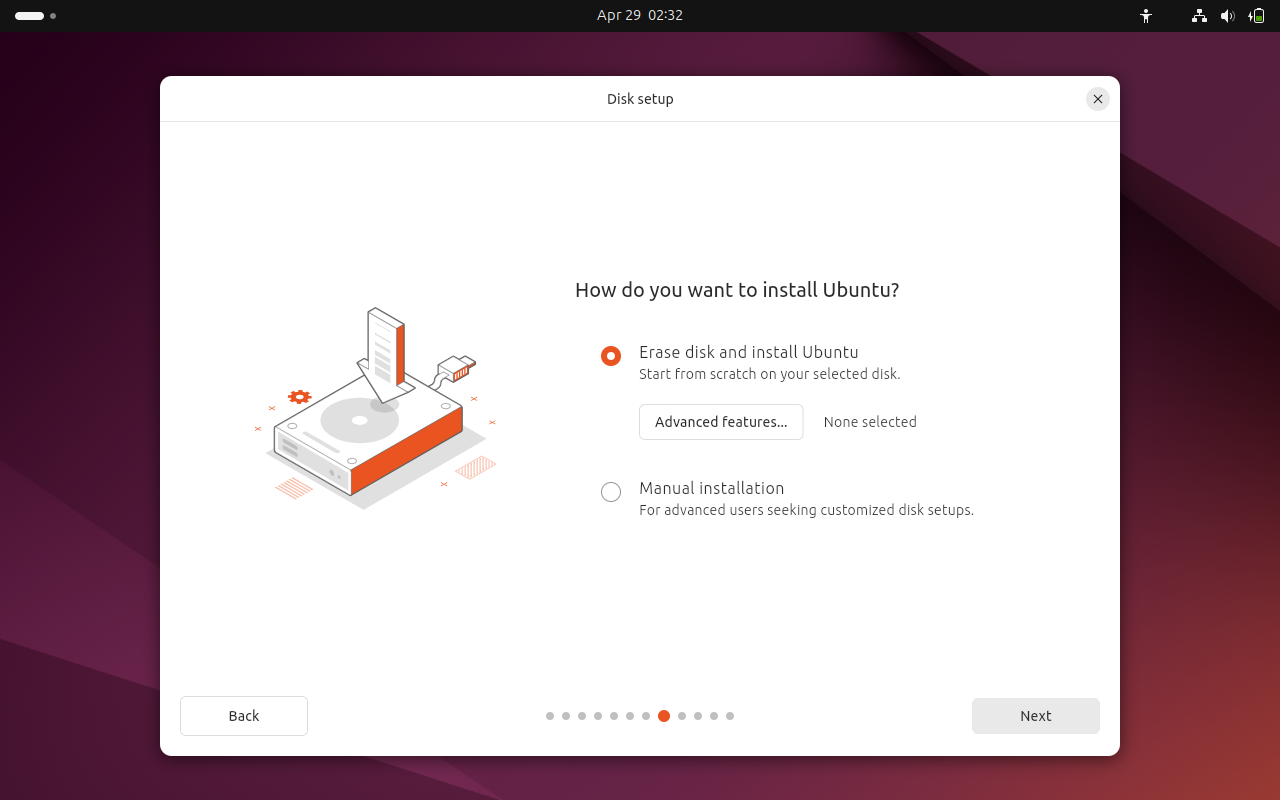
Click “Next” to proceed further with installation.
11) Create Local User and Set Hostname
Installer will prompt you to create a local user and set its password and define the hostname for your system. Fill in the details as per your installation.
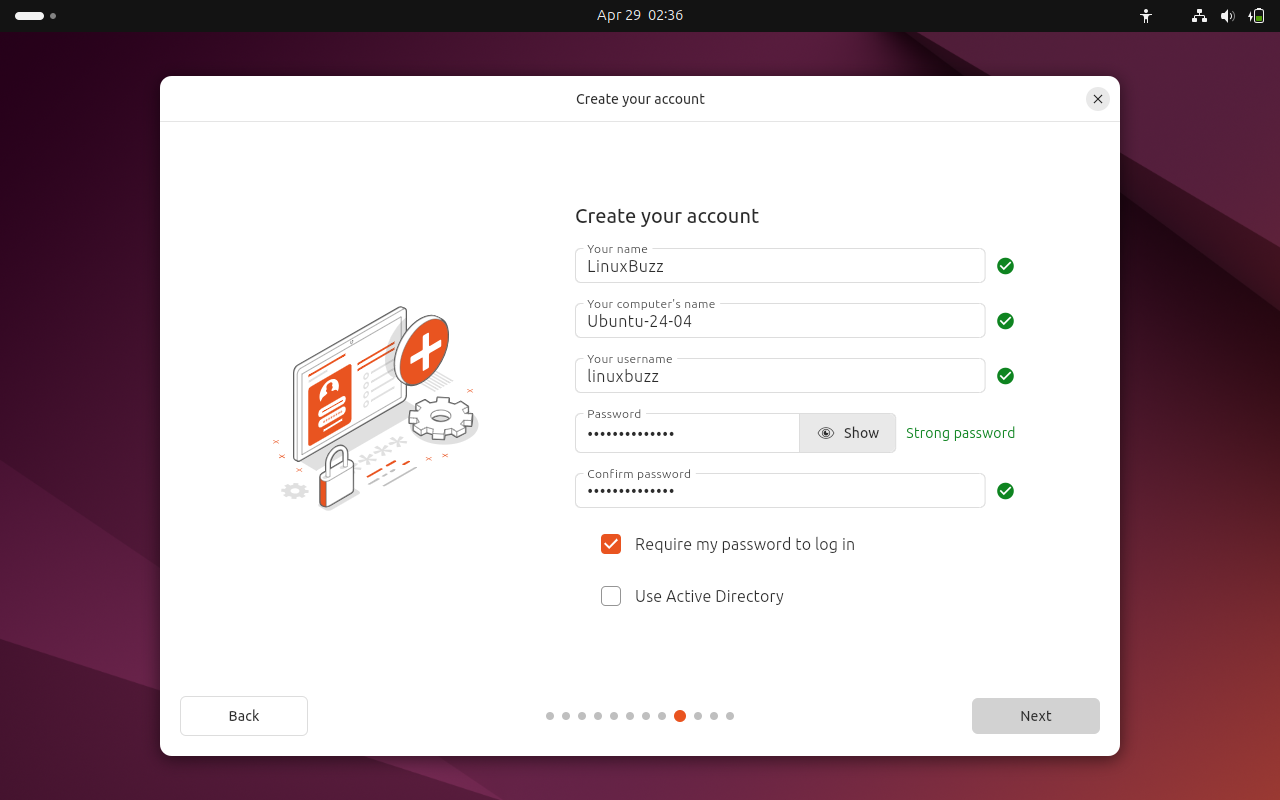
Click Next
12) Choose Location and TimeZone
Choose your preferred location and timezone and then click Next.
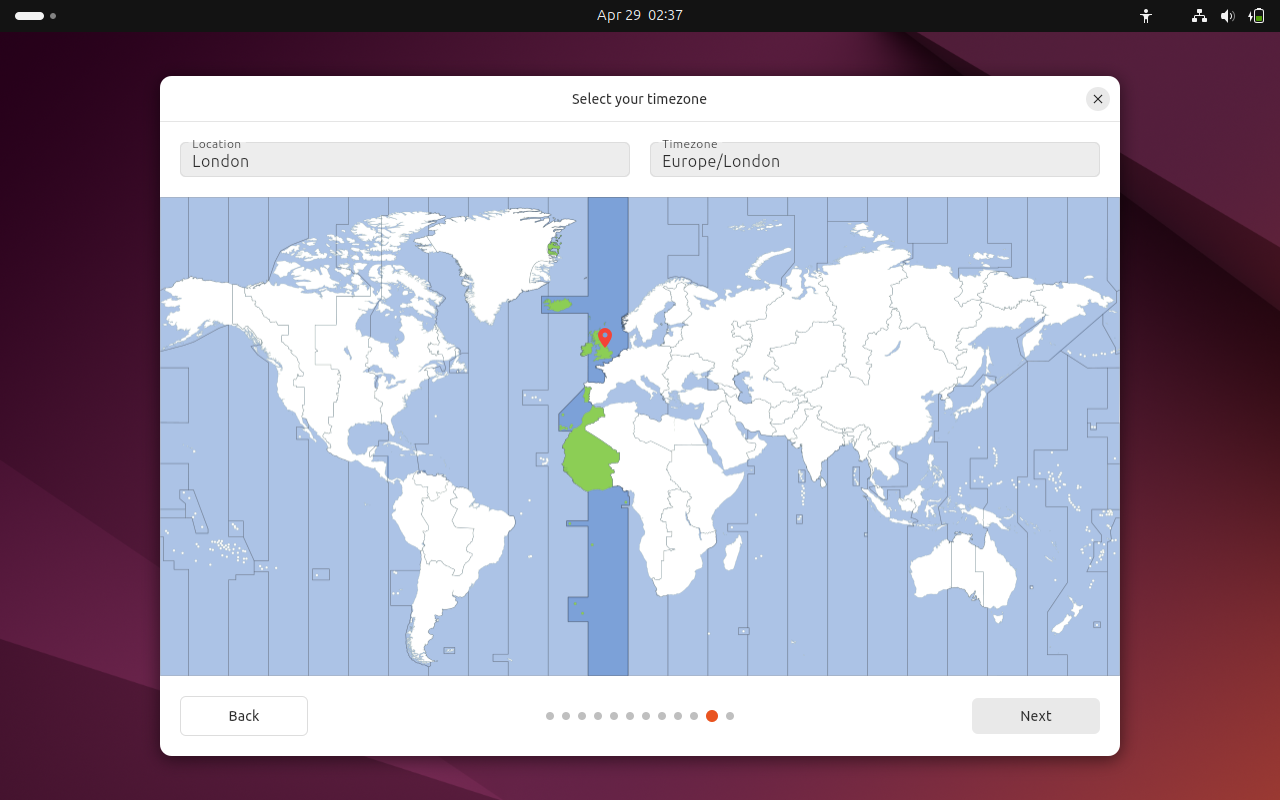
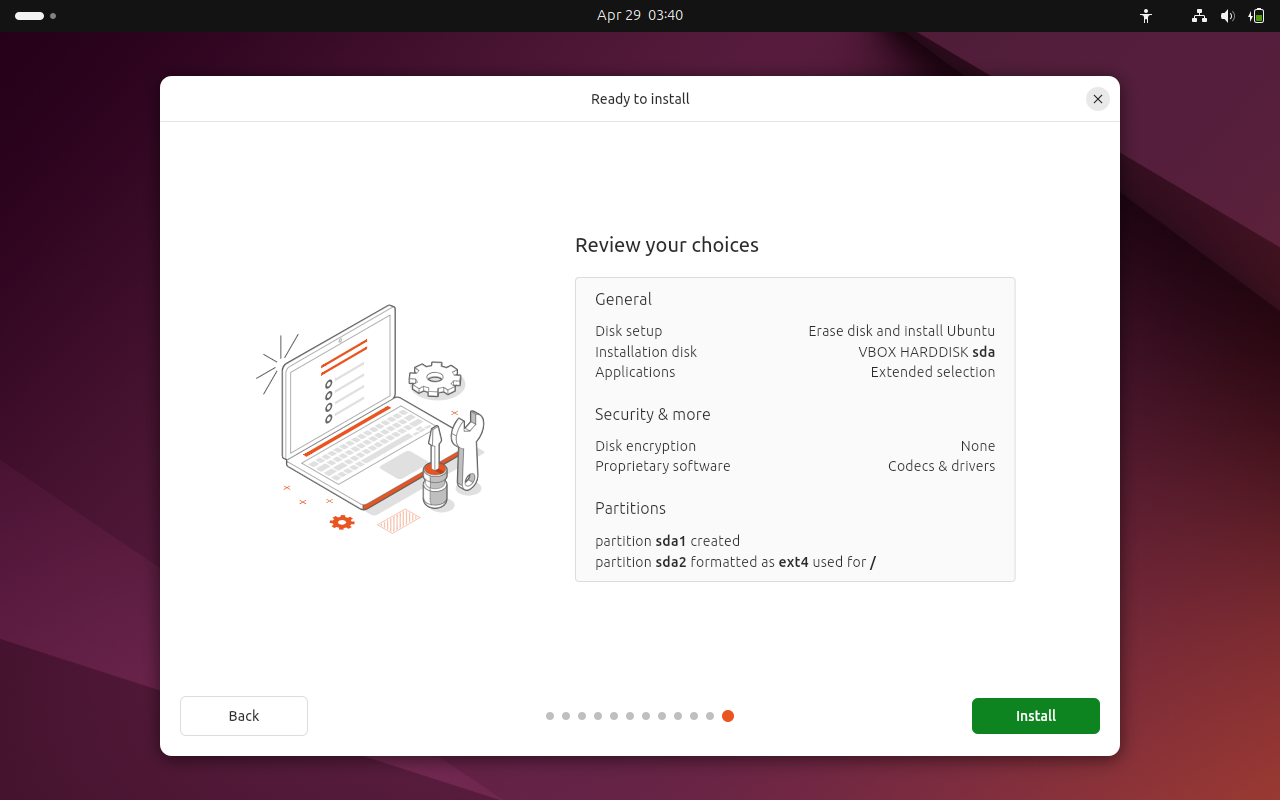
13) Review Your Choices and Start Installation
Review your choices and click on “Install” option to start the actual installation.
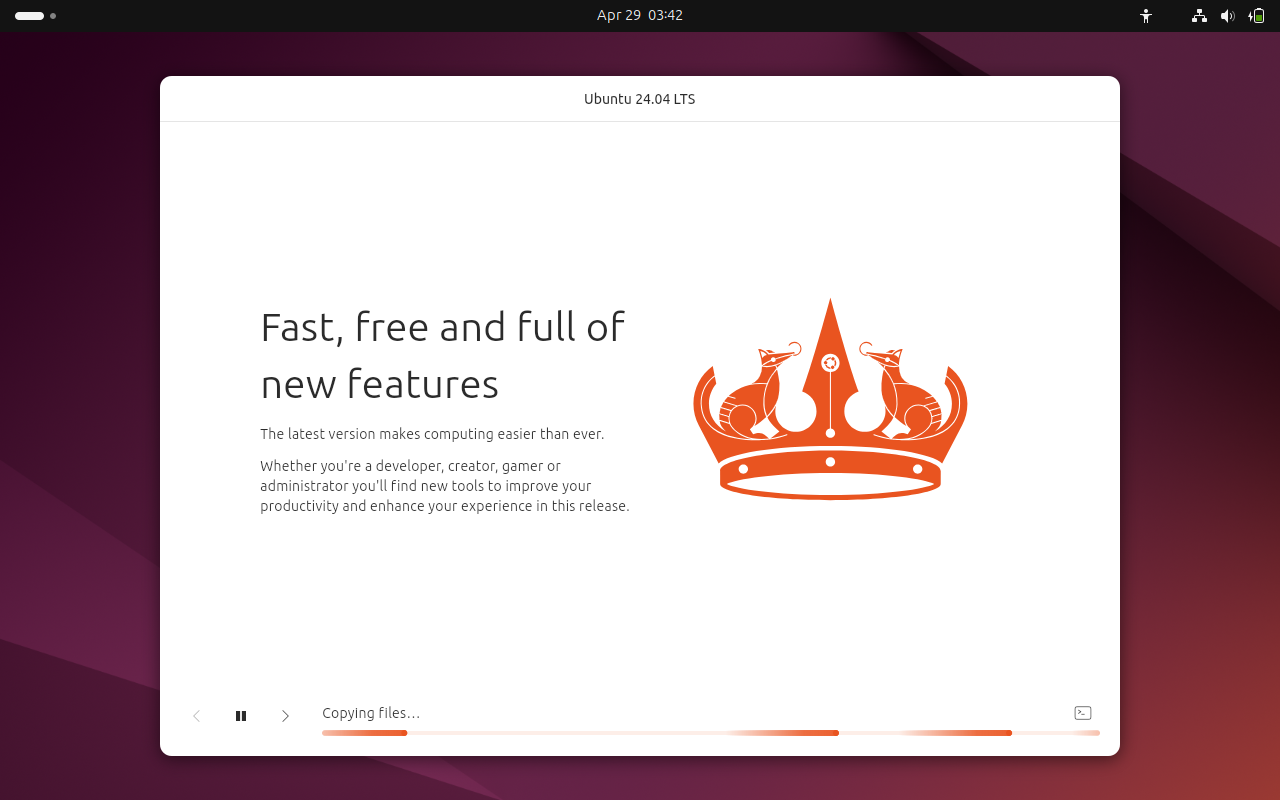
When we click on Install then the installation will get started as show below, it may take 5 to 10 minutes depending on your system resources and internet speed.
Once the installation is completed successfully, installer will prompt to restart system.
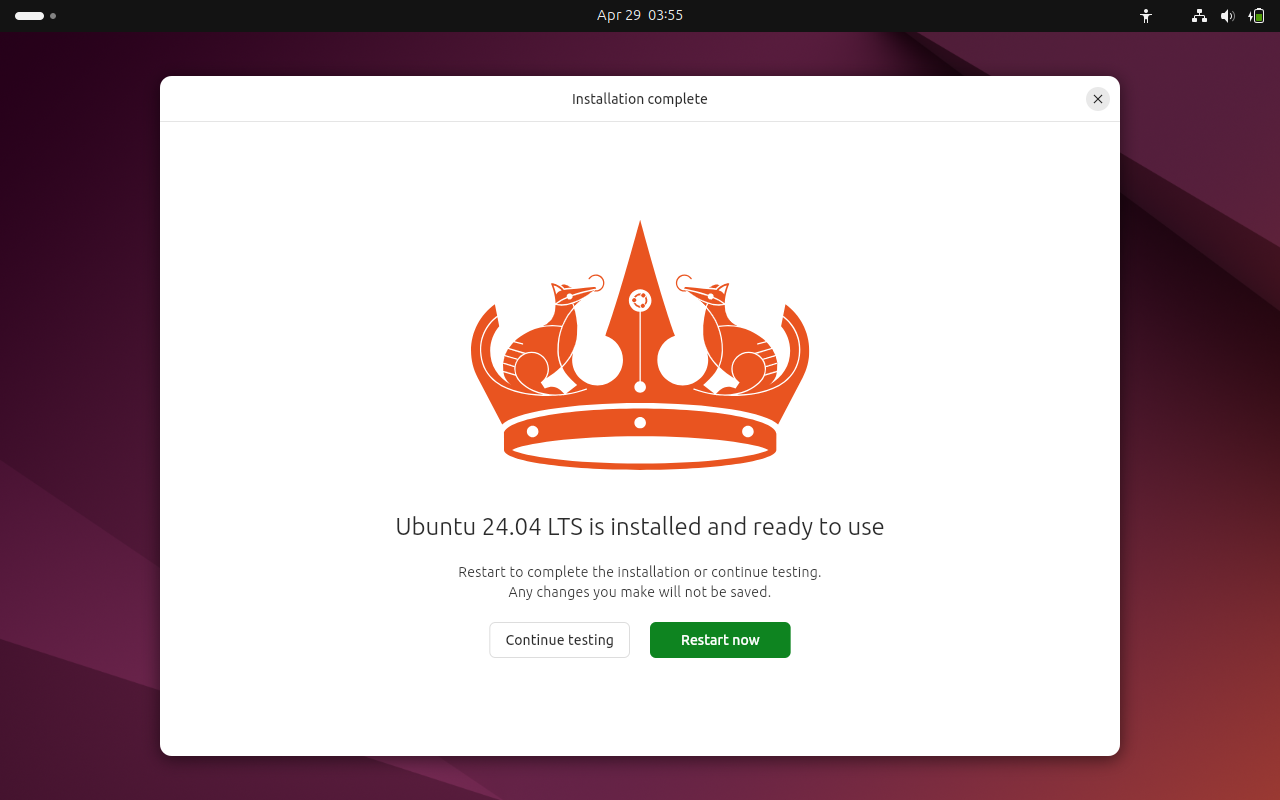
Click on “Restart Now”, it will reboot your system.
Don’t forget to remove the installation media (USB) and change boot medium from USB to Hard disk from the Bios settings.
14) Login and Desktop Screen After Installation.
After the successful installation, when the system boots up then we will get following login screen. Use the same user and its password that you have set during the step 11.
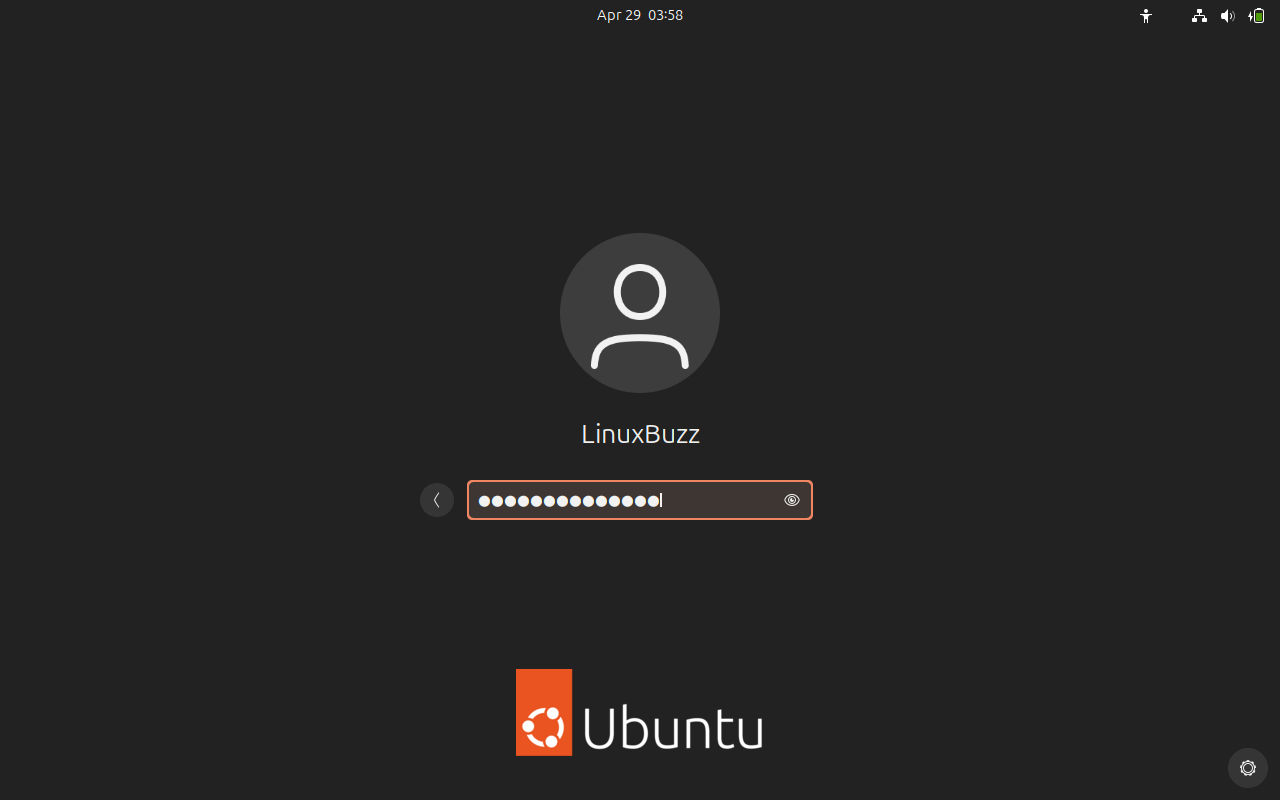
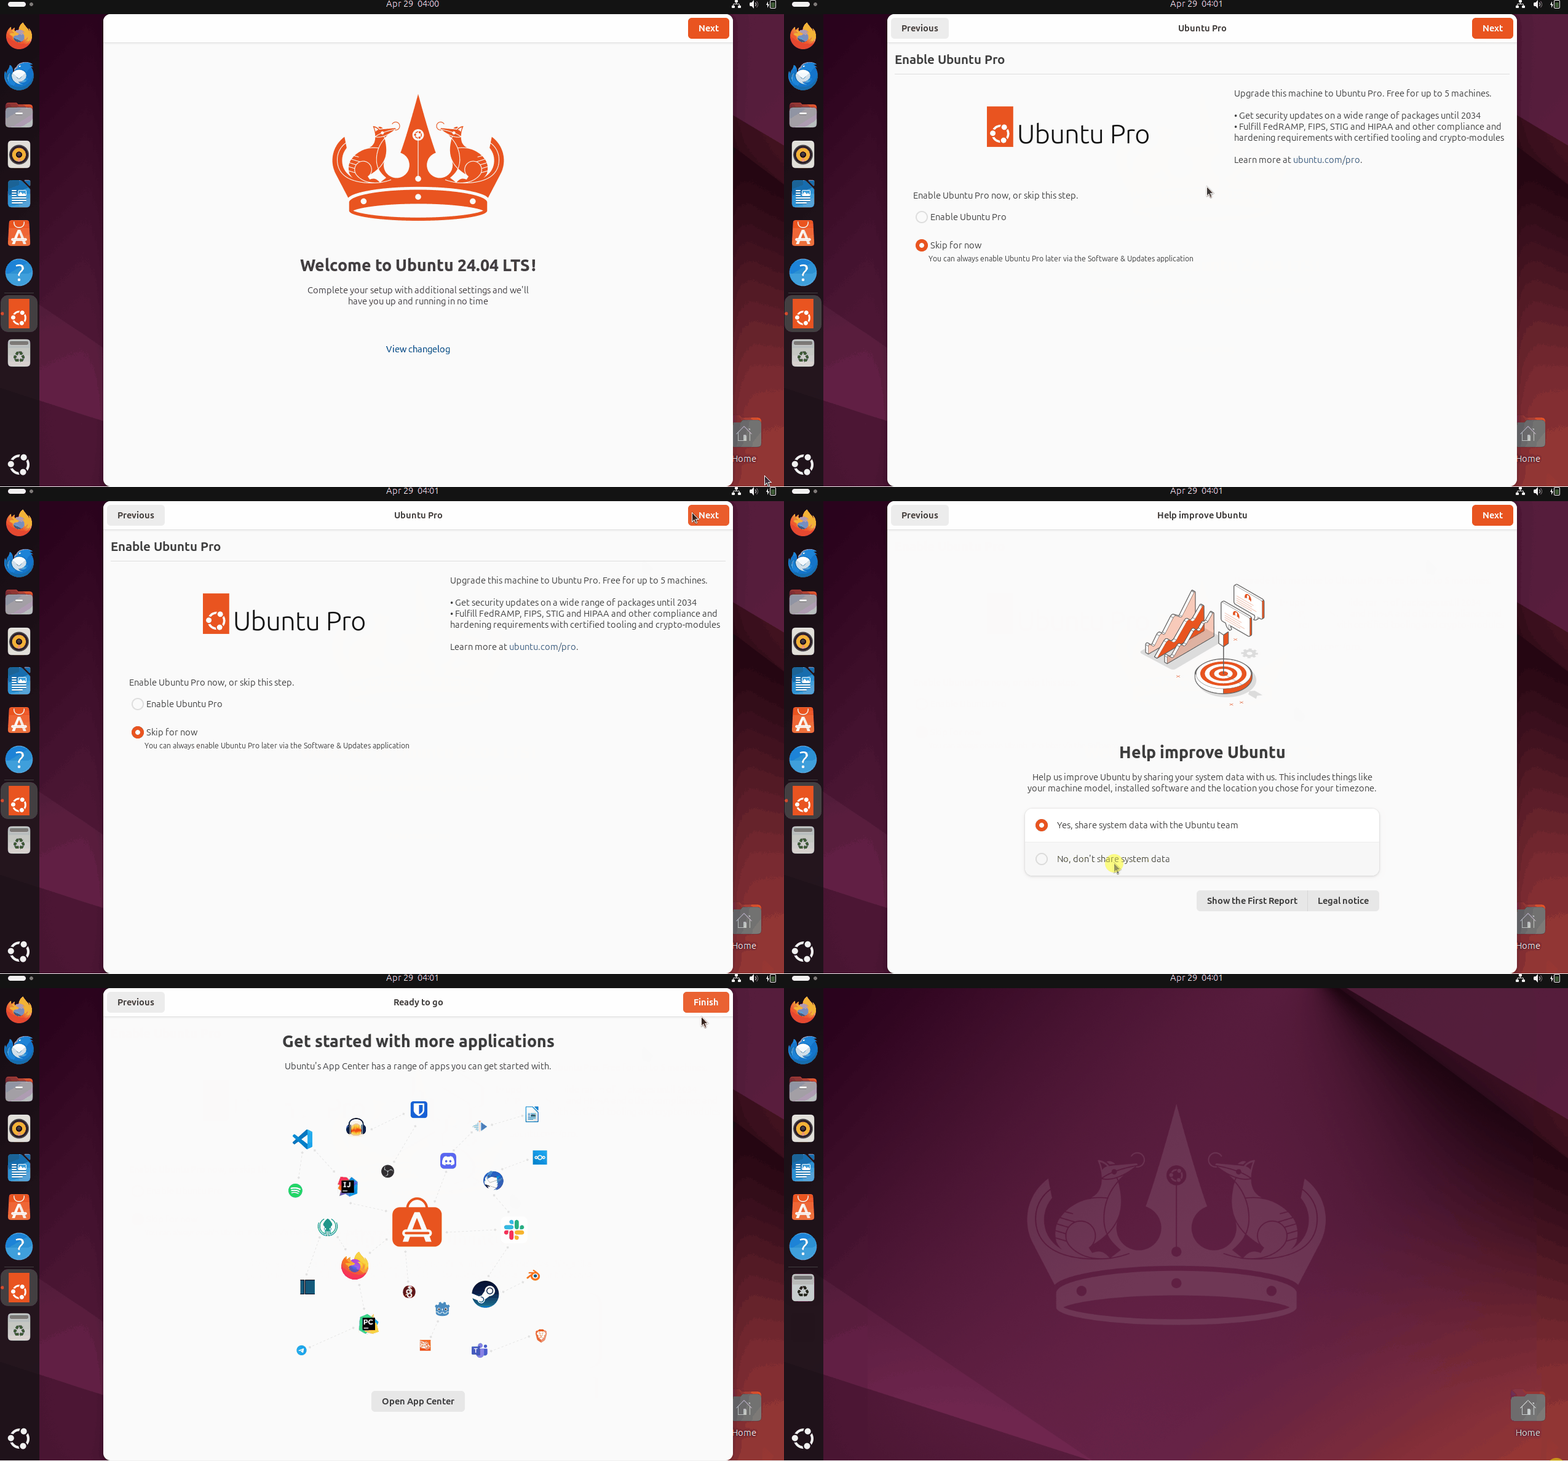
After entering the password hit enter and this will take to the following welcome screen, complete the setup with some additional settings.
Next, verify the Ubuntu version, Settings –> System –> About.
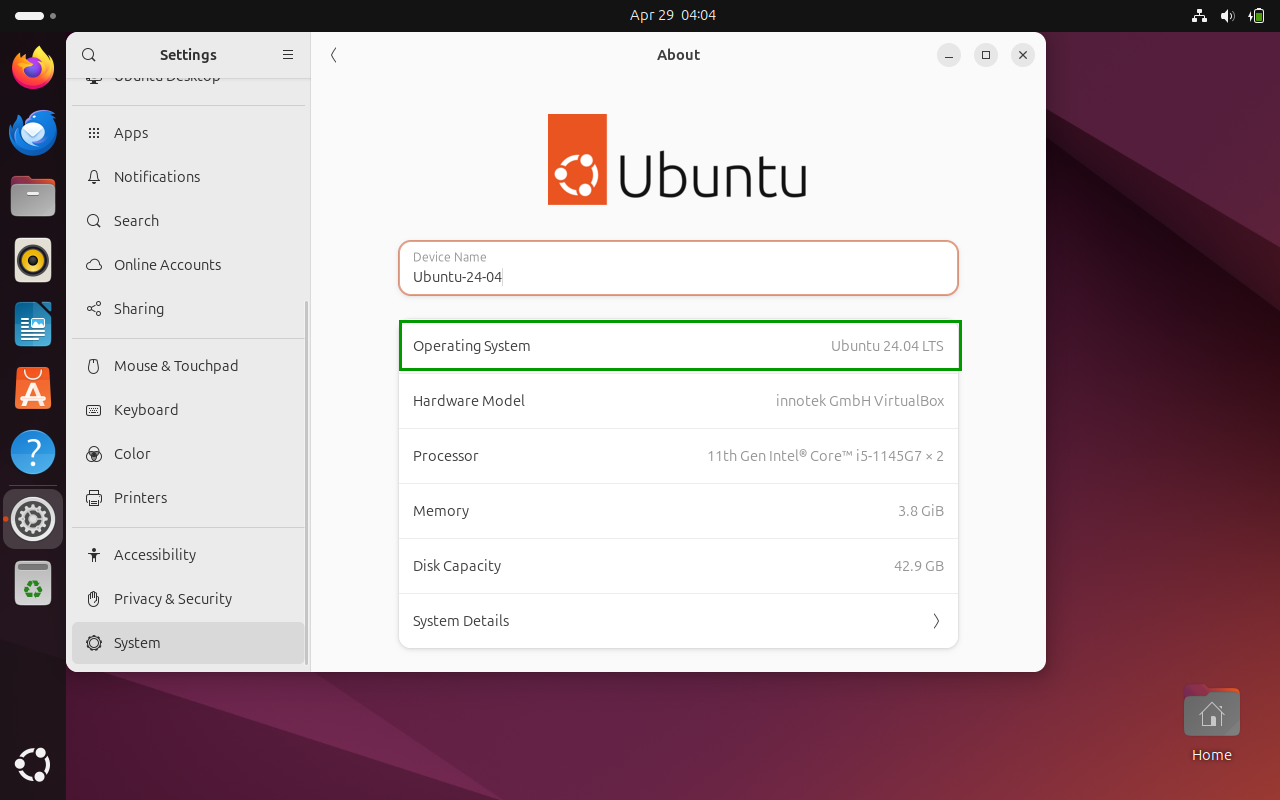
Perfect, above screen confirms that we have successfully installed Ubuntu 24.04 LTS on our system.
That’s all from this post, feel free to post your queries and feedback in below comments section.