In this post, we provide a brief description of the APT package manager and carefully curate 14 useful APT command examples in Ubuntu/Debian Linux.
APT (Advanced Package Tool) is a package management utility that is used in Debian and Ubuntu distributions to install, update, remove, upgrade, and manage software packages.
APT is connected to a central software repository that provides an extensive selection of packages. You will always have access to the most recent versions of your favorite packages because the community updates and maintains all of the packages in the repository regularly.
Even for novices, APT is a comparatively simple tool to use. The syntax is clear, and the basic instructions are simple to understand. To use the apt command line utility, you must have root or sudo privileges.
APT Command Examples in Ubuntu/Debian Linux
Let’s deep dive into apt command examples.
1. List Packages
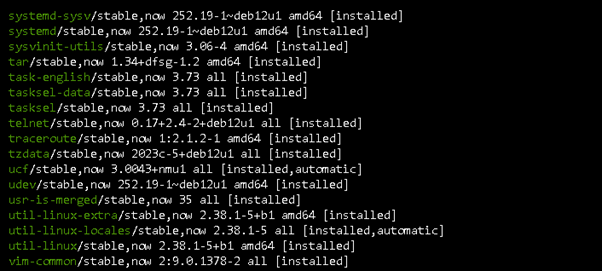
The apt list command is used to get a list of all the packages that are accessible, installed, and upgradeable.
$ sudo apt list
To list only upgradeable packages, execute the following command:
$ sudo apt list --upgradeable

To list only installed packages, execute the following apt command:
$ sudo apt list --installed
2. Update the APT Package Repository
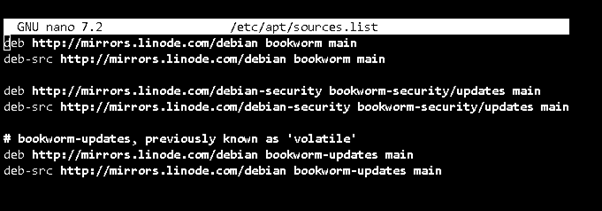
Through connections to the defined repositories, the apt update command retrieves the package metadata. The repository configuration is stored either in the /etc/apt/sources.list.d directory or in the /etc/apt/source.list file.
The apt update command connects to all of these repositories, updates the local cache’s metadata, and provides a list of packages that can be upgraded, those that are no longer needed, and other information.
$ sudo apt update
3. Installing New Package
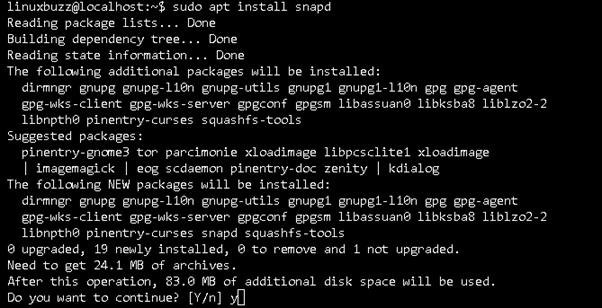
To install a package, use the apt install command followed by the package name, as shown below:
$ sudo apt install snapd
Or
$ sudo apt install snapd -y
The apt install command will ask you to authorize the installation if the -y option is not passed. However, it will automatically confirm and install the packages if you specify the -y flag.
4. Remove Package
To delete a package, simply run the apt remove command followed by the package name.
$ sudo apt remove <package name>
To completely get rid of packages and configuration files linked to them, use the apt purge command.
$ sudo apt purge <package name>
5. Search Package
To confirm if the package you want to install is available in the default repositories. You can use the apt search command, which performs a regex search.
$ sudo apt search snapd
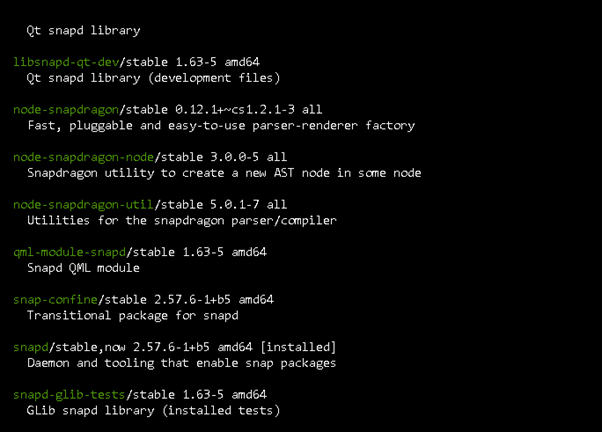
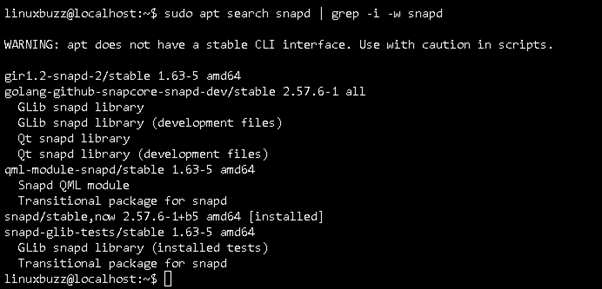
To filter the exact match, you can also use the grep command line tool with the following flags:
$ sudo apt search snapd | grep -i -w snapd
6. Get Comprehensive Details about a Package
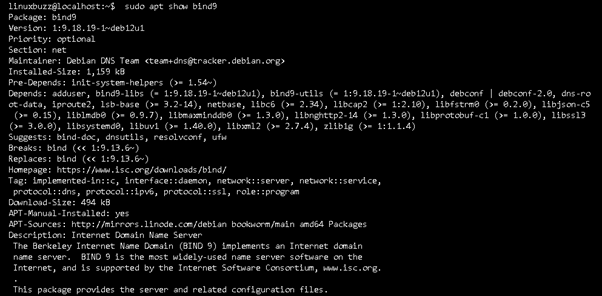
You can use any of the following commands to display package metadata (details), including the package author, installation size, dependencies, source repository, and more.
$ sudo apt show bind9
$ sudo apt show -a bind9
$ sudo apt-cache show bind9
7. Autoremove Packages
When you install a package, it comes with dependencies that are needed for the package to function properly. Some of these dependencies might stop being essential when you add or remove additional packages.
These dependencies that are no longer effective can be removed using the apt autoremove command.
$ sudo apt autoremove

8. Clean APT Cache
The apt package manager caches package files (typically with the.deb extension) that are downloaded during package installations, updates, or upgrades. The “/var/cache/apt/archives/” directory is where apt cached files are kept.
The cache files permit rollbacks, handle dependencies effectively, enable offline installation, expedite package installations, and conserve bandwidth and disk space.
To clean all packages or any obsolete deb-packages, use the apt clean and apt autoclean commands, respectively.
$ sudo apt clean
$ sudo apt autoclean
9. Edit Sources
To edit the /etc/apt/sources.list, use the apt edit-sources command and select your preferred text editor to get started.
$ sudo apt edit-sources
10. Reinstall a Package
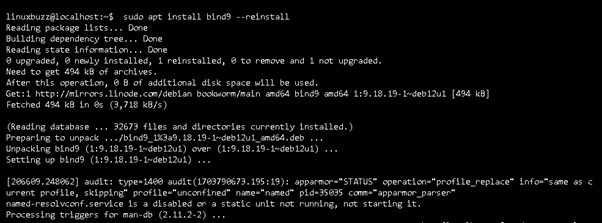
There may be instances where it is possible that your package is damaged or not working properly. In this scenario, you might try using the reinstall command to install the package.
$ sudo apt install bind9 --reinstall
11. Upgrade Package
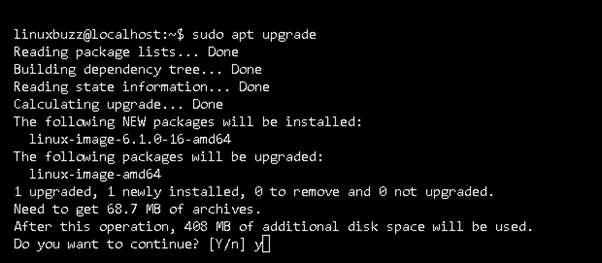
Installed packages can be updated to the latest versions using the apt upgrade command.
$ sudo apt upgrade
To update a specific installed package, run the following command:
$ sudo apt install snapd --only-upgrade

To update the full system, use the apt full-upgrade. This command serves the same purpose as the apt upgrade; however, it handles package modifications with more vigor.
$ sudo apt full-upgrade
12. Upgrade to New Distribution
When a new distribution release becomes available, the apt dist-upgrade command can be used to make significant changes in package dependencies.
The apt dist-upgrade command performs sophisticated handling of package dependencies and updates, which typically involves uninstalling some packages and installing new ones.
This command comes in handy when we want to upgrade to a new distribution version, like switching from Ubuntu 20.04 to 22.04.
$ sudo apt dist-upgrade
13. Hold Package Updates
You can use the apt-mark command to mark packages with specified versions as manually installed to stop automatic updates from occurring. For instance, to hold the bind9 package:
$ sudo apt-mark hold bind9

To unhold the package:
$ sudo apt-mark unhold bind9

To view a list of hold packages, use the command as shown:
$ sudo apt-mark showhold
14. Downloading Packages
You can download a package in the current working directory without installing it. Run the apt download command, followed by the package name.
$ sudo apt download phpmyadmin

Conclusion
We hope this post has enriched your knowledge of using APT to manage software packages on Ubuntu/Debian Linux systems. Feel free to ask questions and make suggestions in the comment section provided below.