Deepin is a free and open-source Debian based linux distribution. Deepin OS used at the desktop level and is very user friendly. It also comes with its own desktop environment known as “Deepin Desktop Environment (DDE)” Until version 15, Deepin was primarily based on Ubuntu but with the release of version 15, it has switched to a Debian based model. Installation of Deepin OS is very simple and can be considered as very good alternative for Windows Users
In this article we will demonstrate step by step Deepin 15.7 OS installation on Laptop and Desktop.
Deepin 15.7 – Highlights
- Deepin Desktop Environment
Deepin comes with its own desktop environment (DDE)) that is based on the Qt-5 toolkit. The user interface is pretty much simple and looks splendid. It is evident from the first look of it that Deepin has went to great depths in giving a lot of attention to even the smallest detail. - Deepin Default Apps
Deepin 15.7 linux distribution comes installed with a lot of pre-installed applications including DMusic, DPlayer, Deepin System Monitor, Deepin Screen Recorder, Google Chrome, thunderbird Mail, Deepin Movie, WPS Office Suite etc. - Deepin Store
The Deepin Store allows you to manage your applications and designed like your mobile app store. You can easily search for the application you want and download instantly. You also have the option to recommend your favorite apps to the featured section in the store. - Power Saving
Another important aspect about the Deepin 15.7 linux distribution is the power saving mode that automatically turn on when you laptop is on battery power. This feature will certainly extend your battery life by almost 20%
System requirements for Deepin 15.7
The minimal system requirements for Deepin Installation are :
- 2 GB RAM
- 1 GHz processor
- 10 GB disk Space
Deepin 15.7 – Step by Step Installation Guide
Step 1) Download Deepin 15.7
Make sure you have downloaded Deepin 15.7 version in your computer. If not, please below link
Step 2) Create a Bootable Disk
Next step is to create Deepin 15.7 bootable disk. Copy the downloaded Deepin 15.7 .iso file into a USB/DVD and make it bootable. Make sure you change the boot sequence of your system so that it boots using the bootable USB/DVD disk.
Step 3) Deepin 15.7 Installation Menu
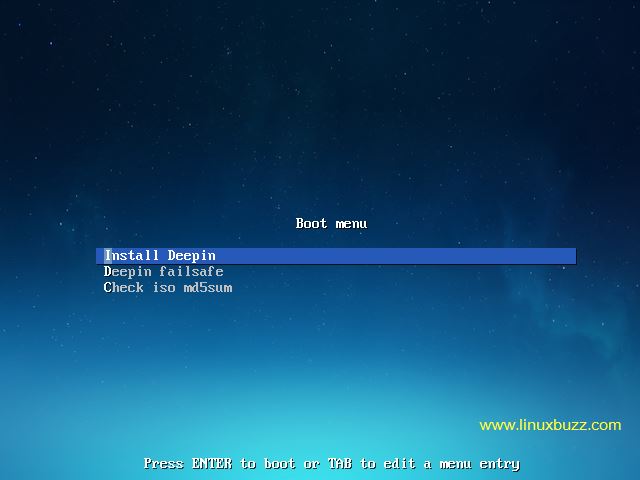
Once your system boot using the bootable disk, you can see the Deepin 15.7 boot menu loading up on the screen. Click on the “Install Deepin” to start the installation process
Step 4) Choose your language
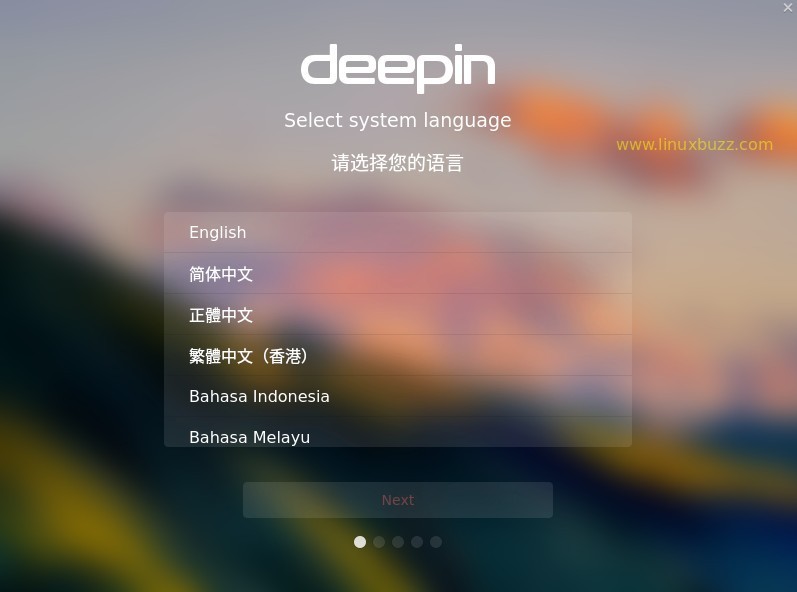
Next screen allows you to select the language of your choice. Click “Next” to continue
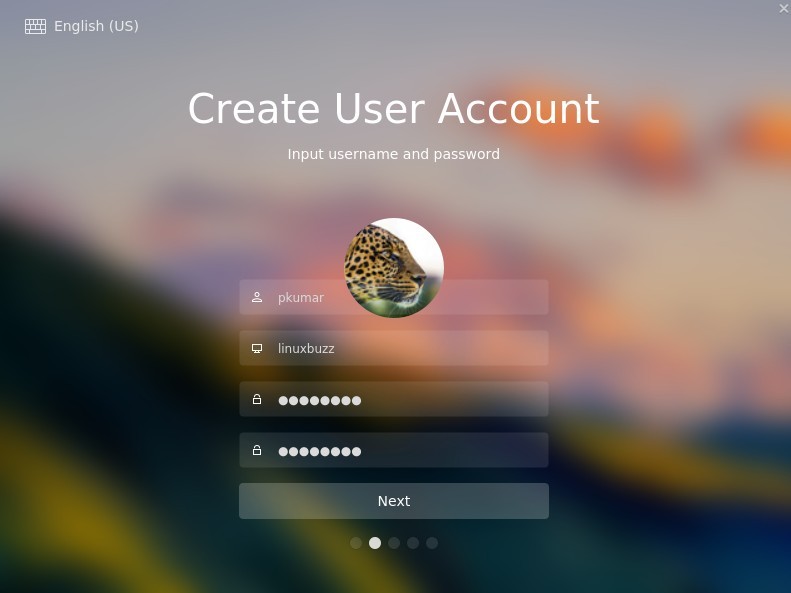
Step 5) Create User Account and Set Host Name
Next you’ll be asked to create a new account with Deepin 15.7 operating system. Just provide the details like name, computer name, username, password and click “Next” to continue
Step 6) Select your preferred time zone
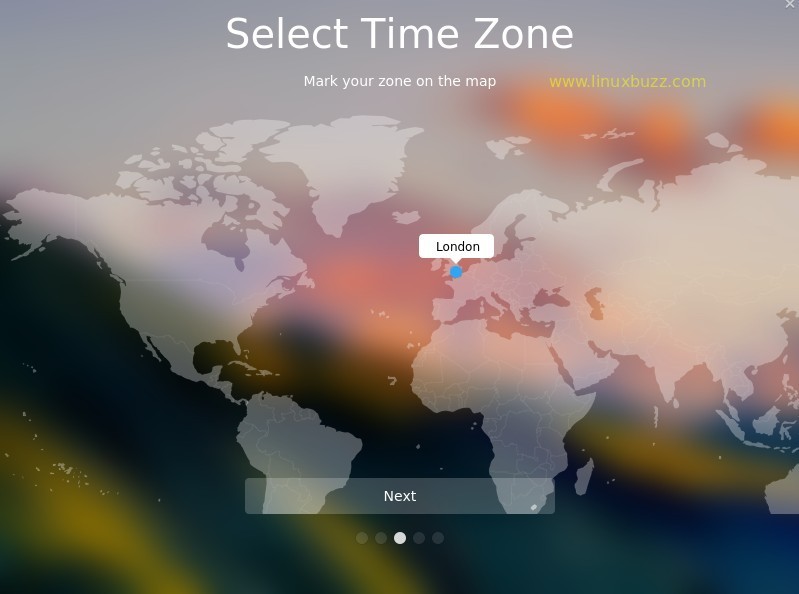
In the next screen, select your time zone and click “Next” to continue
Step 7) Choose Your Installation Location
So finally you come to the stage where you will be choosing the installation location. If your system is fresh, then you can go with a simple installation. But if you are installing Deepin 15.7 in a system that already have another OS running, then you can click “Advanced” and create a new partition and continue with the installation.
If you want Installer to create automatic partitions on the complete disk, then select the third option “Full Disk”
As you can see, in my demonstration, I have around 20 GB disk space for Deepin 15.7 Installation, so I am selecting the “Full Disk” as installation location
Click on “Start Installation” to proceed further,
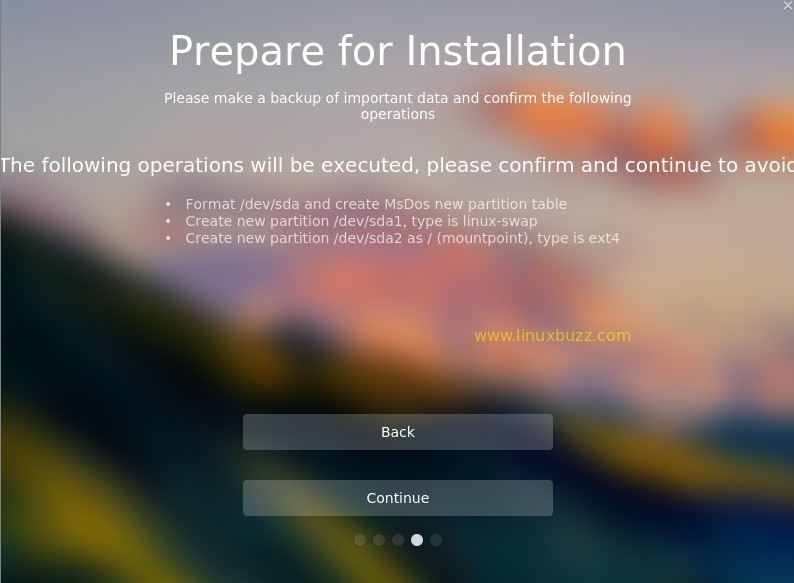
In the Next screen, Installer will show partitions details which will be created on 20 GB hard drive,
Click on Continue to start the installation
Step 8) Deepin 15.7 Installation Progress
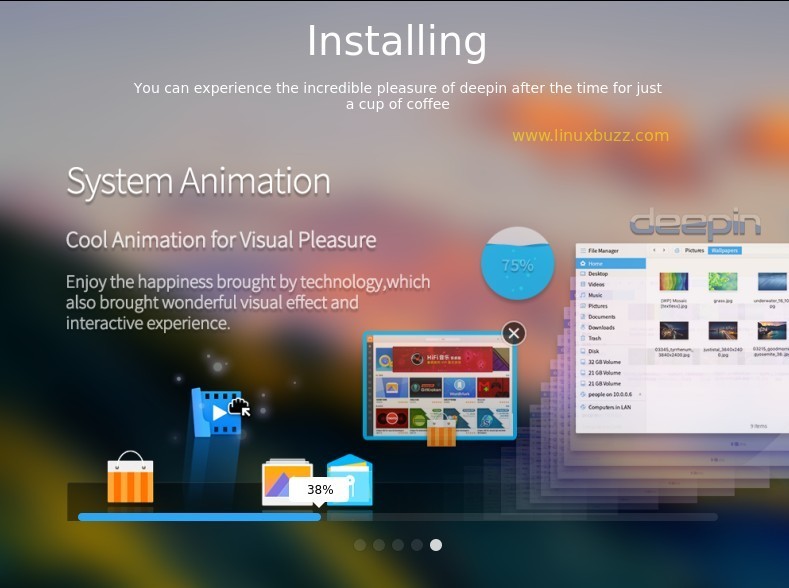
The installation process will start now, just sit back and relax, while the installer will complete the installation of Deepin 15.7 in your system
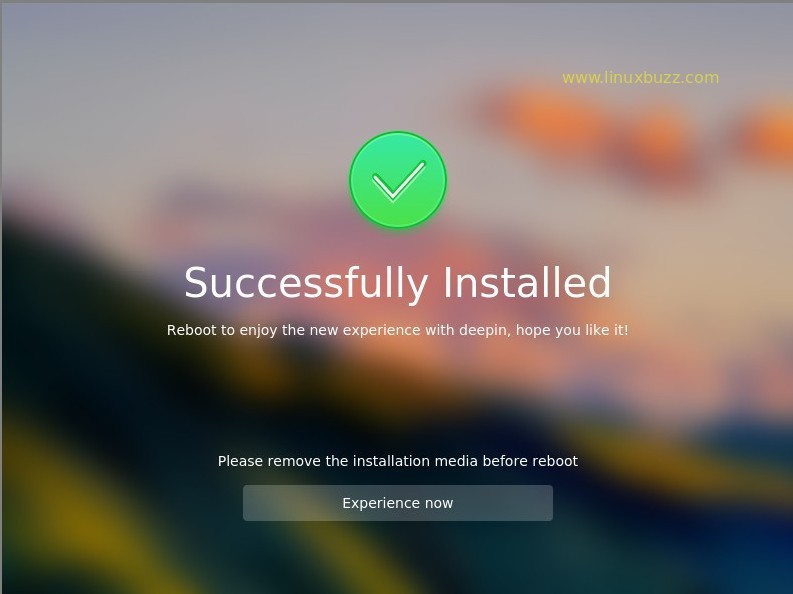
Once the installation process is over, Installer will prompt you to reboot the system and remove the bootable media.
Click on “Experience Now“, it will reboot your system.
Step:9 ) Login Screen and Deepin Desktop
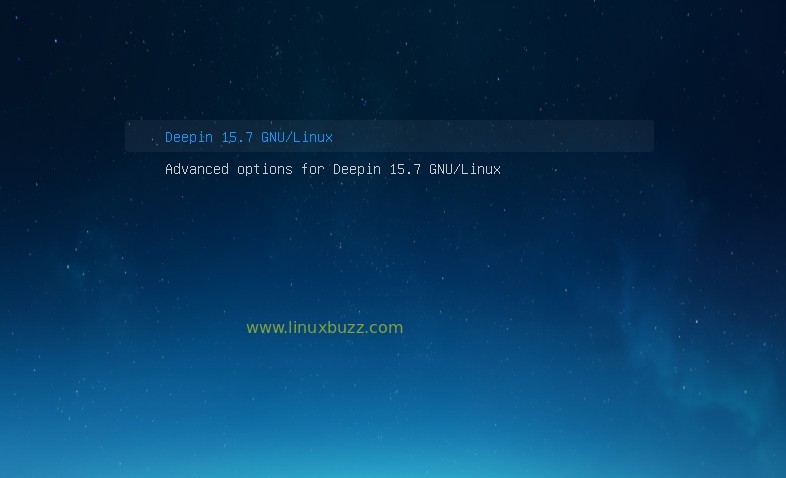
Once you reboot your system, you will get below grub (Boot Loader) Screen
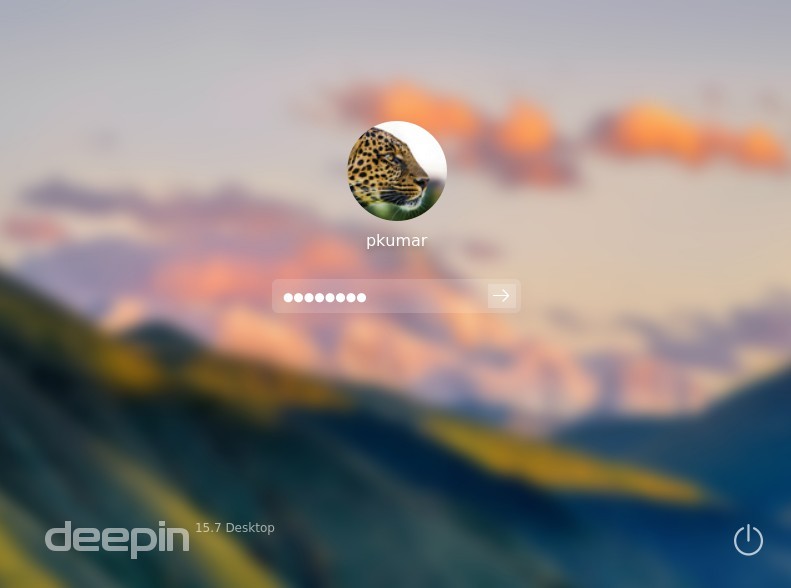
Select the first option and hit enter, then we will get the below login Screen, use the same user name and password that we specify during Deepin installation,
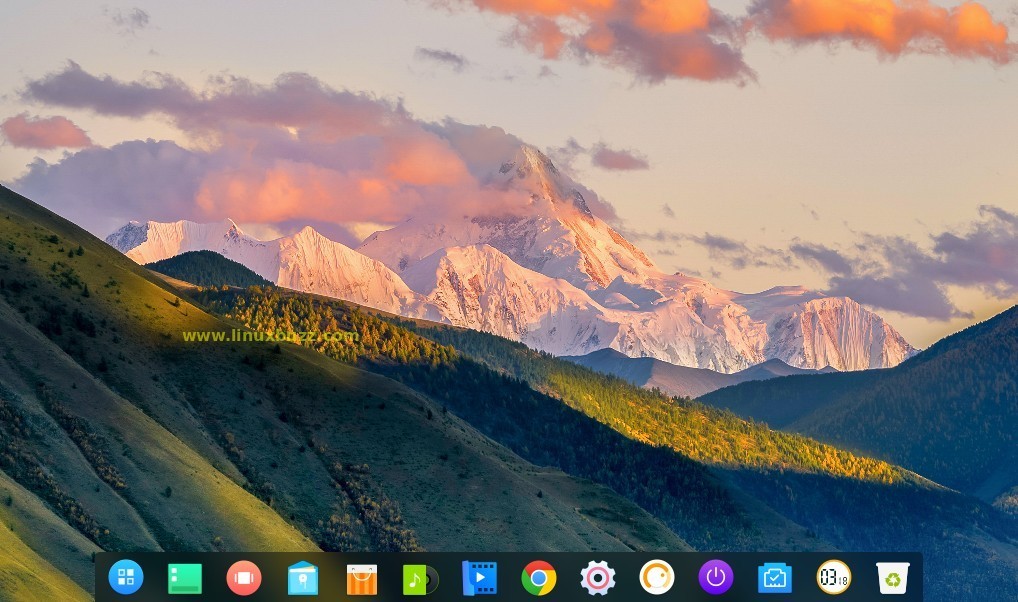
Desktop Screen after login,
This confirms that you have successfully installed Deepin 15.7, now enjoy and explore this new exciting Linux Distribution.

Is it me?…..or does this Linux distro look an awful lot like MacOS?…HAHAHAH! I LOVE it!
It is just you.