Alma Linux OS is a free and open source Linux distribution which is built on from RHEL (Red Hat Enterprise Linux) source code. After the release of RHEL 9, CloudLinux community has released its latest operating AlmaLinux 9 which is based on RHEL 9. Code name for AlmaLinux 9 is ‘Emerald Puma‘.
In this guide, we will cover how to install AlmaLinux 9 step by step with screenshots. Before jumping into the installation steps, let’s look at new features and improvements of AlmaLinux 9.
AlmaLinux 9 ships with lot on new updates and improvements. Some of them are listed below:
- It supports four architectures – Intel/AMD (x86_64), ARM64 (aarch64), IBM PowerPC (ppc64le) & IBM Z (s390x)
- New Linux Kernel 5.14
- Improvement in Cockpit Web Console
- Updated development tools like Python 3.9, GCC 11 and latest versions of LLVM, Rust and Go Compilers.
- SSH root login password is disabled by default.
- Improvement in SELinux.
Minimum System Requirement for AlmaLinux 9
- Minimum 2 GB RAM or more
- Dual core Processor (1 GHz)
- 20 GB Free hard disk space
- Installation Media (USB Stick of size 8GB)
Installation Steps of AlmaLinux 9
1 ) Download AlmaLinux 9 ISO file
Use following official portal to download ISO file.
Once the ISO file is downloaded, create bootable installation media by burning the ISO file into a USB stick.
Note: Use Rufus software in windows OS to create bootable USB drive and in Linux use dd command to create bootable media on USB drive.
2) Boot System with Bootable Media
Head to the target system on which we are planning to install AlmaLinux 9, reboot it and go to its bios settings and change its boot medium from hard disk to USB.
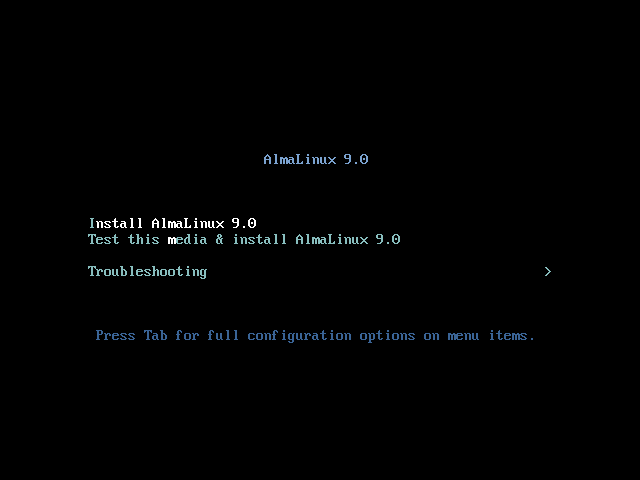
When system boots up with AlmaLinux 9 bootable media, we will be present the beneath screen,
Choose the first option ‘Install AlmaLinux 9.0’ and hit enter
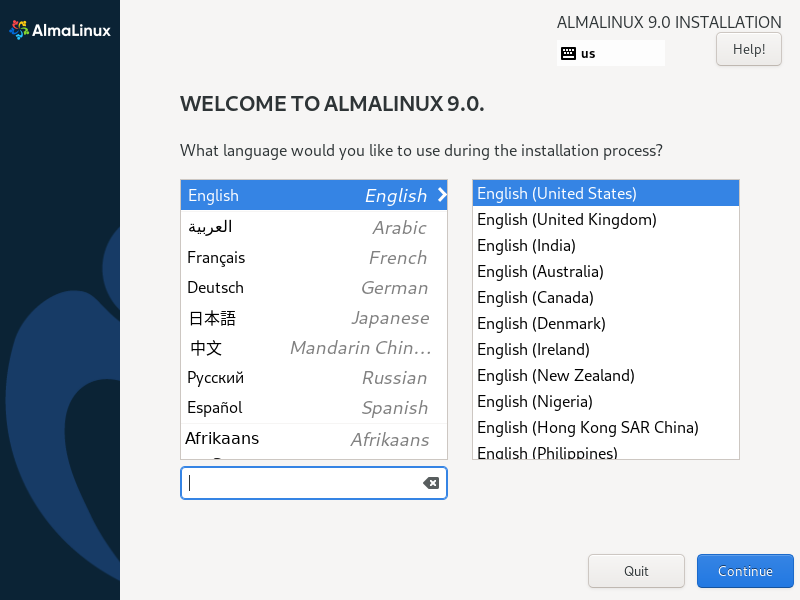
3) Choose Language for AlmaLinux 9 Installation
Based on your preference, select the language, and click on Continue.
4) Installation Summary
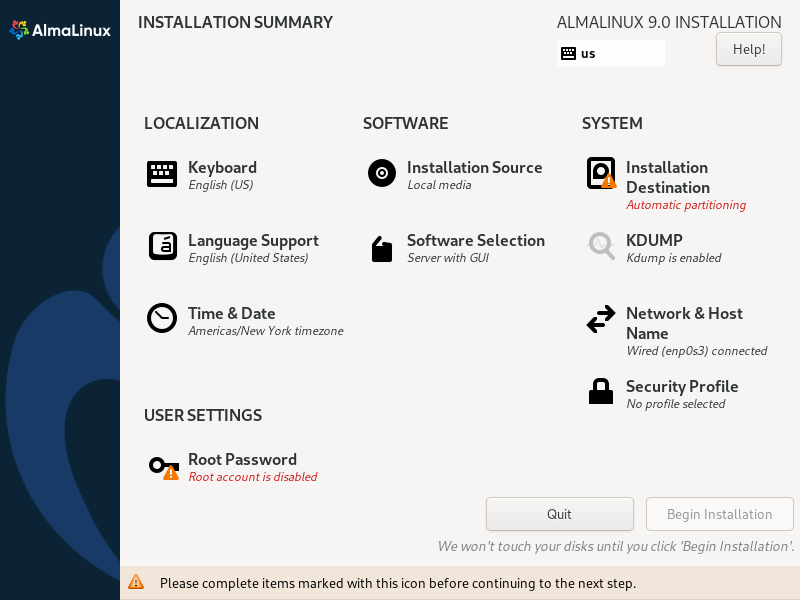
At this step, we will have following screen, complete the marked items first before starting the installation.
Apart from the marked items, we can also change existing pre-configured items like Time & Date, Keyboard Layout, Software Selection and Network & Host Name.
In this guide, we will update the following items,
- Keyboard
- Time & Date
- Network & Host Name
- Software Selection
- Installation destination
- User Settings – Root Password & User Creation
Keyboard Layout:
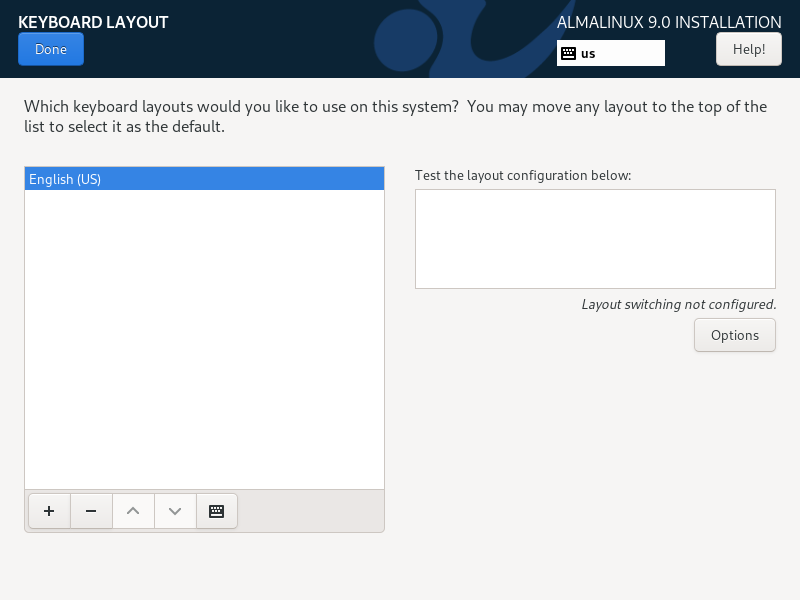
To change the keyboard layout, click on Keyboard item, select your preferred layout.
Click on Done
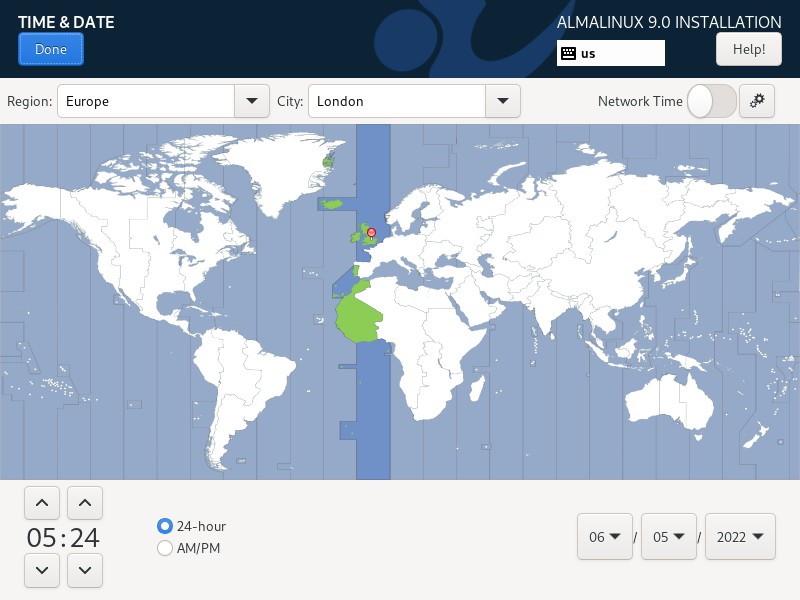
Time & Date:
To change the date and time based on your geographical location, click on ‘Time & Date’ item and then select your system’s geographical location. System clock will be adjusted based on the location.
Network & Host Name:
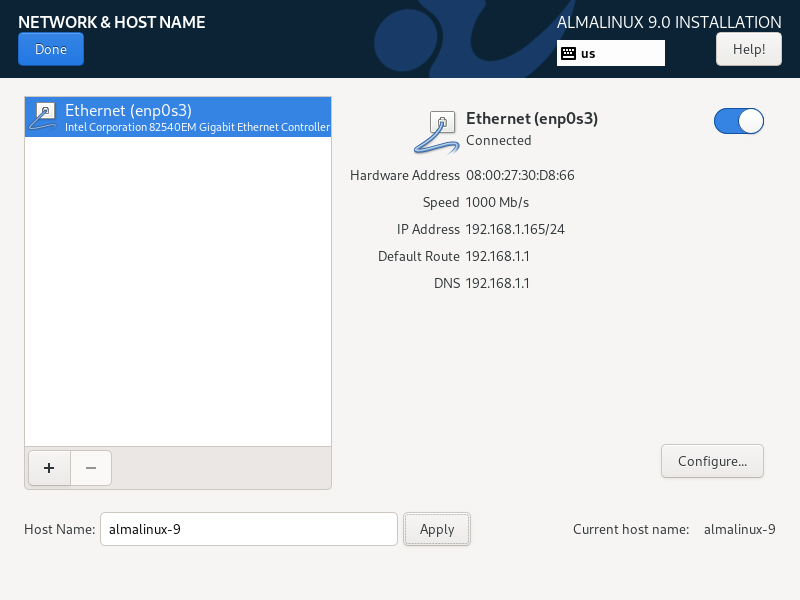
To configure the networking during the installation, click on ‘Network & Host Name’ item. When you enable the interface and your system is connected to modem or switch, then installer will try to get IP address from DHCP.
In my case, it is connected to modem where DHCP server is running that’s why it got the IP. You can also manually configure IP address.
Apart from this, we can also set the hostname of the system.
Click on Done
Software Selection:
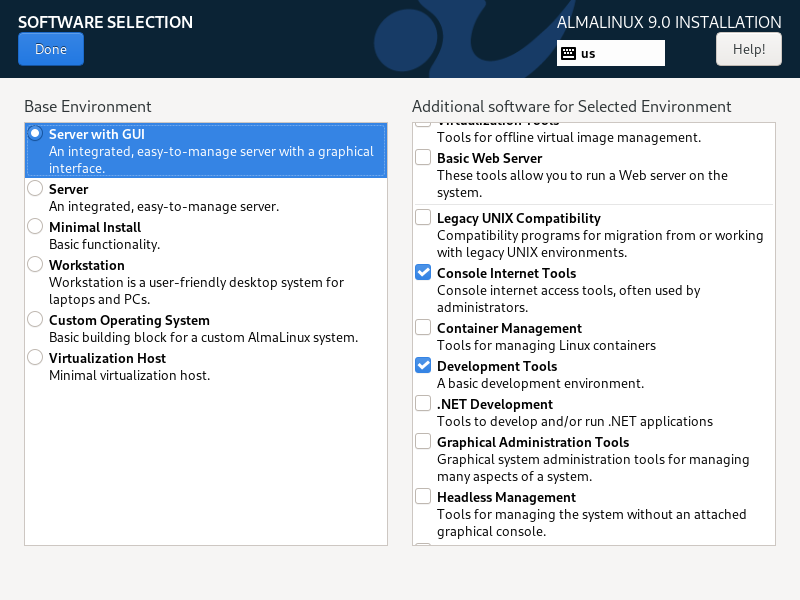
As the name suggests, here we can choose the base environment for our AlmaLinux 9 installation.
Select the base environment and additional software that suits to your installation and then click ‘Done’
Installation Destination:
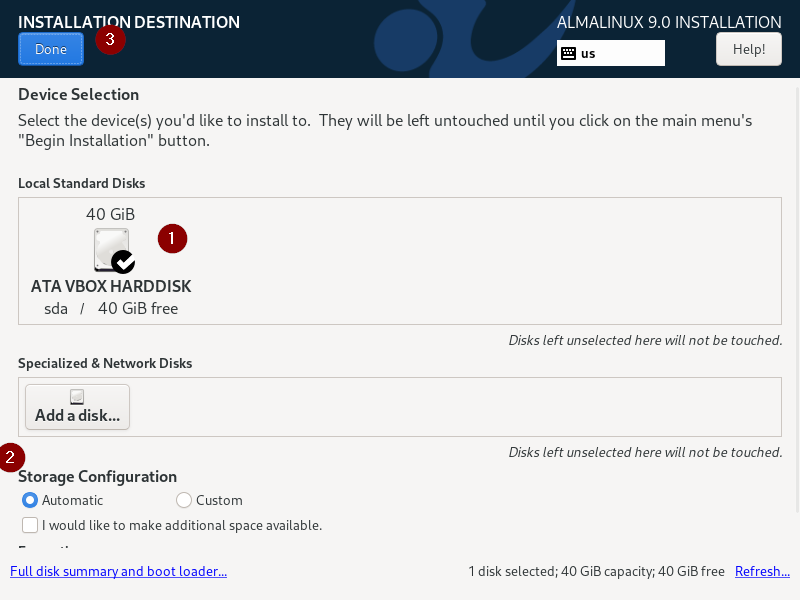
Click on ‘Installation Destination’, In this step, we decide the partitioning scheme for selected disk. There can be two types of partitioning,
- Automatic – Installer will create partitions automatically on the disk.
- Custom – It will allow us to create partition manually.
In my case, I am going with first option ‘Automatic’
Click on ‘Done’
User Settings:
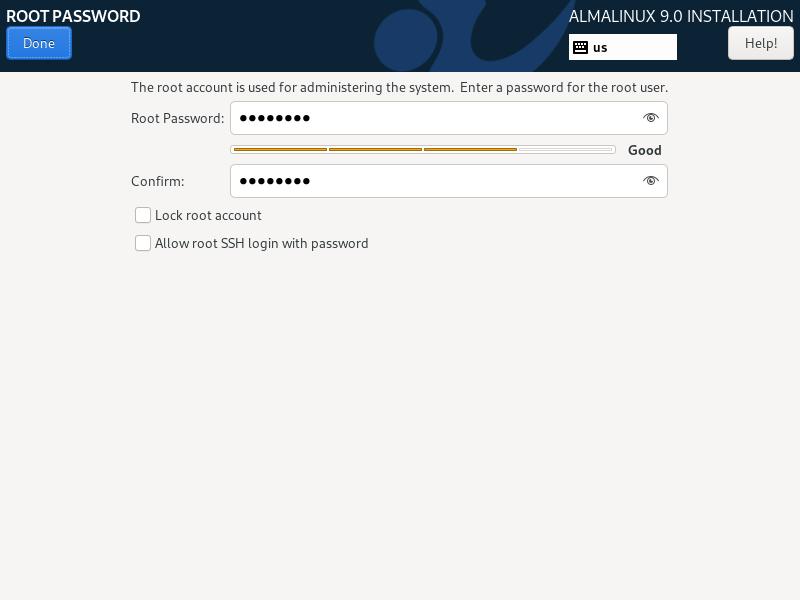
To set the root user password, click on ‘Root Password’ and specify the password string that you want to set.
Click on ‘Done’
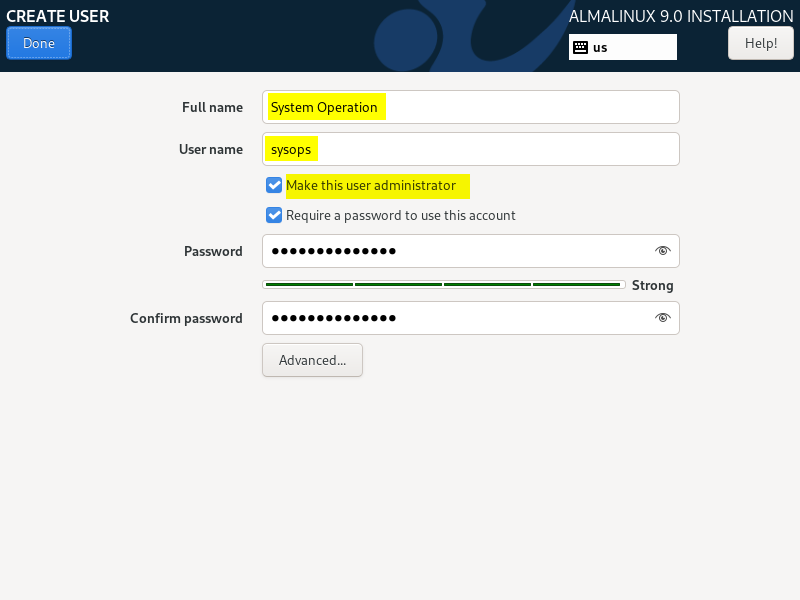
To create a local user with admin rights, click on ‘User Creation’. Fill in the username and password details,
Click on ‘Done‘ to go back to installation summary screen.
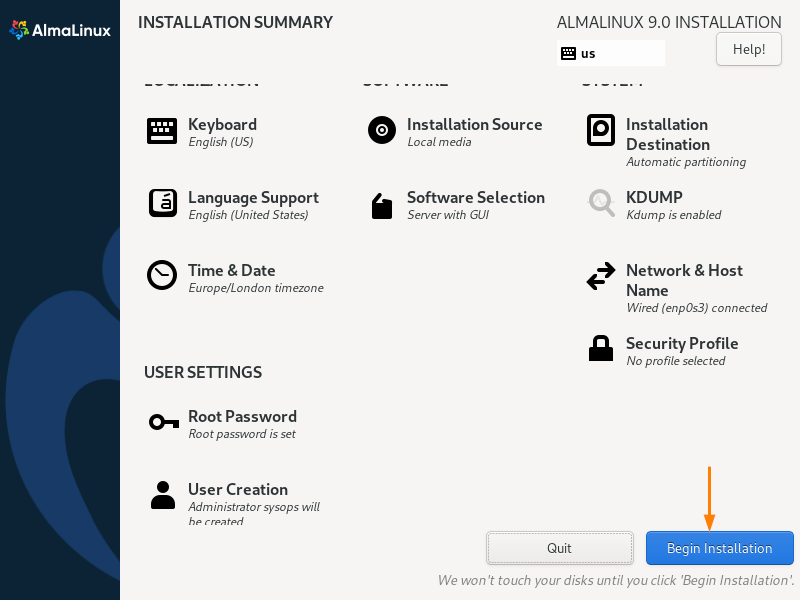
Now we are ready to begin the installation, click on ‘Begin Installation’, it will start the installation.
5) AlmaLinux Installation Progress
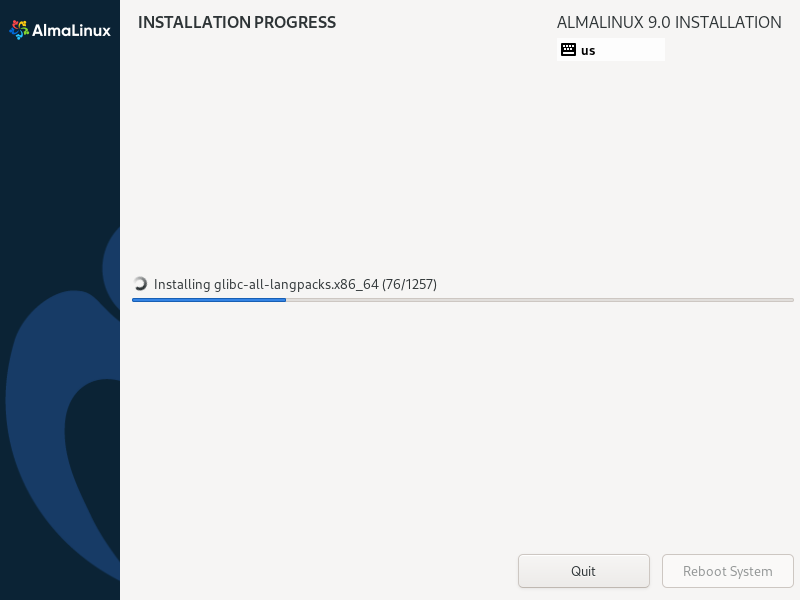
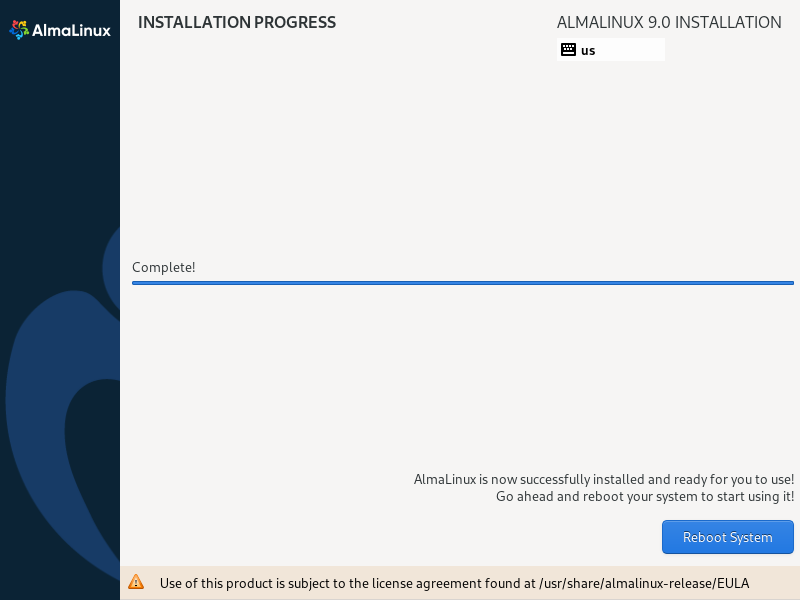
At this step, AlmaLinux installation got started and is in progress.
Once the installation is completed, installer will prompt us to reboot the system.
Click on ‘Reboot System’
Note: After the reboot, don’t forget to change the boot medium from USB to disk via bios settings.
6) Login and Desktop Environment Post Installation
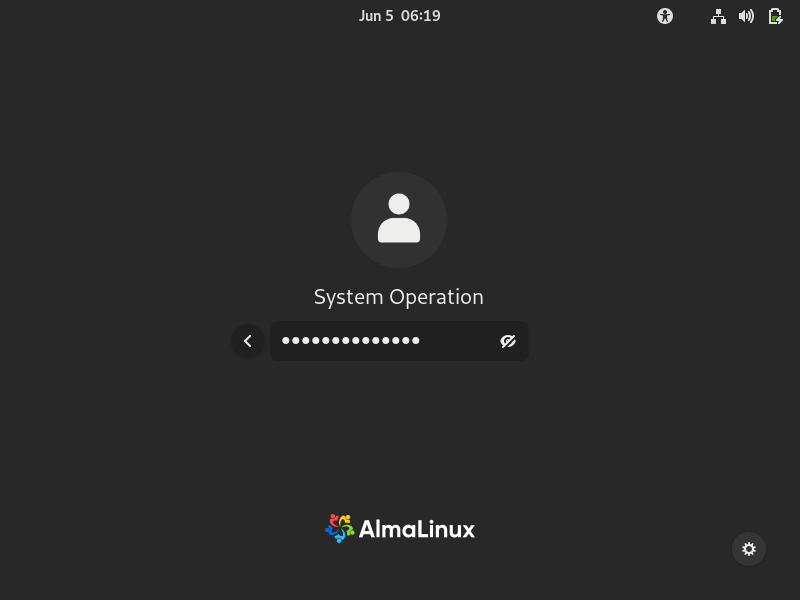
When the system boots up post installation, we will get following login screen, use the local user credentials that we have created during the installation.
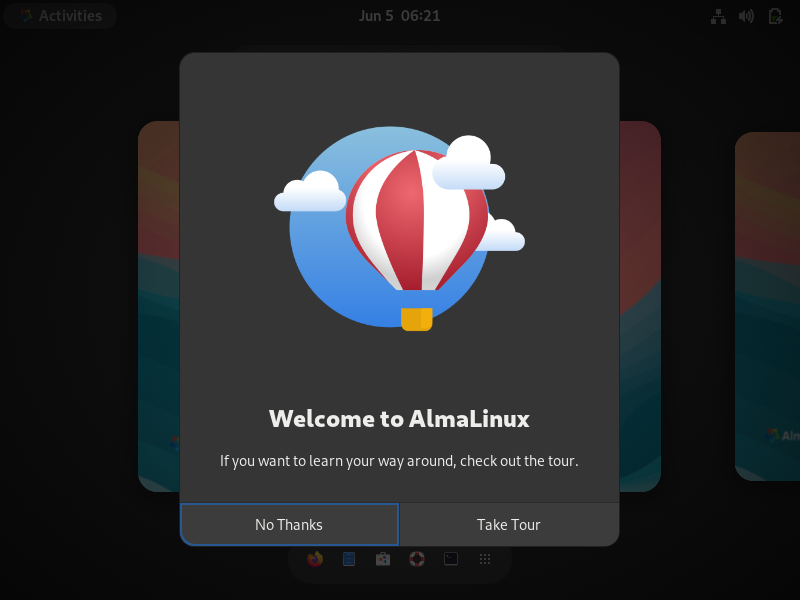
In the following screen, choose ‘No Thanks’ to skip the AlmaLinux 9 tour.
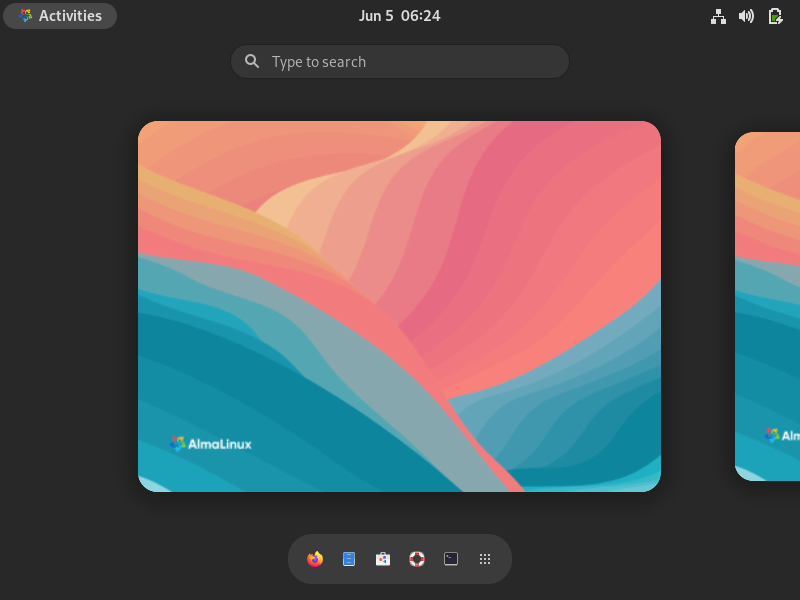
After the skipping the tour, we will be get following desktop environment,
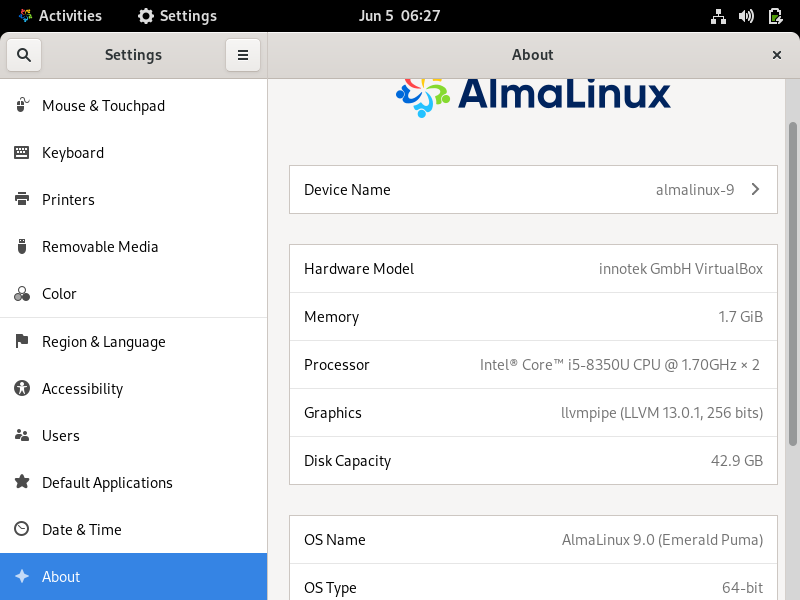
Go the About Section from Settings there we will get OS and system information.
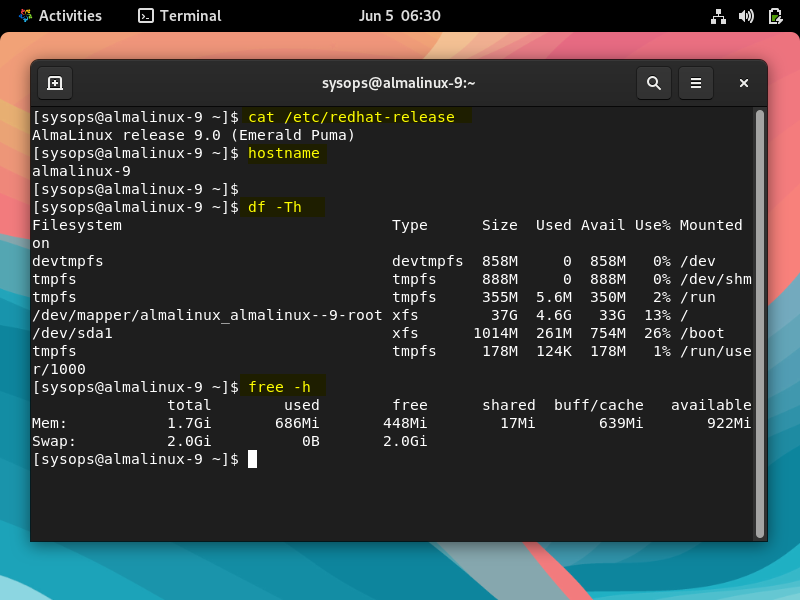
If you want to verify the OS and system information from CLI, then open the terminal and run following commands one after the another,
$ cat /etc/Redhat-release
$ hostname
$ df -Th
$ free -h
That’s all from this guide, I have you have found it informative. Kindly do post your feedback and queries in below comments section.
