Are you a Debian 12 user who’s passionate about safeguarding your system against unexpected hiccups and disasters? Look no further, because Timeshift is here to save the day! Timeshift is a fantastic tool that allows you to create and restore system snapshots effortlessly.
In this guide, we’ll walk you through the process of installing and using Timeshift on your Debian 12 system.
Why Timeshift?
Before we dive into the installation process, let’s briefly understand why Timeshift is such a valuable tool. It’s no secret that systems can occasionally experience issues – be it due to software updates gone awry or unfortunate user errors. Timeshift mitigates these problems by enabling you to take snapshots of your system’s state at various points in time. In case something goes wrong, you can easily restore your system to a functional state using these snapshots. It’s like having a time machine for your computer!
Step 1: Install Timeshift on Debian 12
Installing Timeshift on your Debian 12 system is a straightforward process. Open a terminal and follow these commands:
$ sudo apt update
$ sudo apt install timeshift -y
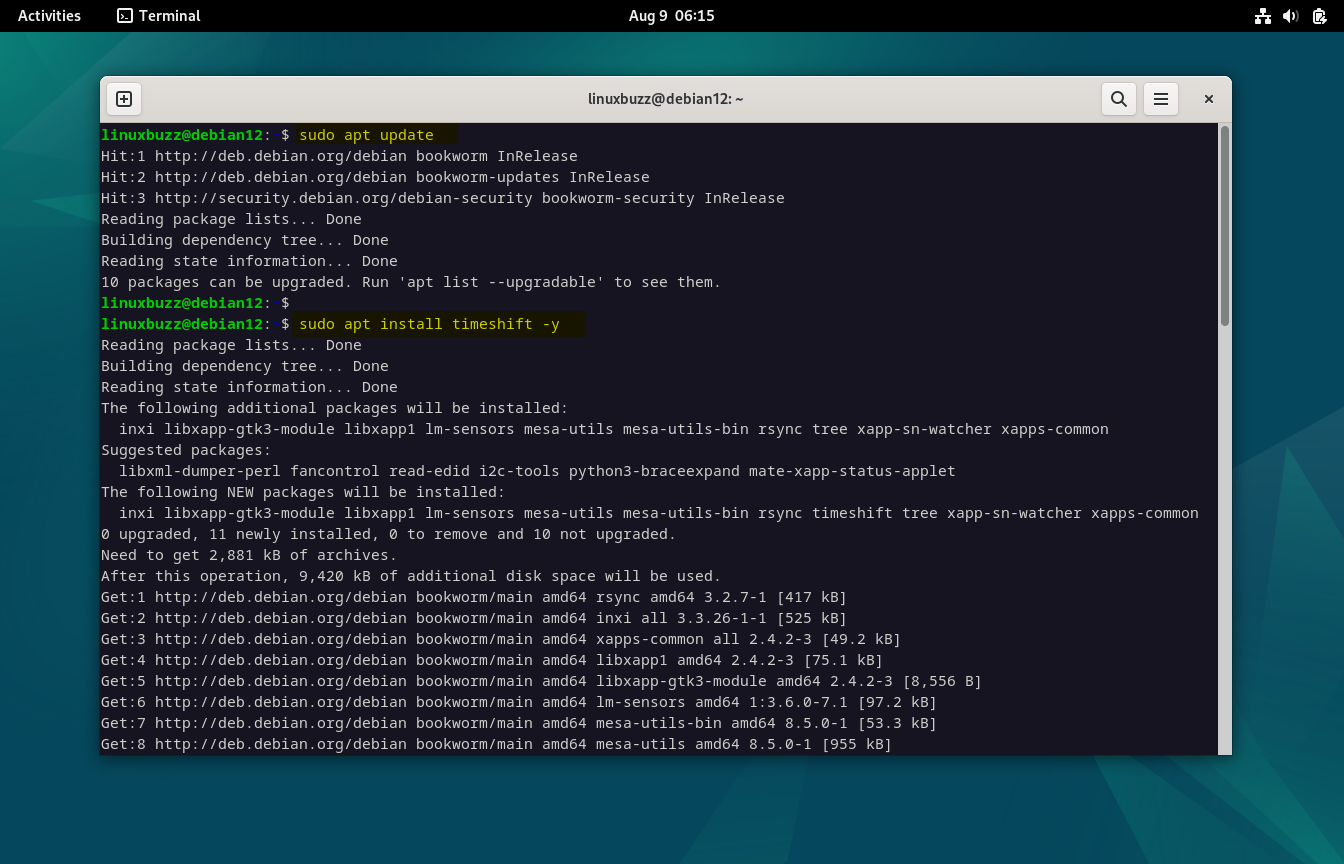
During installation, the package manager will fetch the necessary files and set up Timeshift for you.
Step 2: Launching Timeshift
Once Timeshift is installed, launch it by either searching for “Timeshift” in activities menu or running the following command in your terminal:
$ sudo timeshift-launcher
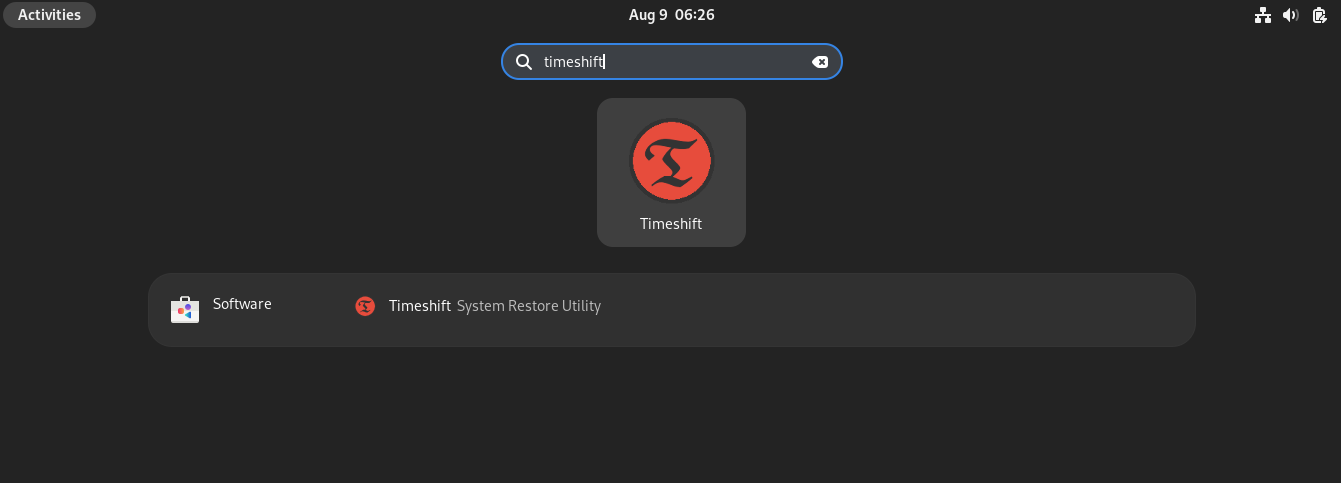
Click on “Timeshift” icon,
This will open up the Timeshift graphical interface, Choose the snapshot type: RSync or BTRFS. BTRFS is recommended for its efficient use of storage and support for incremental snapshots.
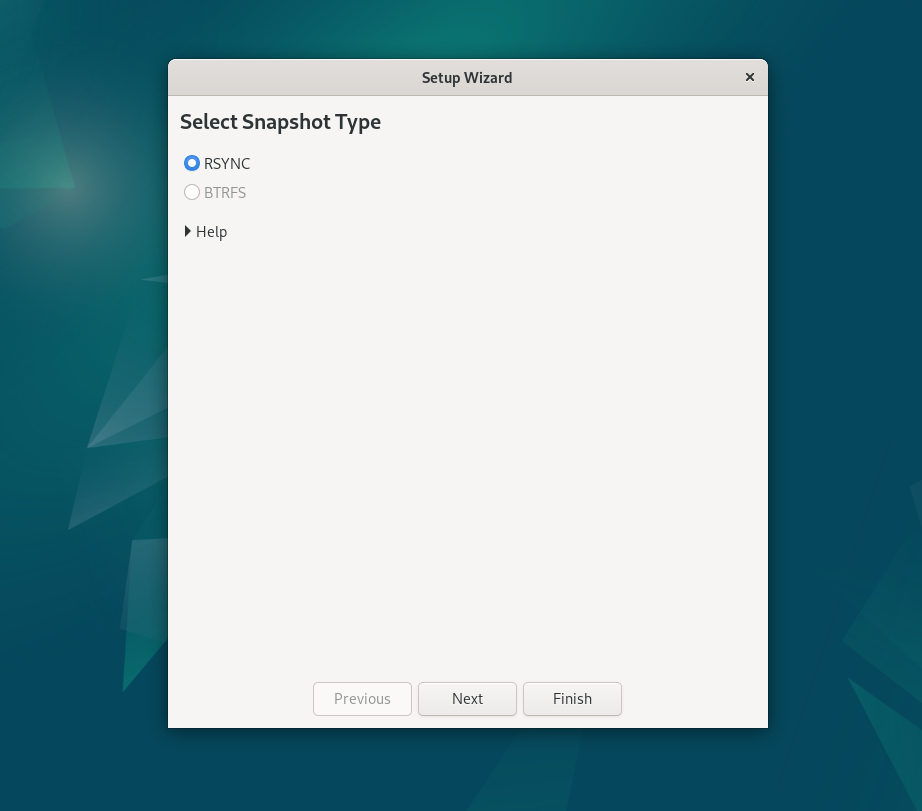
Click on “Next”
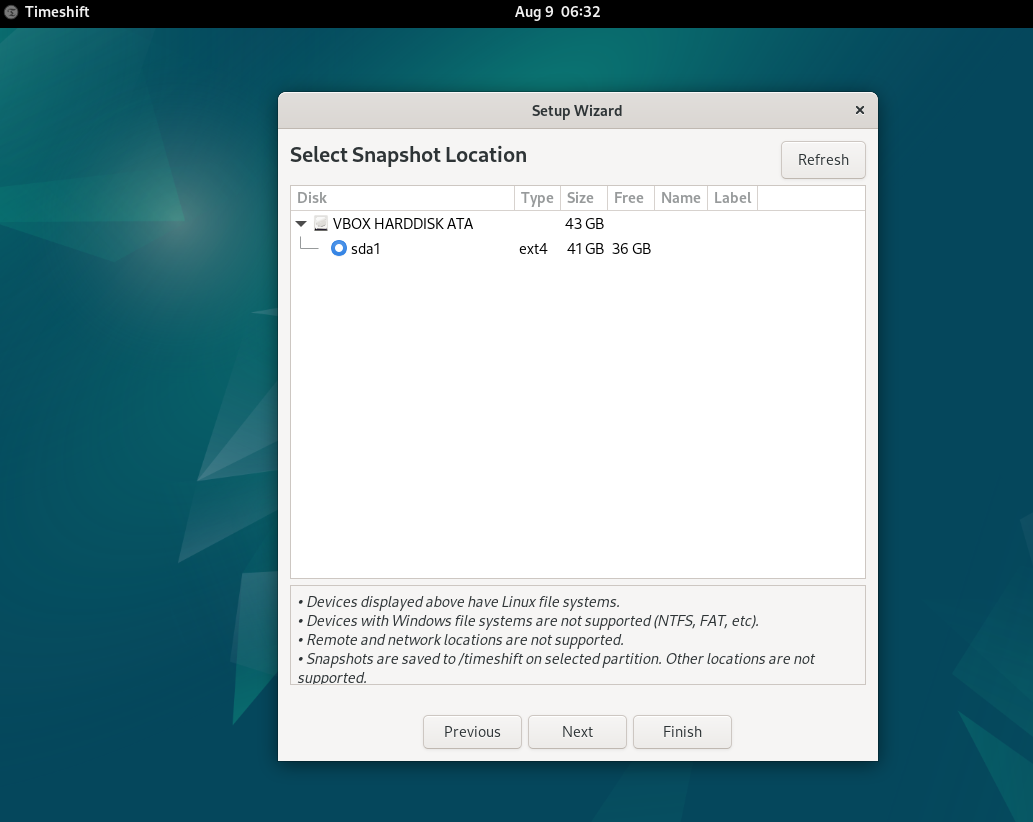
Select the snapshot location. A dedicated partition or an external drive is preferable to avoid using space on your main drive.
In the next step, choose snapshot level that suits to your requirement,
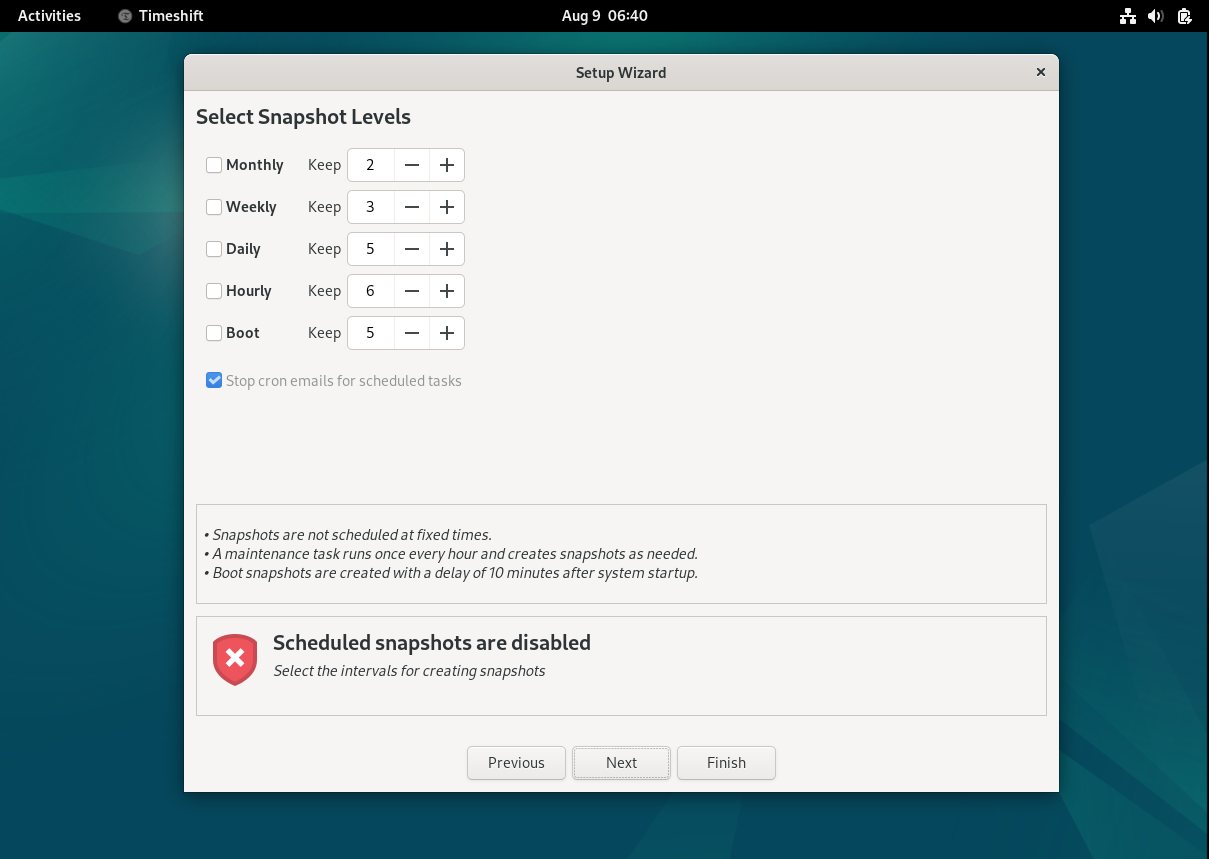
Click on Next and specify which files or folder you want to include and exclude in the backup,
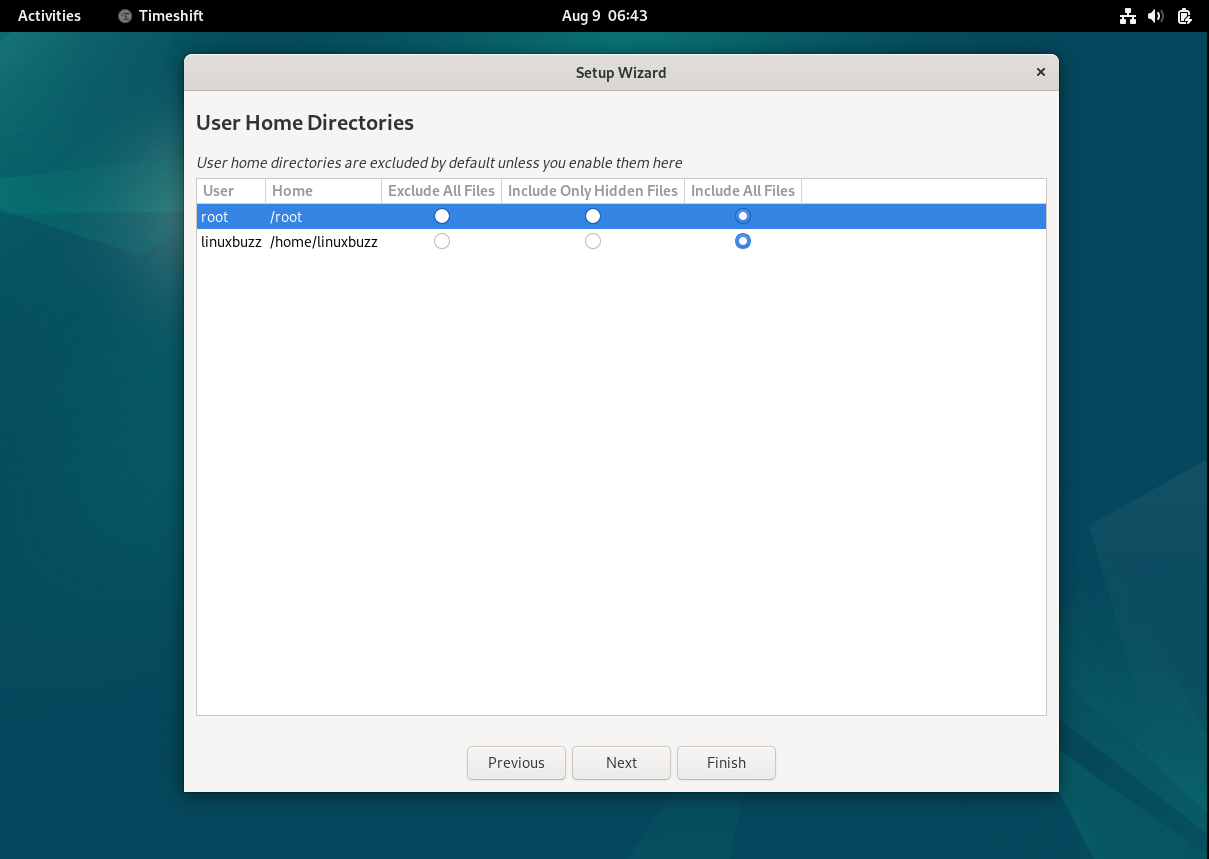
Click on Finish to complete initial setup. We will get following Timeshift graphical interface,
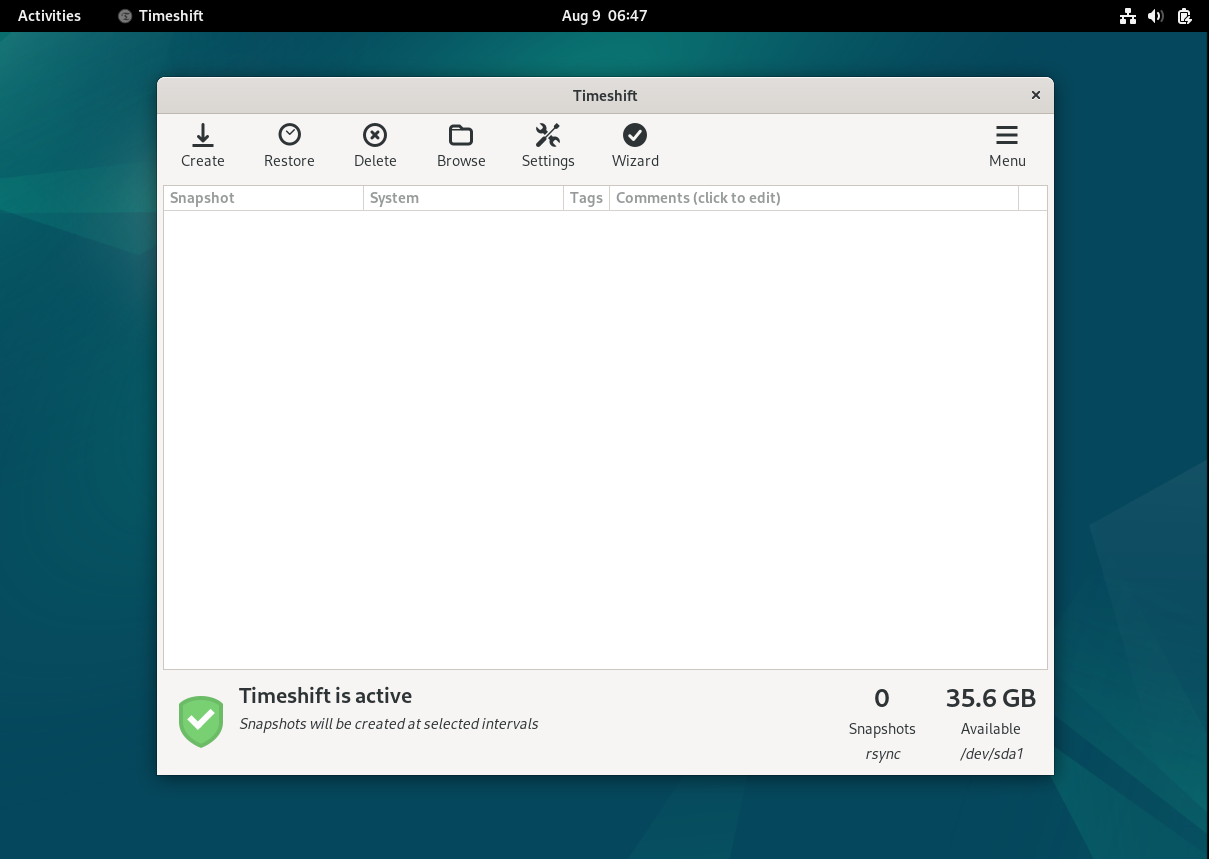
Step 3: Creating System Snapshots
Before you start making changes to your system, it’s a good practice to create a snapshot. To do this:
Open Timeshift, click on “Create” to begin the snapshot creation process.
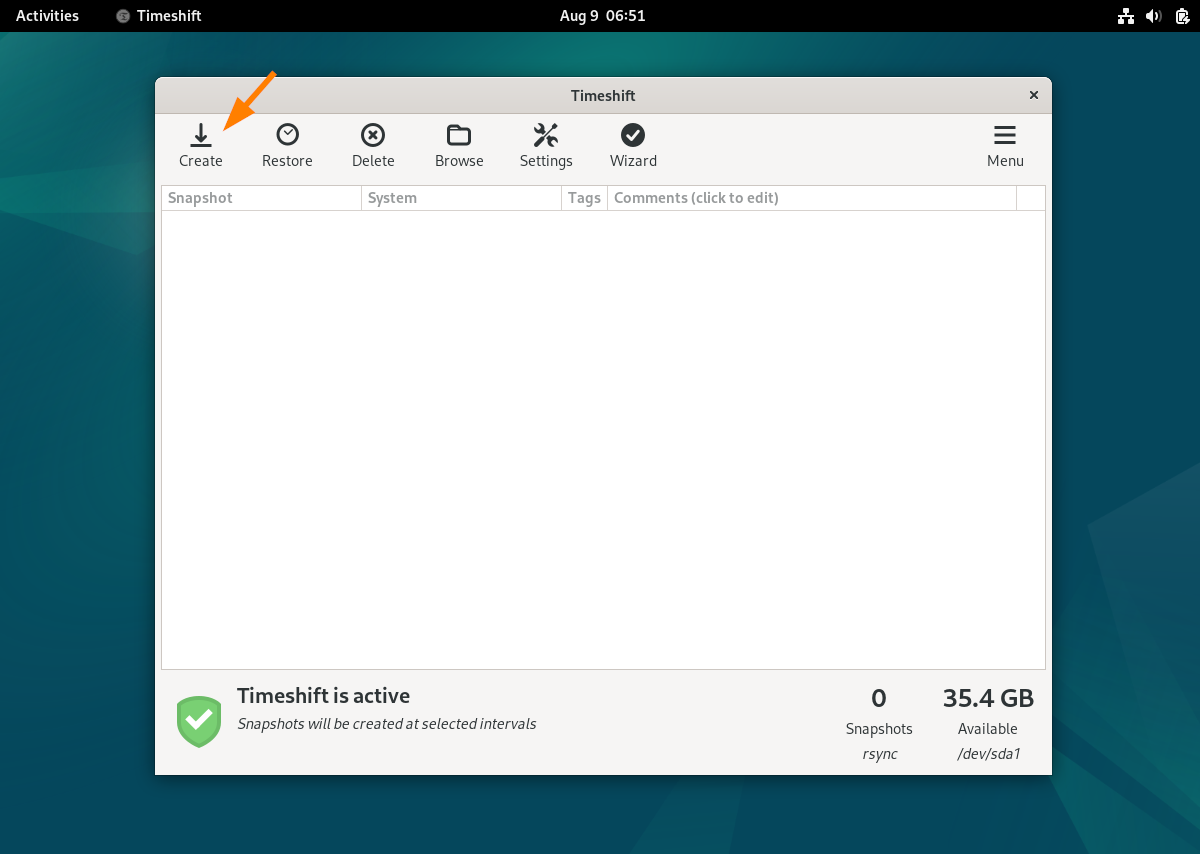
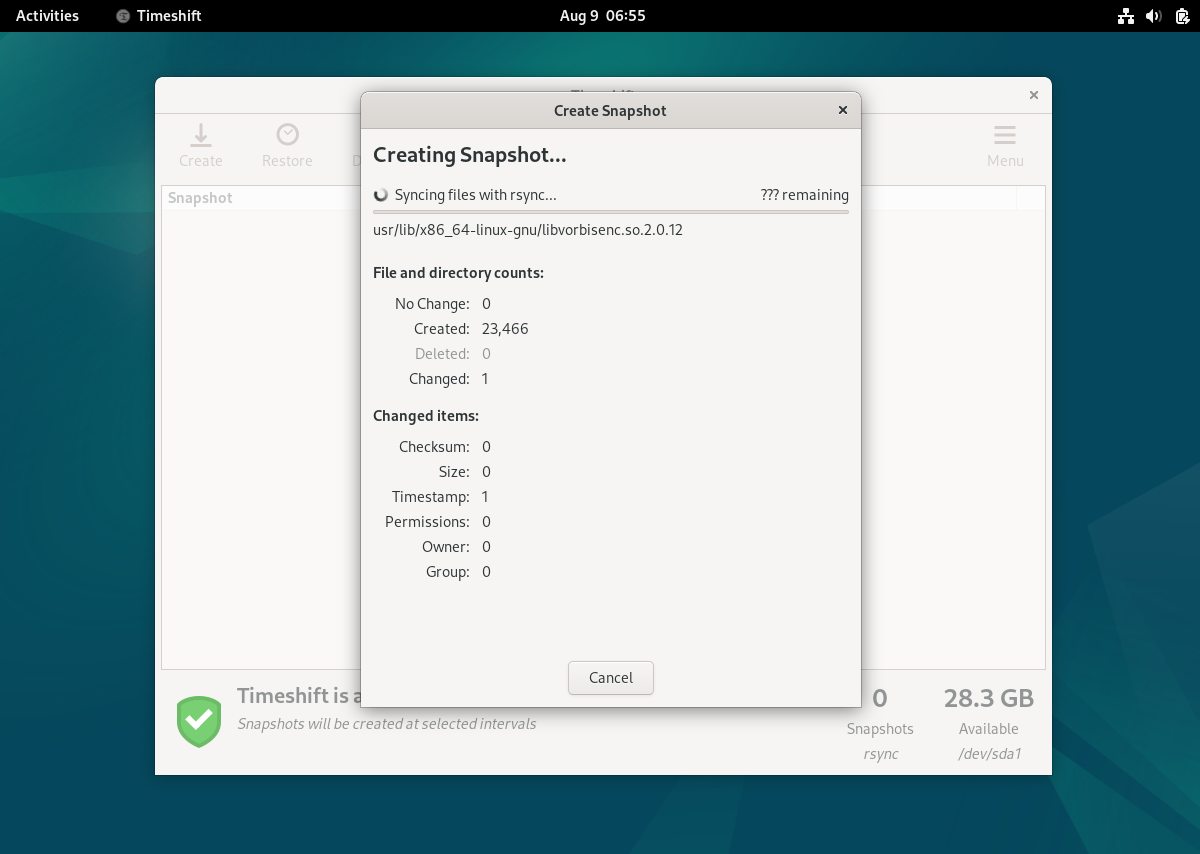
Once the snapshot of your system is created successfully, we shall see below screen,
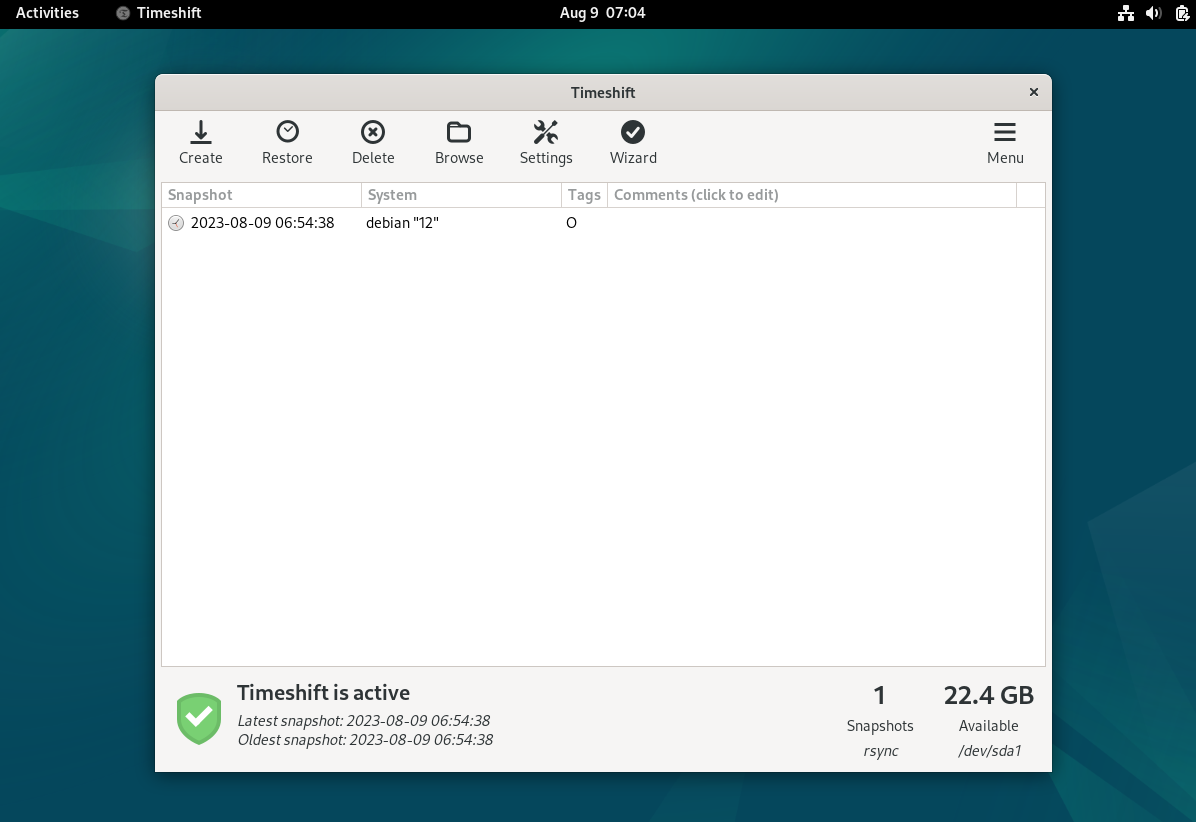
Step 4: Restoring from Snapshots
Now that you have snapshots safeguarding your system, here’s how to restore from them:
- Open Timeshift.
- Select the snapshot you want to restore from the list.
- Click on “Restore” and confirm your action.
- Timeshift will begin the restoration process. This might take some time depending on the size of the snapshot.
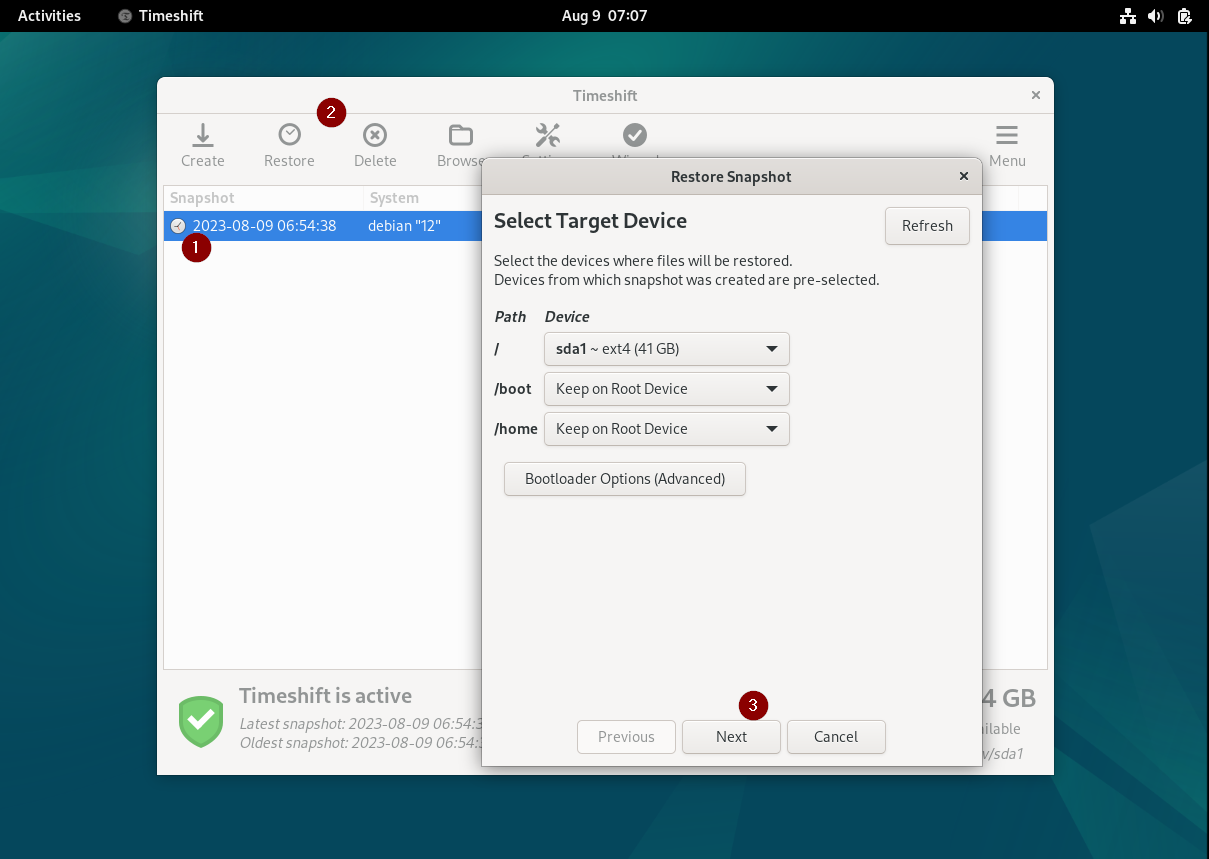
Choose the Target Device and click on Next,
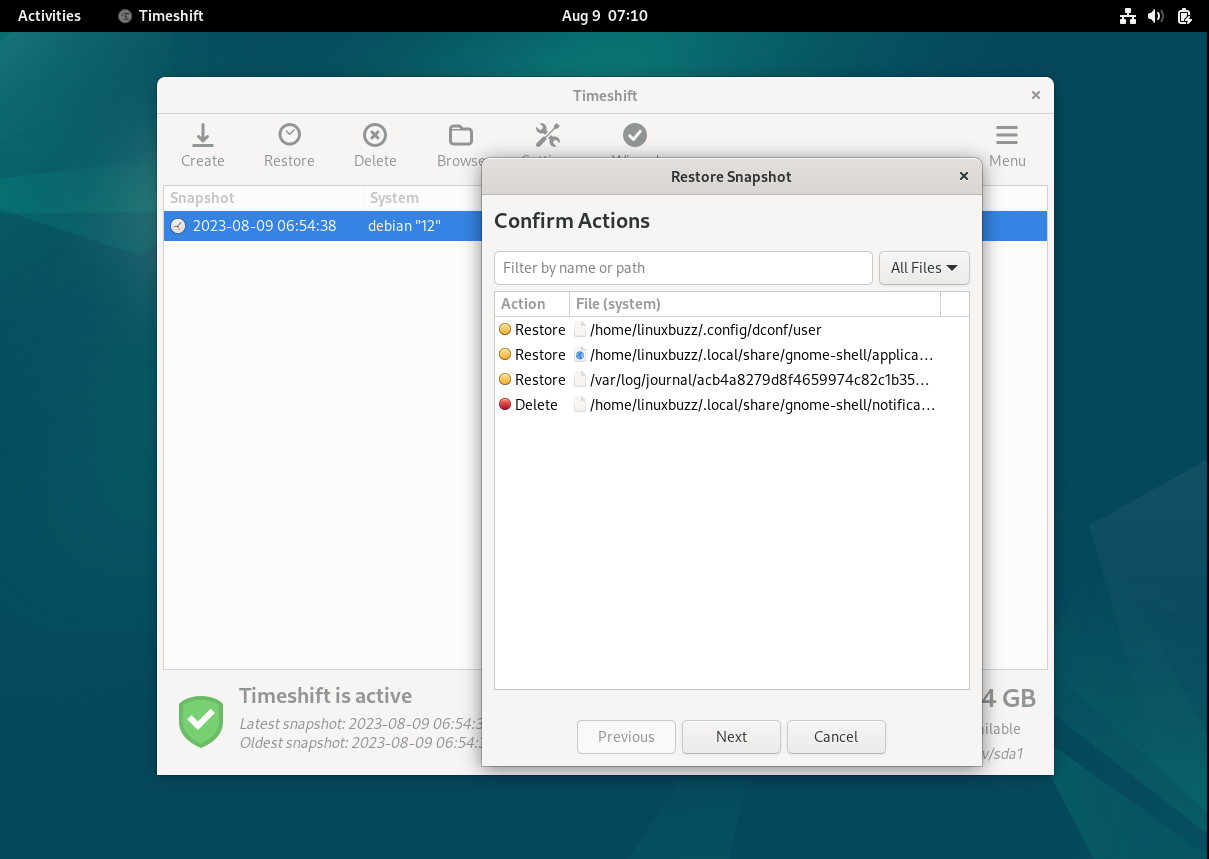
Confirms actions by selecting Next,
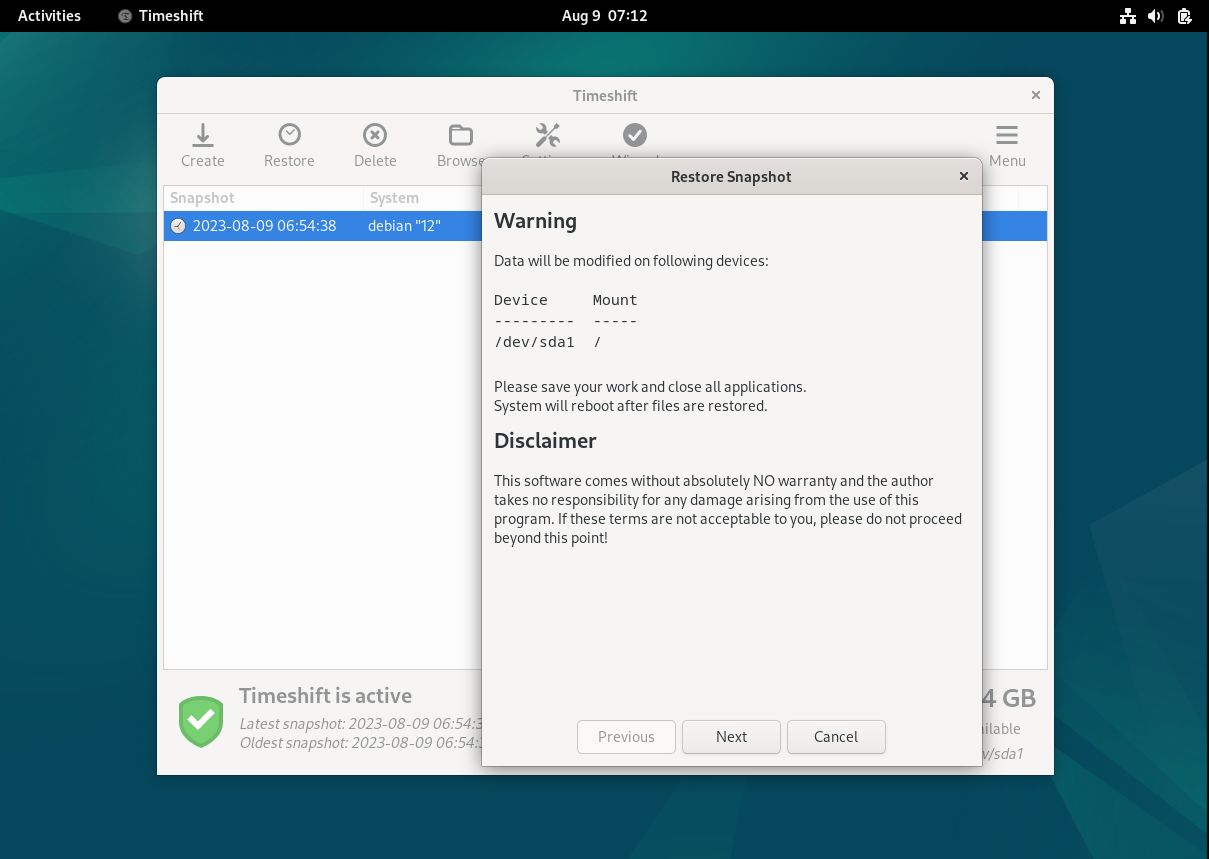
Click on Next to proceed further,
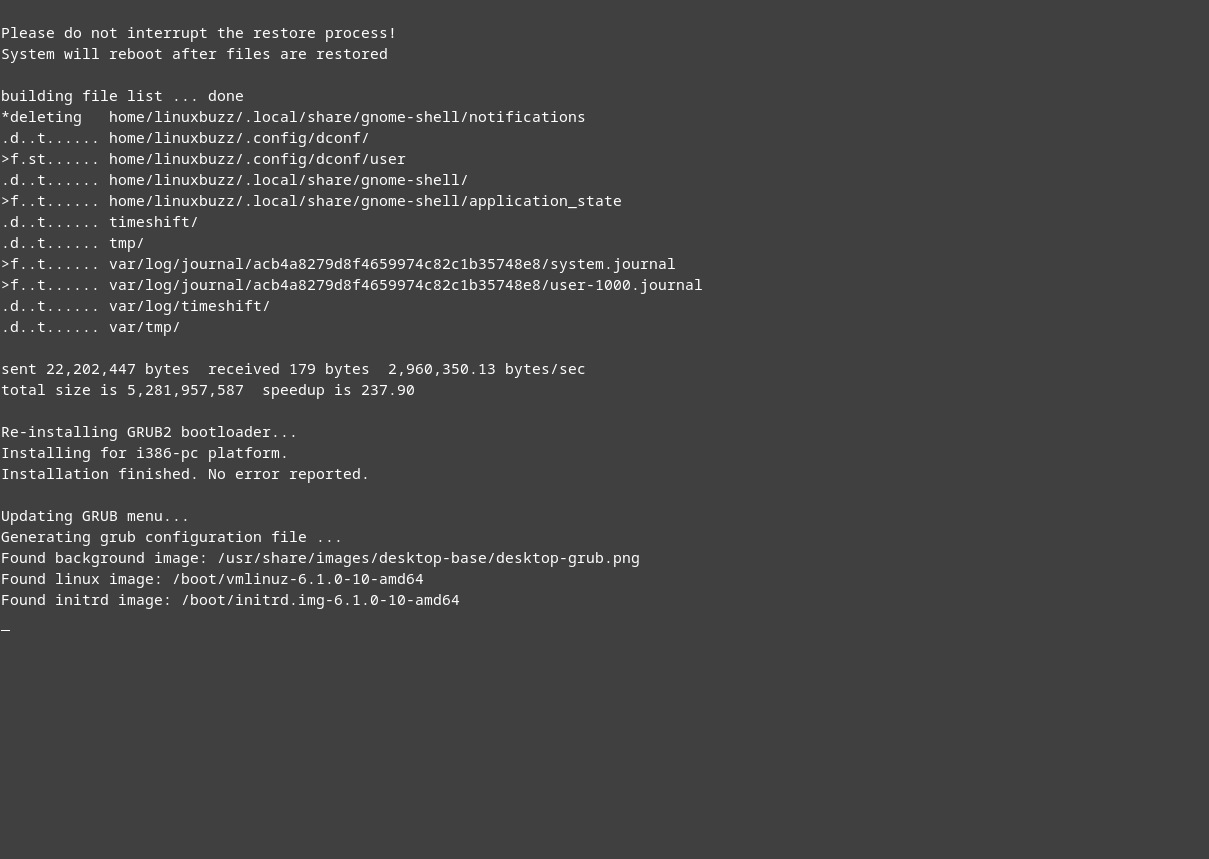
It will start restoring the system from the snapshot and will reboot it post restoring.
That’s all from this guide, I hope you found it informative. Kindly do post your queries and feedback in below comments section.
Conclusion
Timeshift is an invaluable tool for anyone using Debian 12 who wants to ensure the stability and security of their system. With its user-friendly interface and powerful snapshot capabilities, you’re equipped to tackle unforeseen problems with confidence.
Also Read: How to Install Apache Maven on Ubuntu 22.04