As we all know that VirtualBox is a free virtualization tool which allows us to install and run multiple virtual machines of different distributions at the same time. VirtualBox is generally used at desktop level where geeks used to create test environment inside the virtual machines.
Recently Debian 11 (bullseye) is released with latest updates and improved features. In this post, we will cover how to install VirtualBox and its extension pack on Debian 11 system.
Minimum System Requirements for VirtualBox
- Minimal Debian 11 Installation
- Sudo User with admin rights
- Internet Connection
Let’s deep dive into the installation steps of VirtualBox
Step 1) Configure VirtualBox Package Repository
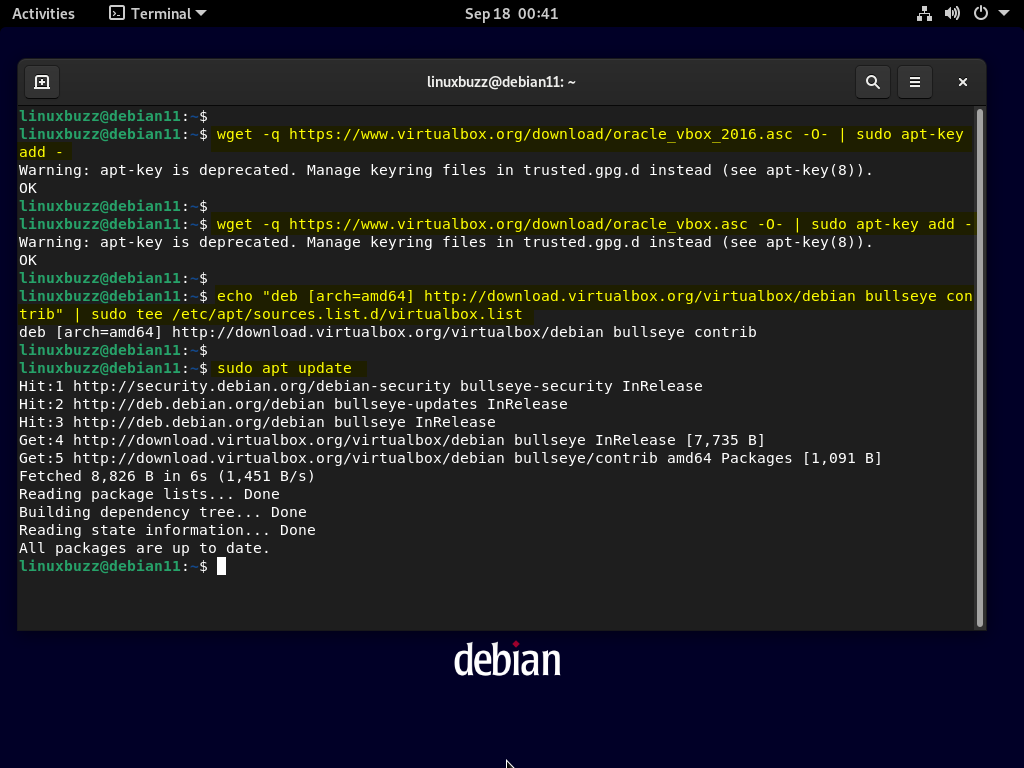
Login to Debian 11 system and open the terminal and run following commands to import repository gpg keys
$ wget -q https://www.virtualbox.org/download/oracle_vbox_2016.asc -O- | sudo apt-key add -
$ wget -q https://www.virtualbox.org/download/oracle_vbox.asc -O- | sudo apt-key add -
Run beneath command to configure Oracle VirtualBox Package repository
$ echo "deb [arch=amd64] http://download.virtualbox.org/virtualbox/debian bullseye contrib" | sudo tee /etc/apt/sources.list.d/virtualbox.list
Run below Command to update apt repositories index,
$ sudo apt update
Output of above commands would like below,
Step 2) Install VirtualBox 6.1 using apt command
As we have configured virtualbox package repository, so now, we are all set to install virtualbox.
Use below command to check available virtualbox along with its version,
$ sudo apt-cache search virtualbox
In the output, we will see ‘virtualbox-6.1 – Oracle VM VirtualBox’. Run below command to install it,
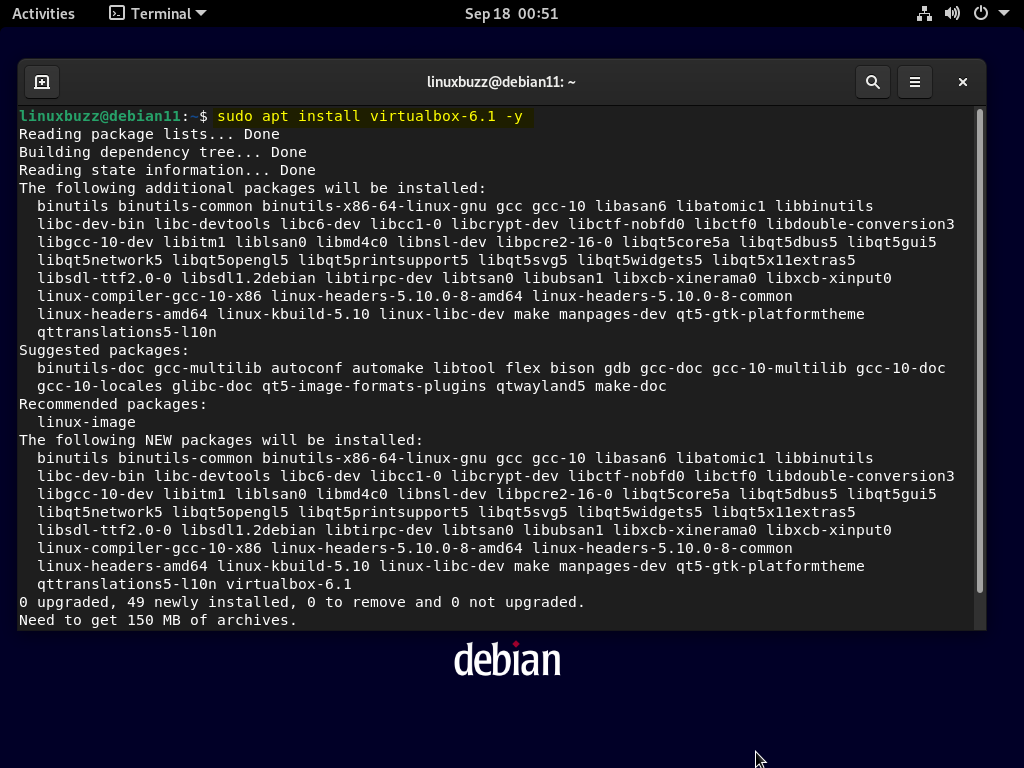
$ sudo apt install virtualbox-6.1 -y
Output
Step 3) Launch VirtualBox
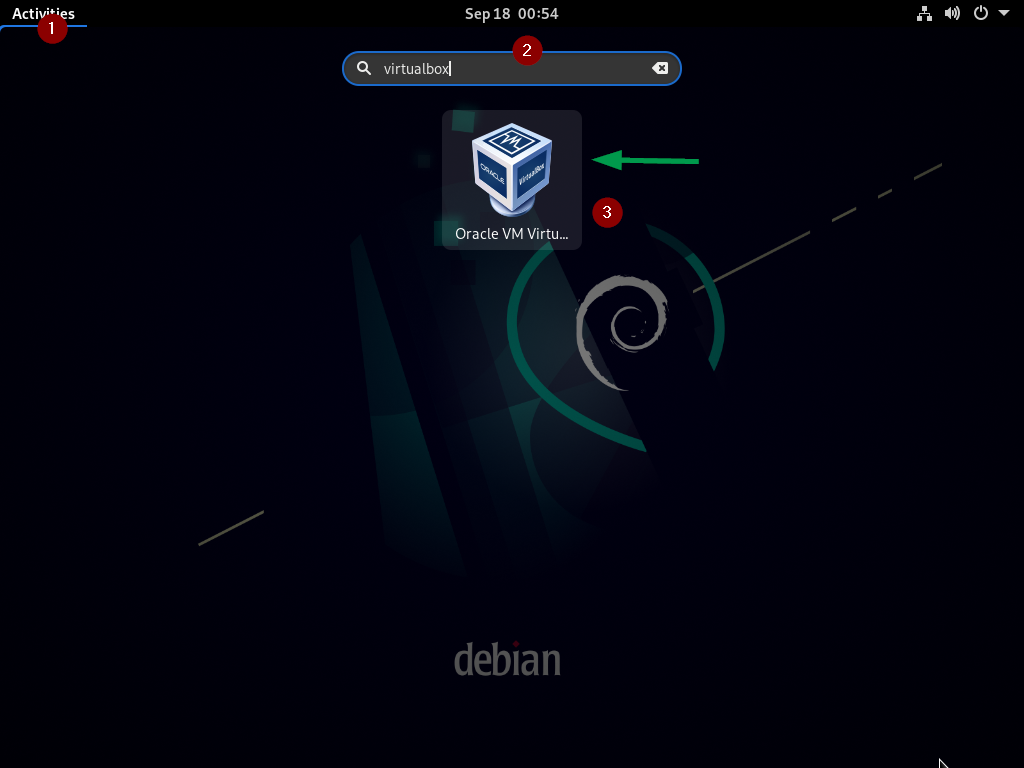
Once the VirtualBox and its dependencies are installed in step 2, then launch the VirtualBox,
From Activities -> Search virtualbox -> Click on its icon
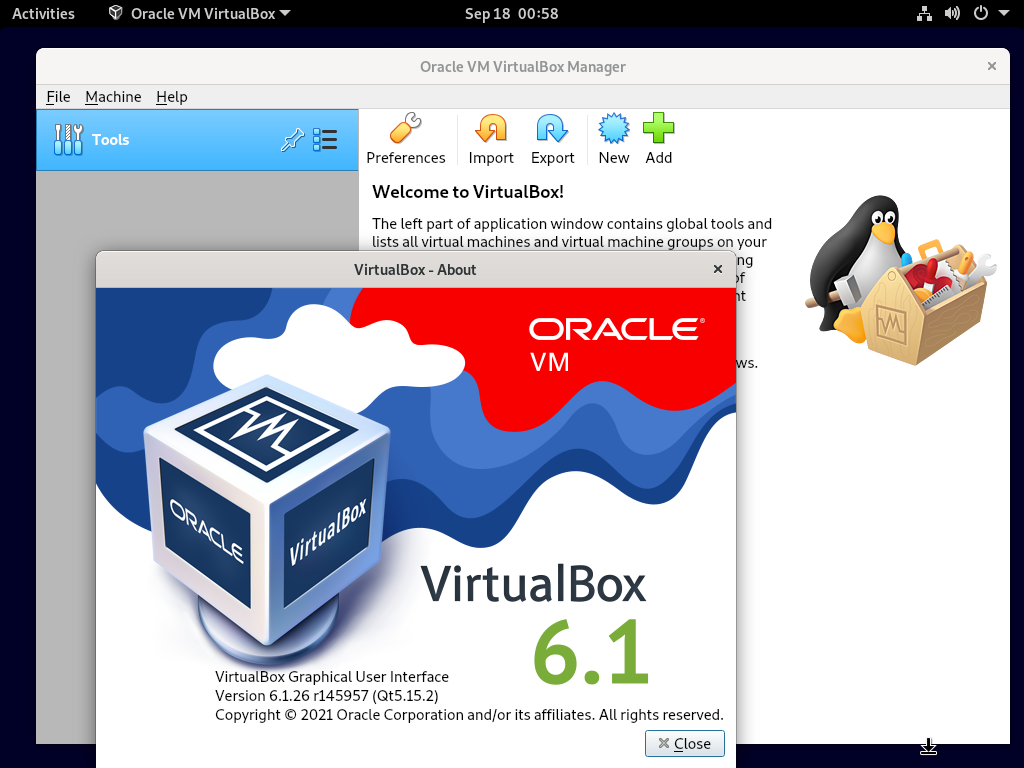
Above window confirms that VirtualBox is installed and started successfully.
To add additional functionalities to VirtualBox, it is always recommended to install its Extension pack. So in the next step we are going to install the same.
Step 4) Install VirtualBox Extension Pack
Use below command to download Extension pack for VirtualBox 6.1,
$ wget https://download.virtualbox.org/virtualbox/6.1.26/Oracle_VM_VirtualBox_Extension_Pack-6.1.26-145957.vbox-extpack
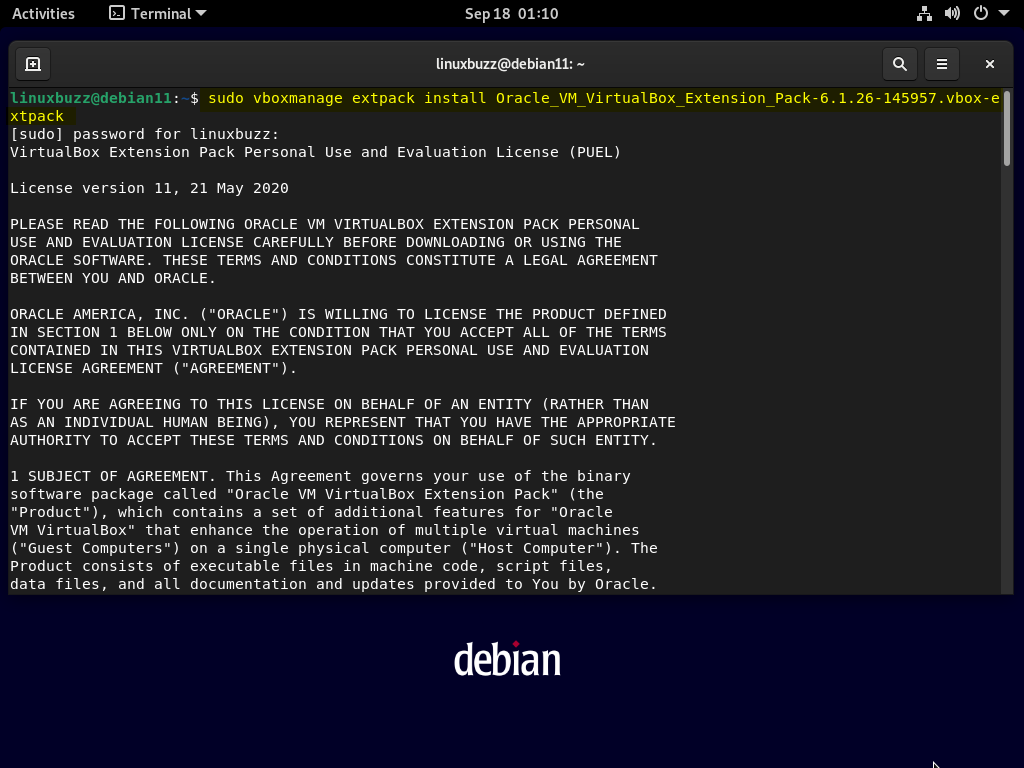
Now install it using following vboxmanage command
$ sudo vboxmanage extpack install Oracle_VM_VirtualBox_Extension_Pack-6.1.26-145957.vbox-extpack
It will prompt you to agree the License’s terms and conditions, Press ‘y’ to accept it and finish the installation.
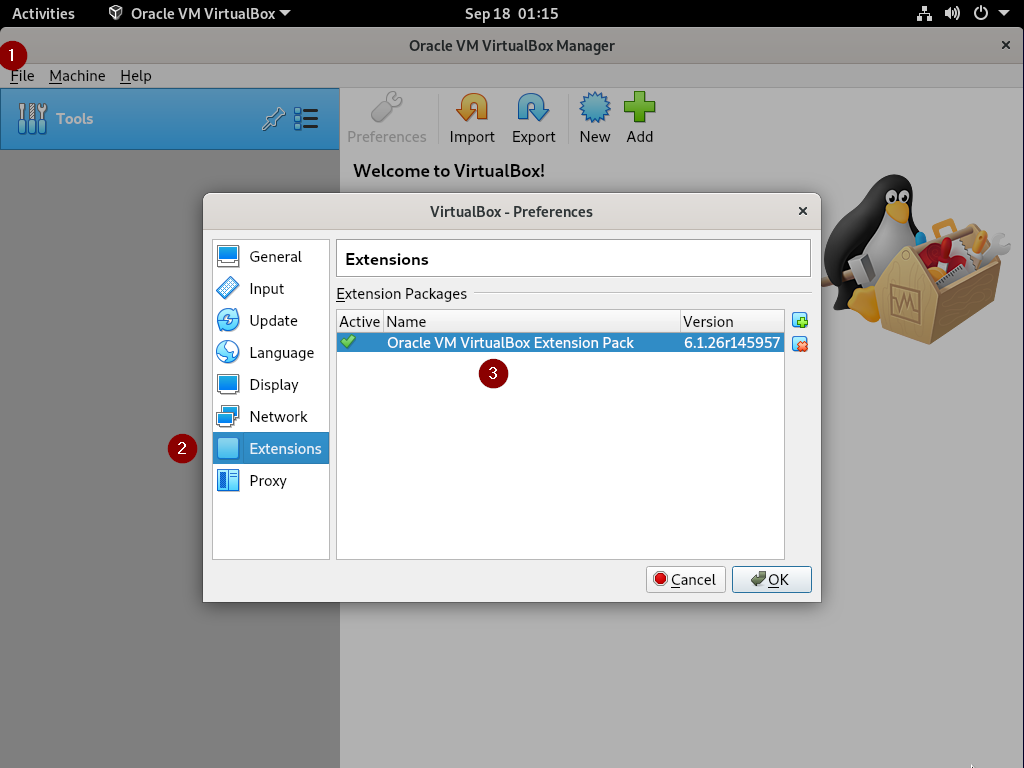
To Verify whether extension is installed or not, start the VirtualBox, Go to File –> Preferences –> Extensions
Great, above confirms that extension pack is successfully added to the virtualbox.
That’s all from this post, please do share your queries and feedback in below comments section.
Need to change:
$ sudo apt install virualbox-6.1 -y
To:
$ sudo apt install virtualbox-6.1 -y
Thanks Amos for pin pointing the typo. It has been corrected now.