As we know Oracle VirtualBox is a famous desktop virtualization tool which allows us to run multiple virtual machines or guest operating systems. It is used for test and development environment where Linux geeks create and delete virtual machines based on the requirements. VirtualBox is a cross-platform tool available for both Windows and Linux operating systems.
VirtualBox gives us the option to create host-based networking for virtual machines. In this post, we will discuss how to install latest version of Oracle VirtualBox on Ubuntu 20.04 LTS (focal fossa) system. At the time of writing this post, VirtualBox 6.1.26 was available.
Minimum System Requirements for VirtualBox
- A physical machine with minimal Ubuntu 20.04 LTS
- 4GB RAM or higher
- 20 GB free disk space or higher
- Multi-core processor (4 Cores or higher)
- Stable Internet Connection
- Local User with Sudo privileges
Let’s dive into the installation steps of VirtualBox
Step 1) Update Package Index
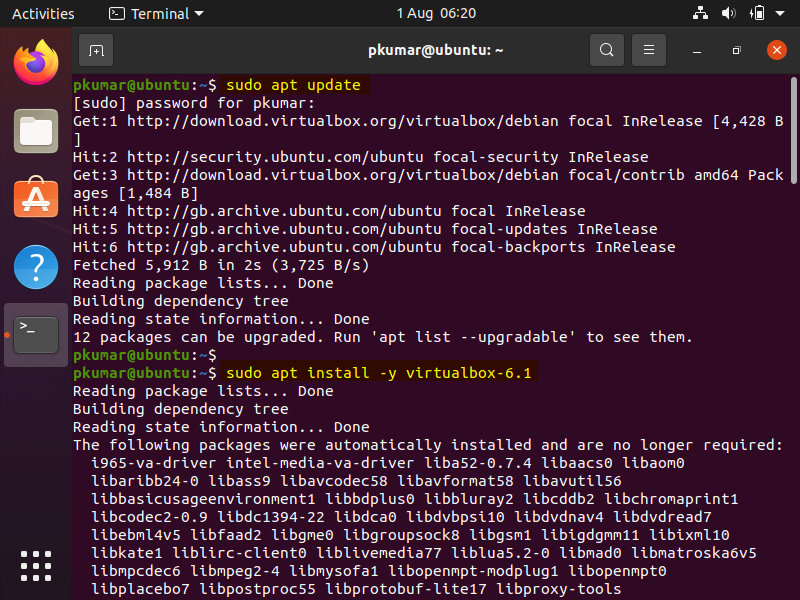
Open the terminal and run following apt command to update package index
$ sudp apt update
Step 2) Configure Oracle VirtualBox Repository
VirtualBox package and its dependencies are available in the default Ubuntu 20.04 package repositories but that VirtualBox will not be the latest one.
So, to install latest VirtualBox, first we must configure official oracle VirtualBox package repository, run following command to import oracle virtualbox public keys
$ wget -q https://www.virtualbox.org/download/oracle_vbox_2016.asc -O- | sudo apt-key add -
$ wget -q https://www.virtualbox.org/download/oracle_vbox.asc -O- | sudo apt-key add -
Run beneath command configure VirtualBox apt repository
$ echo "deb [arch=amd64] http://download.virtualbox.org/virtualbox/debian $(lsb_release -cs) contrib" | sudo tee -a /etc/apt/sources.list.d/virtualbox.list
Step 3) Install latest version of VirtualBox
Execute the following commands to install virtualbox with apt command,
$ sudo apt update
$ sudo apt install -y virtualbox-6.1
Once VirtualBox and its dependencies are installed successfully then install VirtualBox extension pack.
Use below wget command to download it’s extension pack file,
$ wget https://download.virtualbox.org/virtualbox/6.1.26/Oracle_VM_VirtualBox_Extension_Pack-6.1.26.vbox-extpack
Use following VBoxManage command to install downloaded extension pack file
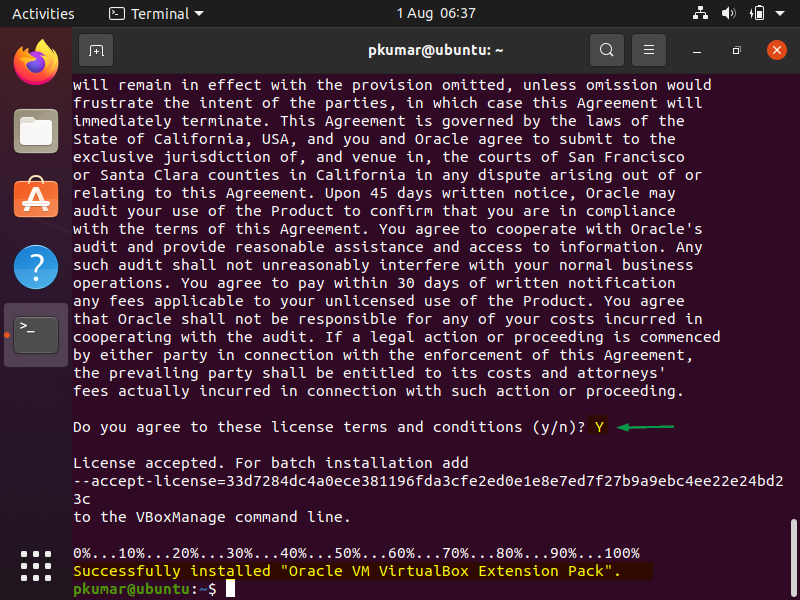
$ sudo VBoxManage extpack install Oracle_VM_VirtualBox_Extension_Pack-6.1.26.vbox-extpack
Above will command will prompt to Accept ‘License terms and conditions’, so type ‘Y’ and hit enter.
Perfect, above confirms that VirtualBox extension pack has been installed successfully.
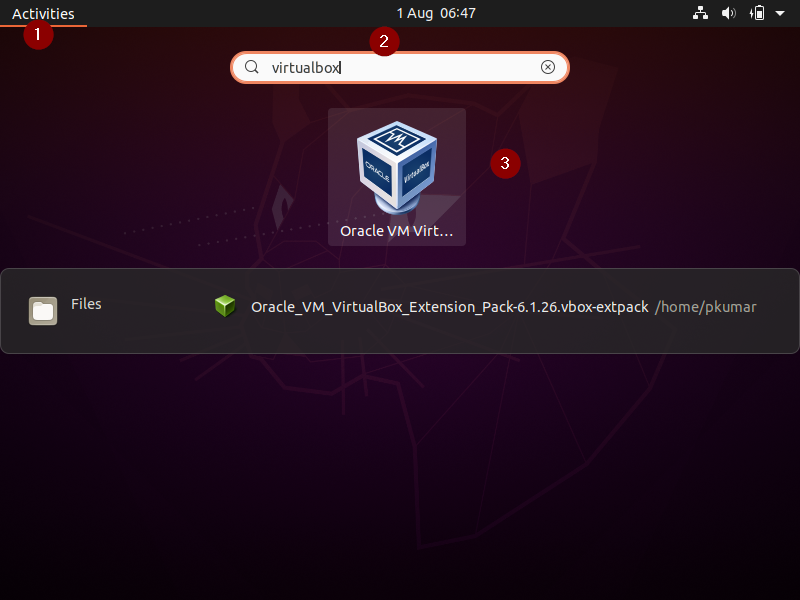
Step 5) Access Oracle VirtualBox
Search VirtualBox from search dash and then click on its icon,
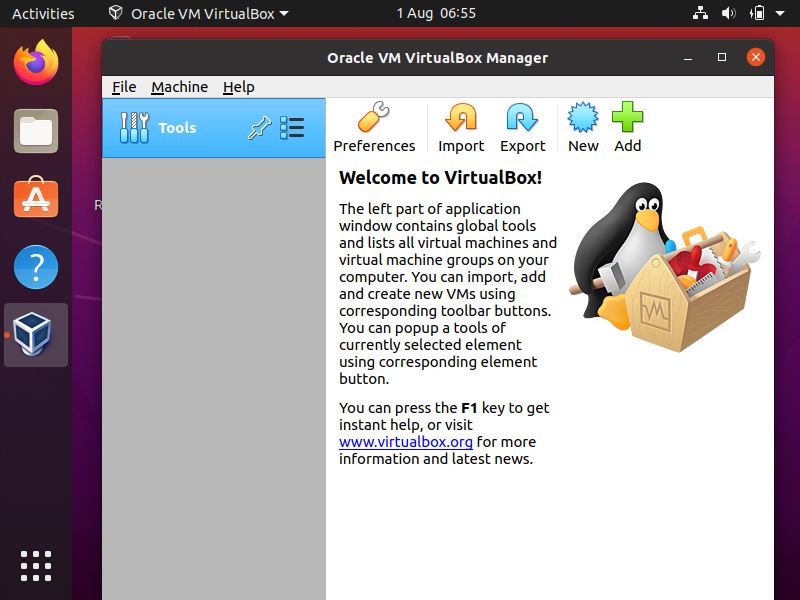
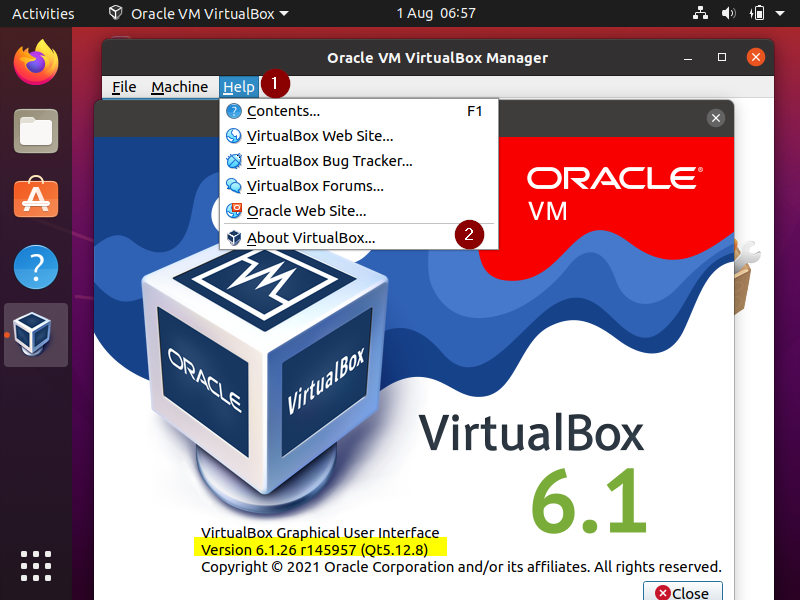
To check VirtualBox version, Click on ‘Help’ and then ‘About VirtualBox’
Above output confirms that we have installed Oracle VirtualBox of Version 6.1.26. That’s all from this post. I hope you have found it informative, please don’t hesitate to share your feedback and queries in the below comments section.
