Zorin OS 16 launched a few days back with stunning new looks, exciting new features along with a desktop layout similar to Windows 11. If you are switching over to Linux from Windows, then it is the right time to do it with Zorin OS 16. In this post, we’ll look at an easy step-by-step guide to install Zorin OS 16.
Before you start the installation process, make sure you have downloaded Zorin OS 16 from the Zorin OS website.
Remember Zorin OS 16 is available in 3 versions including:
- Pro (For Advanced Users)
- Core (For Basic Usage)
- Lite (For Old Computers)
Please choose the one that suits your requirements. While the Pro version will cost you $39, the Core and Lite are available free to download.
Minimum System Requirement for Zorin OS 16
- Dual Core Processor (1GHZ)
- 2 GB RAM or More
- 15 GB Free Disk space or more
- Installation Media (USB / DVD)
- Internet Connection (Optional)
Step 1) Create Installation Media
Once you have successfully downloaded Zorin OS 16, create a bootable or installation disk to start the installation. Burn ISO file you have just downloaded in the USB disk and make it bootable. Reboot the target system on which you want to install Zorin OS, go to its bios settings and change boot medium from hard disk to installation media like USB.
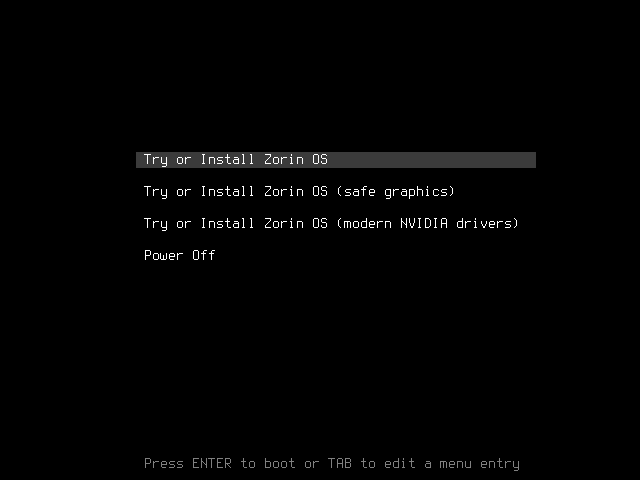
When the system restarts, you’ll automatically see that it starts booting from the USB disk and Zorin OS 16 installation menu appears. To start the installation process, choose “Try or Install Zorin OS” option and hit “Enter”
Step 2) Choose Install Zorin OS
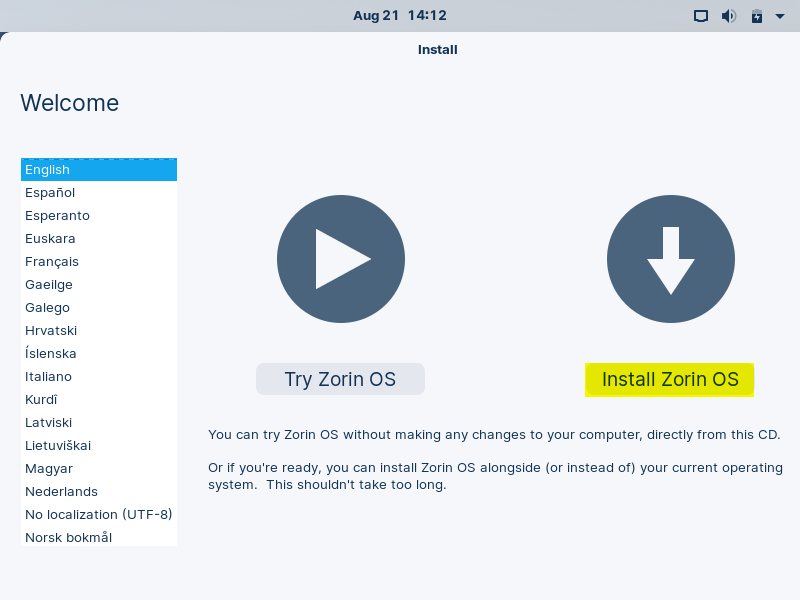
Next screen, you have an option to ‘try Zorin OS’ before you install in your system or ‘Install Zorin OS’. By default, the left panel, English language will be selected. If you want to change, you can choose your preferred language here.
Step 3) Select Keyboard Layout
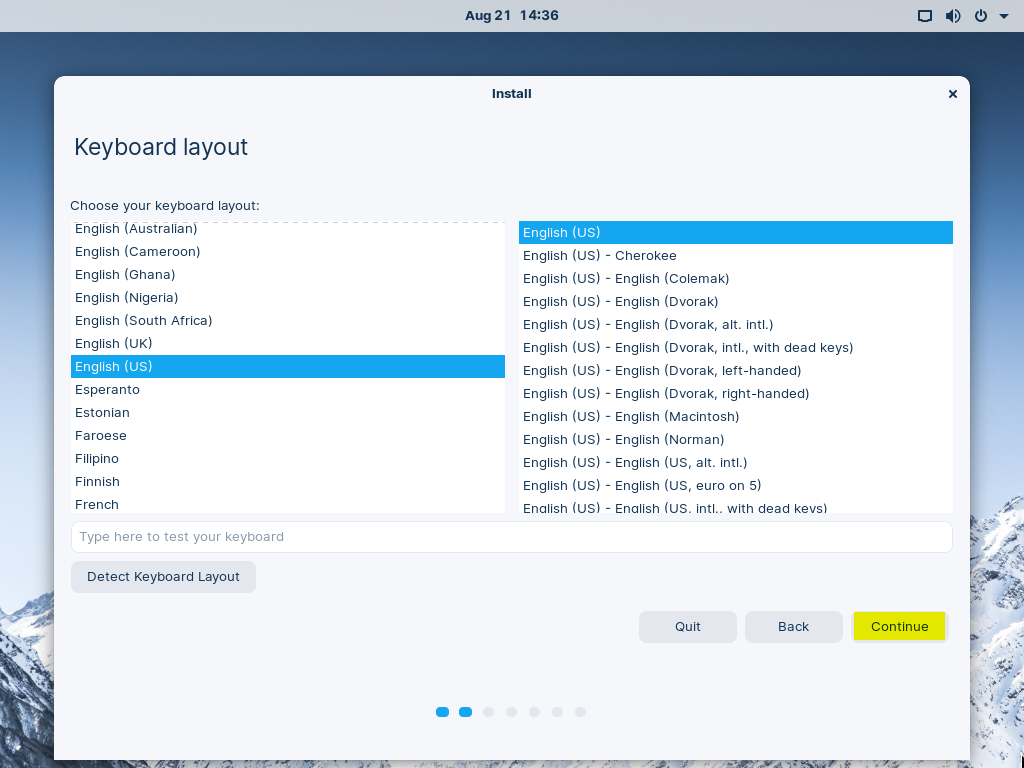
In the next screen, you will be presented with a screen to select the keyboard layout. English (US) will be chosen by default and you change it if you need.
Click “Continue” to proceed
Step 4) Updates and Other Software
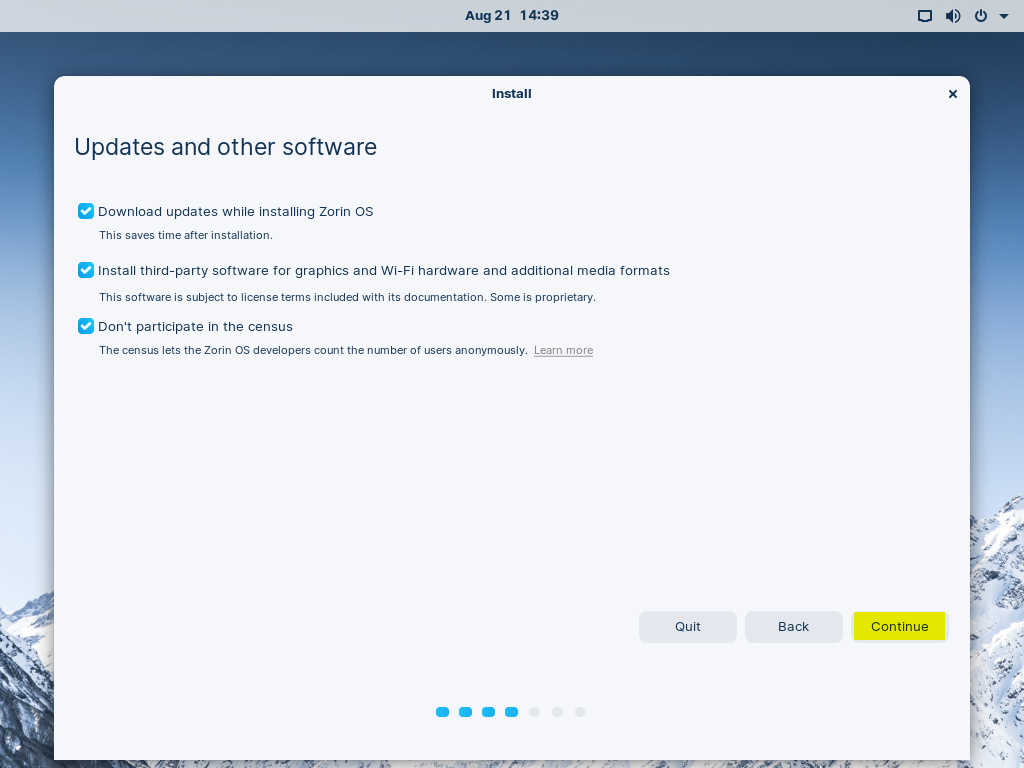
Next you need choose whether you need to download updates while installing and install third party software for graphics and media formats. If you check these boxes, the installation will take a bit longer, but you don’t need install updates later. If you don’t want to install updates, then uncheck the boxed and then click “Continue” to proceed further.
Step 5) Choose Installation Method
In the next screen, you need to choose the installation method. In this screen you will be presented with following options namely:
- Install Zorin OS alongside them (To install Zorin OS along with other OS)
- Erase disk and install Zorin OS (For fresh installation and automatic create partitions)
- Something else (To create custom partition for Zorin OS)
But if you have another OS running and want to install Zorin OS alongside them, then choose the first option. Every time when you boot your system, it will ask which OS you want to bootup.
If you want to erase everything in your disk and perform a fresh installation of Zorin OS 16, you can choose ‘Erase disk and install Zorin OS’
If you want to create a new custome partition for Zorin OS16, then you need to choose “Something Else”.
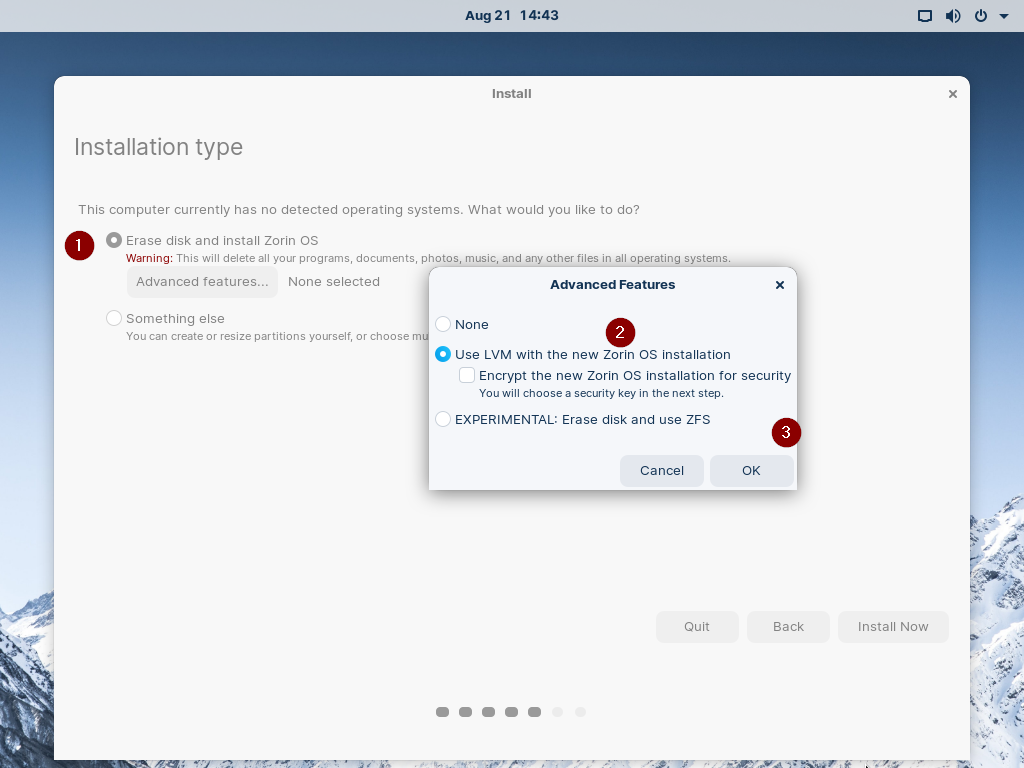
For this guide, I am going to Erase disk and install Zorin OS hence I Choose ‘Erase disk and Install Zorin OS’
Click on ‘Advanced features’ and then choose ‘Use LVM with the new Zorin OS installation’ option and then click on ‘OK’
Note : In case you want to encrypted Disk on which Zorin OS will installed the choose ‘Encrypt the new Zorin OS Installation for secuirty’ option
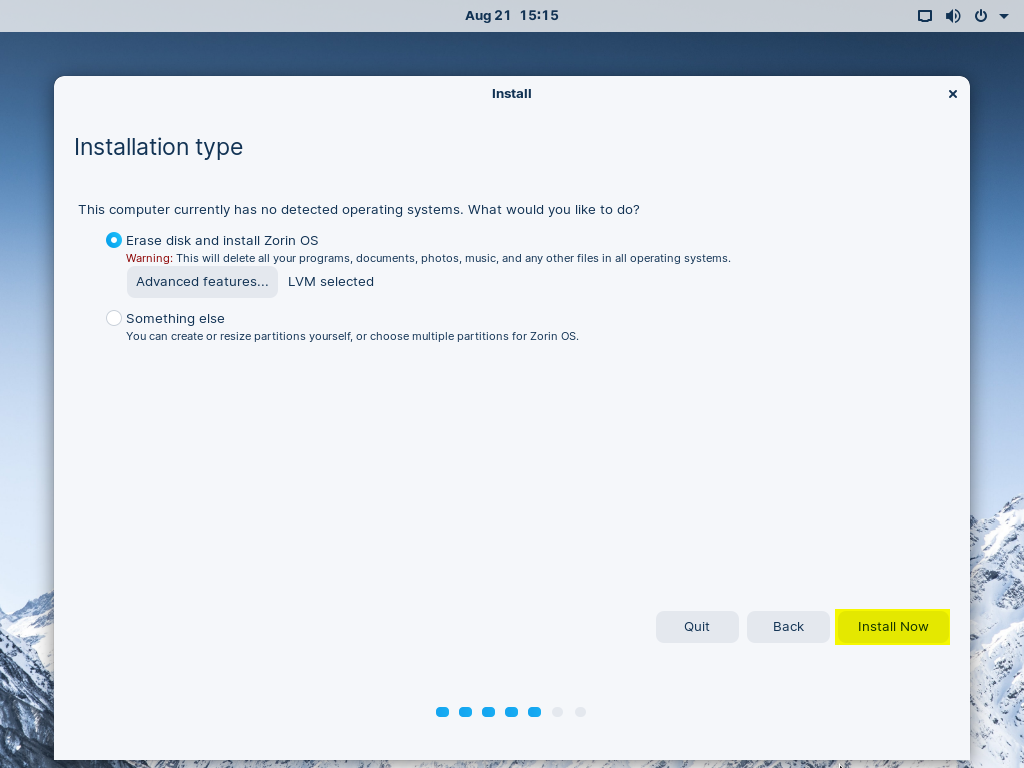
Now click on ‘Install Now’ to proceed with installation
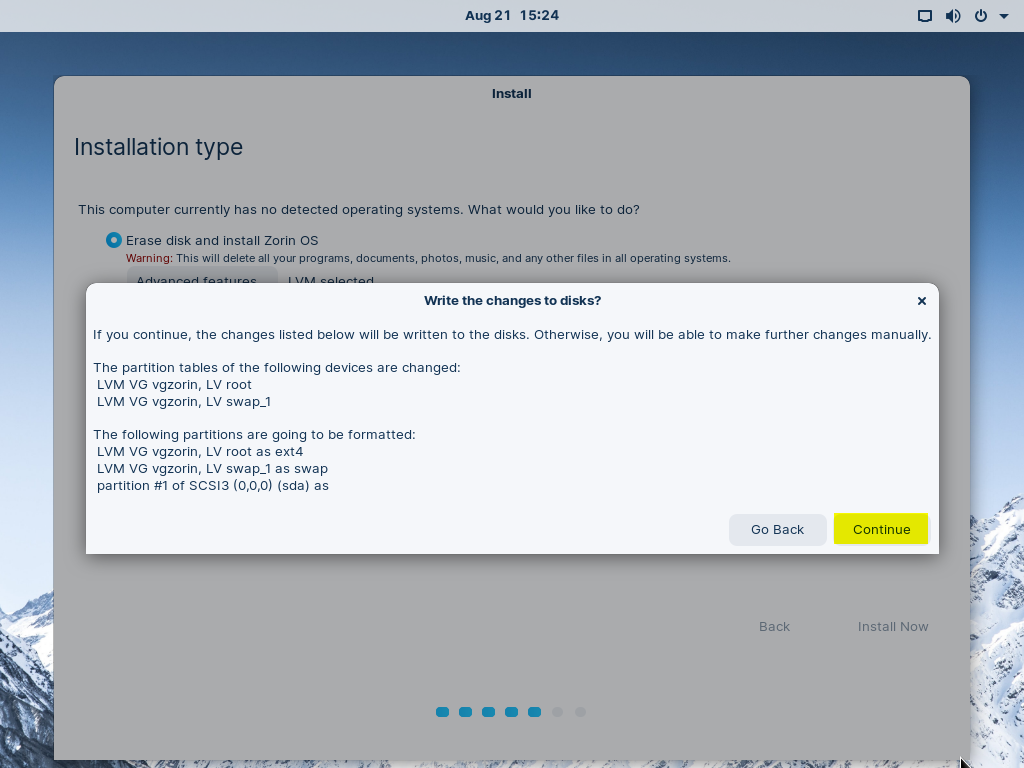
In the next window, choose ‘Continue’ to write changes to the disk.
Step 6) Date & Time Selection
Next you need to choose your time zone and locale. After selecting click “Continue” to proceed
Step 7) Create User Account
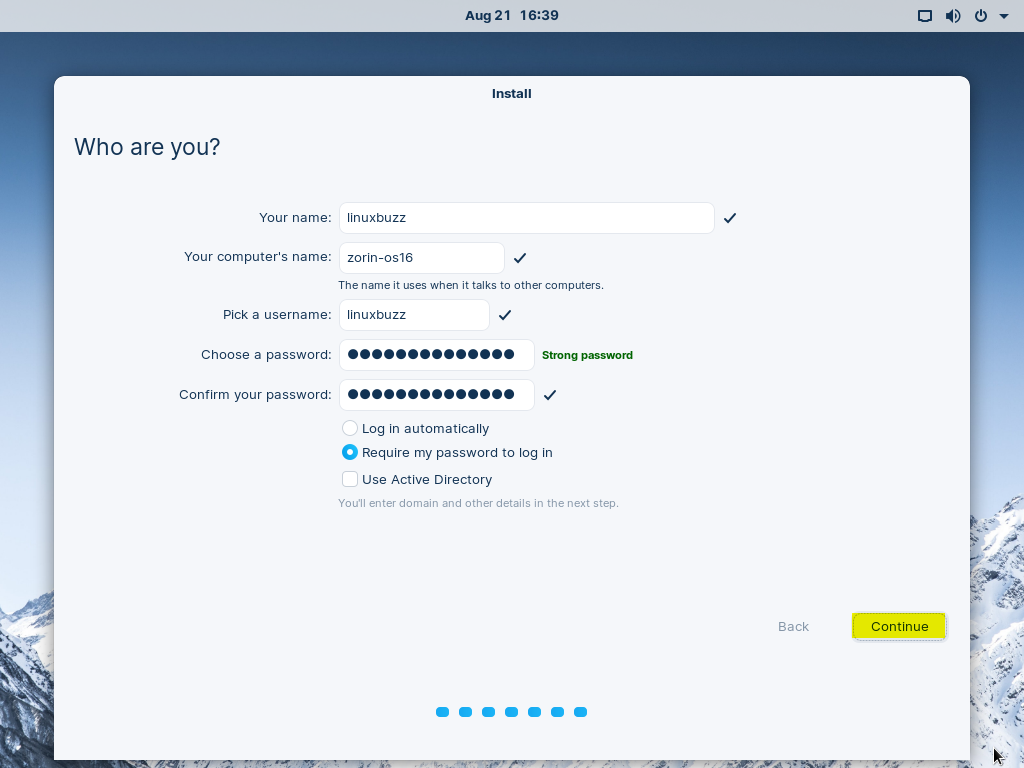
Next you will be asked to create a new account for Zorin OS 16. Provide your user information like your name, username and password and click “Continue” to proceed
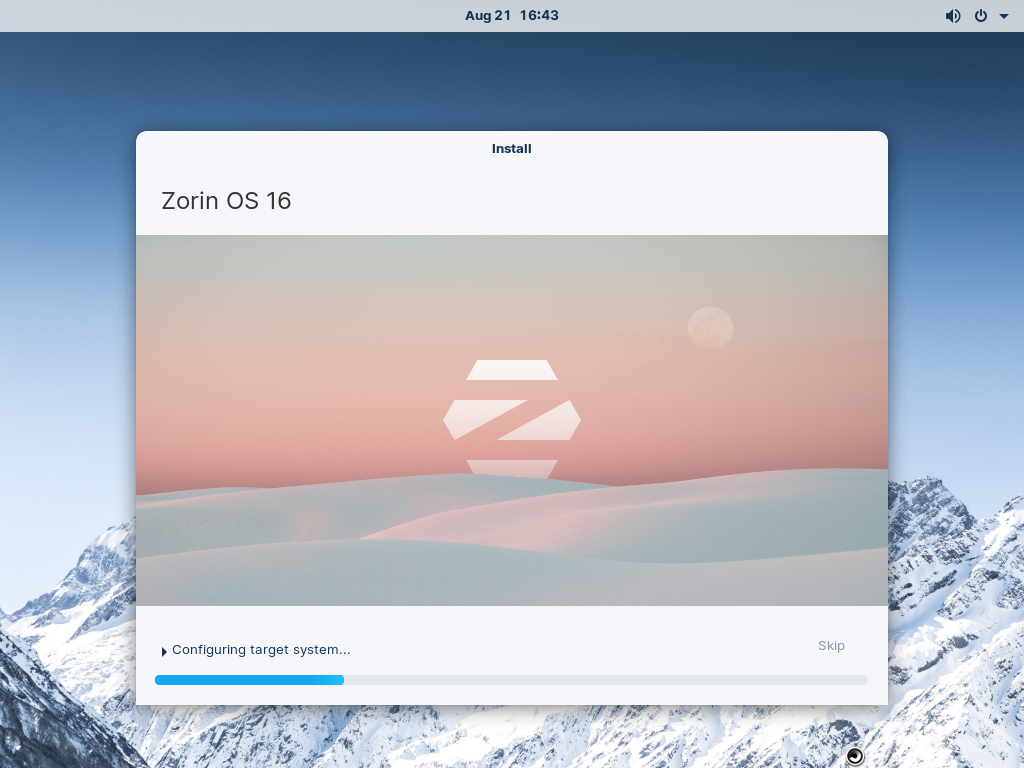
Step 8) Installing Zorin OS 16
That’s it, you’ve finally reached the last part of the installation process. Zorin OS 16 starts installing and it will take just a few mins to complete.
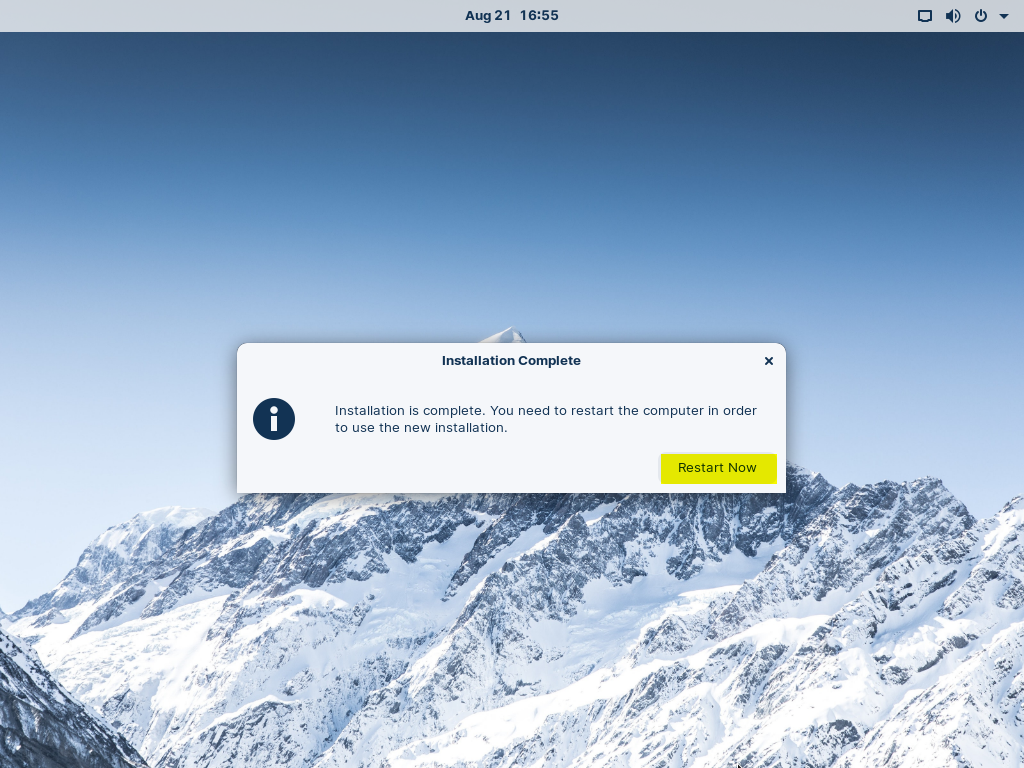
Once the installation process is completed, restart your system.
During the reboot don’t forget the change the boot medium from USB to hard disk from the bios settings.
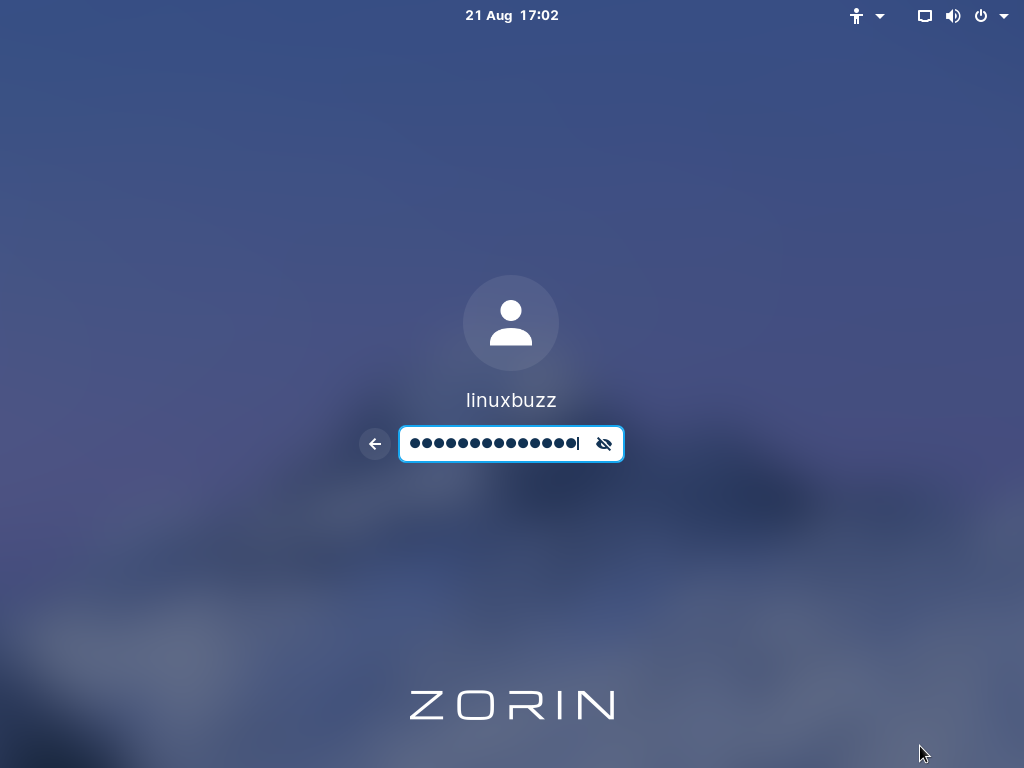
Step 9) Login Screen and Desktop Environment After Reboot
After the reboot we will get the following login screen, use the same user account and its credentials that you have created.
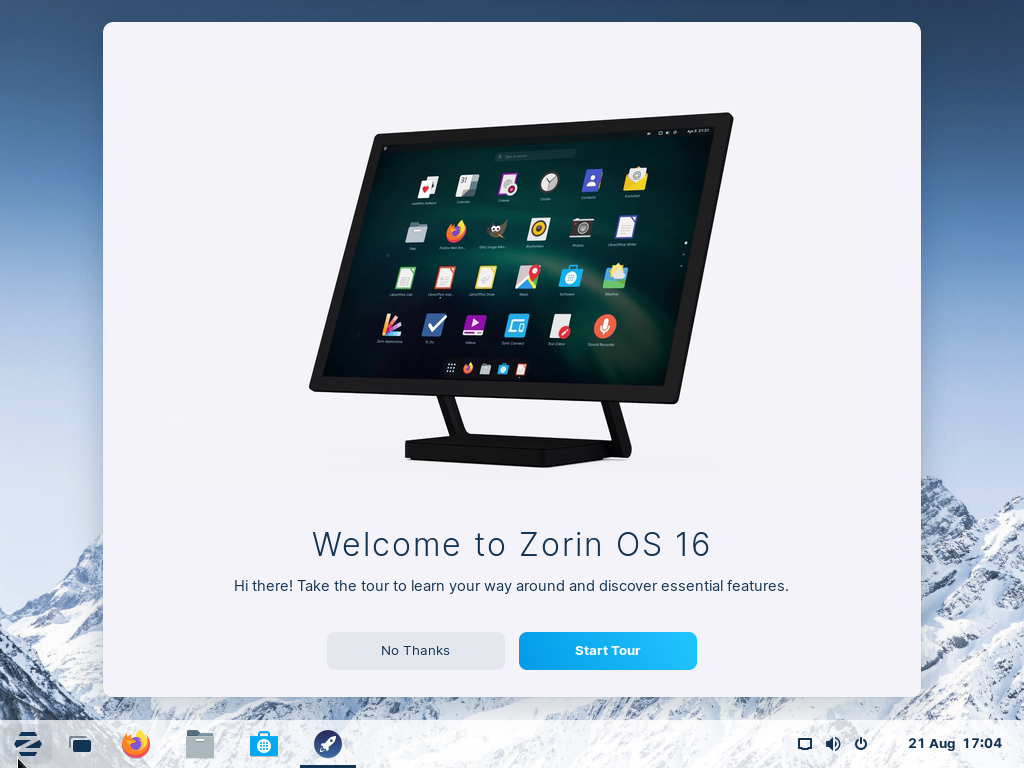
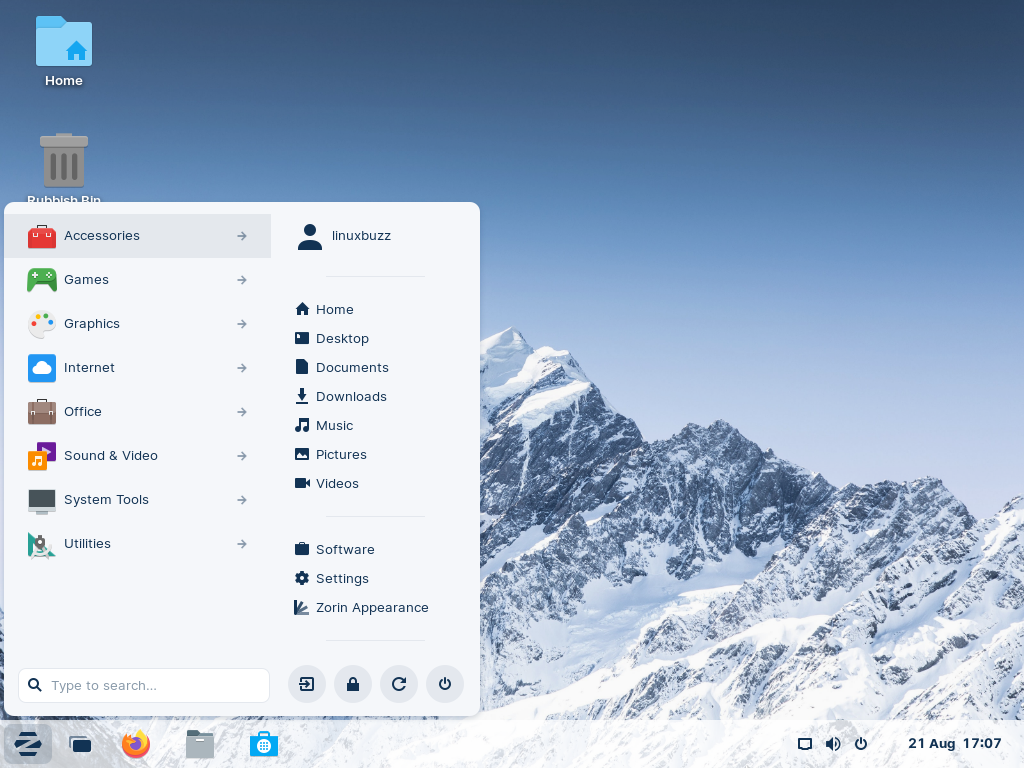
After entering the credentials, hit enter then we will get welcome screen,
That’s all from this post. Start exploring the exciting new features of Zorin OS 16.
Conclusion
Hope we’ve provided all the information you were looking for in this step-by-step detailed guide about How to install Zorin OS 16. Please post your comments and suggestions in the comments section below.
Also Read : How to Setup Chroot SFTP Server in Linux

how do I make the downloaded OS Zorin bootable? Please expand procedure in step 1, BIOS settings and changing boot medium, not sure what this means, will appreciate your help.
Terry
Hi Terry,
In case you have downloaded Zorin OS ISO file on windows system then you use ‘Rufus’ software to create bootable media. In Linux, you can dd command or Right-click the ISO file and select Make Bootable USB Stick and then click on ‘Write’